DMTA-10043-01EN, Rev. C, July 2016
Measurements
41
6. Measurements
Once the initial setup of the 27MG Ultrasonic Thickness Gage has been performed
(see chapter “Initial Setup” on page 31) and a standard calibration has been
completed (see “Standard Calibration Measurement” on page 35), measurements can
be made.
To make measurements
1. Apply couplant to the test block or material at the spot to be measured.
In general, the smoother the material surface, the thinner the couplant may be. Rough
surfaces require more viscous couplant such as gel or grease. Special couplants are
required for high temperature applications.
2. Press the tip of the transducer to the surface of the material to be measured. Use
moderate to firm pressure and keep the transducer as flat as possible on the
material’s surface.
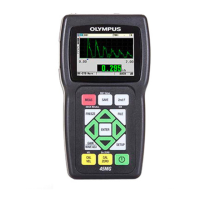
3. Read the material’s thickness on the gage display.
For highest accuracy, both a velocity and zero calibration must be done.
 Loading...
