DMTA-10043-01EN, Rev. C, July 2016
Application Notes
67
• Remember that both material sound velocity and transducer zero offset will
change with temperature.
For maximum accuracy at high temperatures, velocity calibration should be
performed using a section of the test bar of known thickness heated to the
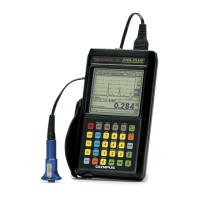
temperature where measurements are to be performed. The 27MG Ultrasonic
Thickness Gage has a semiautomatic zero function that can be employed to adjust
zero setting at high temperatures.
• Using the Fast mode with the Freeze function may help in obtaining
measurements as quickly as possible.
• Note that a corrosion gage is not designed for flaw or crack detection, and cannot
be relied upon to detect material discontinuities. A proper evaluation of material
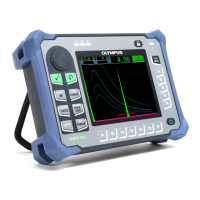
discontinuities requires an ultrasonic flaw detector such as the EPOCH used by a
properly trained operator. In general, unexplained readings by a corrosion gage
merit further testing with a flaw detector.
• For further information on the use of dual element transducers in corrosion
gaging, or for information on any aspect of ultrasonic testing, contact Olympus.
• Often, performance on hot, corroded materials will be considerably improved by
the use of the Gain Adjust procedure or the Material Sensitivity Optimization
procedure. High temperature couplants are generally less efficient than those
used at lower temperatures, so the 27MG will work better when sensitivity is
adjusted or optimized to accommodate high temperature conditions.
 Loading...
