62
Olympus
®
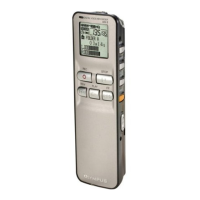
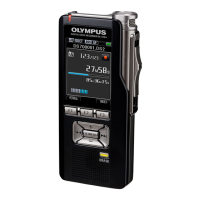
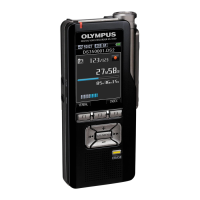
DS-4000 Digital Recorder Installation and User Guide
Dictating with the Olympus DS-
4000 Digital Recorder
Dictating with the DS-4000
To dictate a new report:
1. Turn on your Olympus DS-4000 by
sliding the power switch on the back of
the recorder to ON.
2. Press the NEW button on the top right
side of the recorder.
3. Use the FF or REW switch to move up
or down to select a Worktype for your
report.
4. Move the slide switch on the right side
of the recorder to REC to begin
recording your dictation. The LED on
the top right corner of the recorder is
red when in record mode.
5. For the best recording quality, hold the
recorder 6-10 inches from your mouth
with the microphone angled slightly toward your face.
6. To pause the recording, move the slide switch to STOP. To begin
recording again, move the slide switch to REC.
7. To review the current dictation, move the slide switch to REV while
recording and release it when you want to begin playback.
8. To end the dictation and close the file, move the slide switch to STOP.
Setting Priority Levels
To set the priority level for a new dictation:
1. If you are recording a dictation, move the slide switch to
STOP so this
dictation is selected.
2. Press Button B on the front of the recorder to set a
HIGH priority level.
An exclamation point inside a black triangle, next to the current file
number, indicates a
HIGH priority level.
3. Press Button B again to change the priority level to NORMAL.