11
Getting Started
3
SECTION 3. GETTING STARTED
Caution: The meter has no power-on switch, so it will be in operation as
soon you apply power.
If you power off/on the meter, or perform a hard reset (press the RESET button twice),
the meter shows RST , followed by STRN.
3.1 RATING/PRODUCT LABEL
This label is located on top of the meter housing (refer to Figure 3-4).
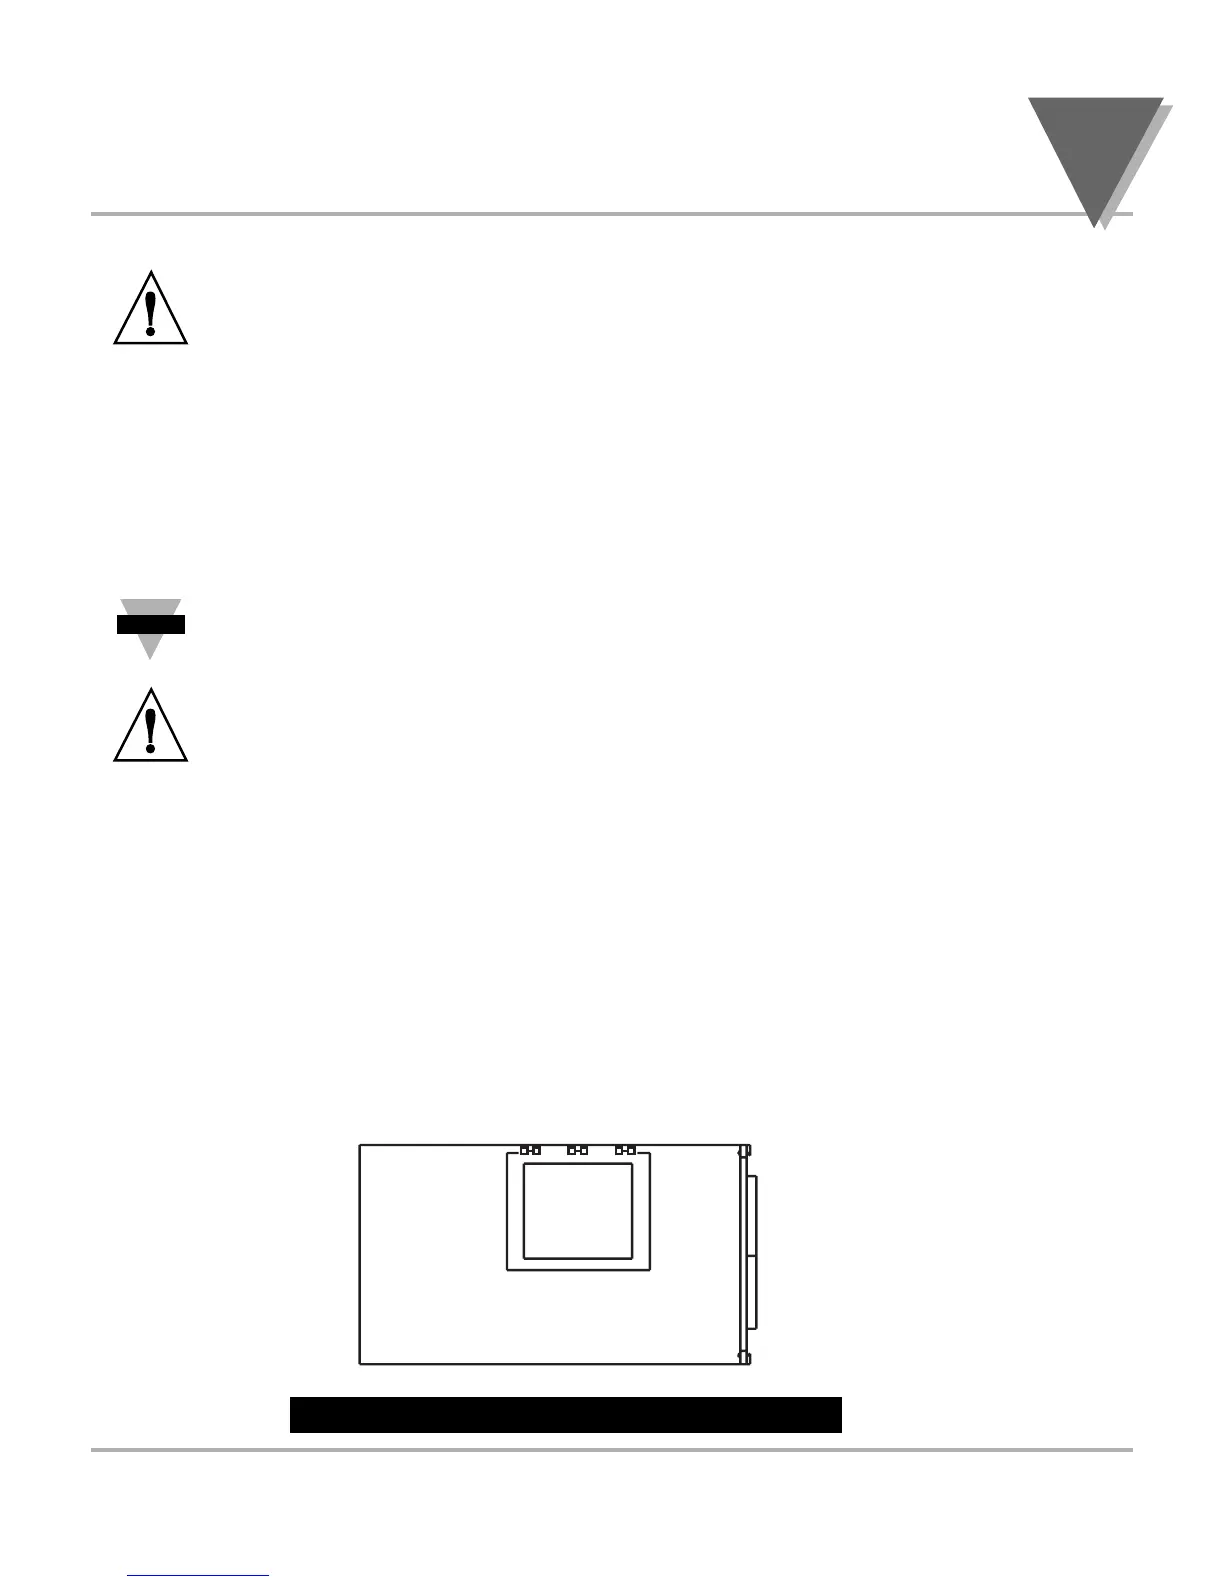
3.2 MAIN BOARD POWER JUMPERS (refer to Figure 3-1)
Important: If you want to change the Factory preset jumpers, do the
following steps; otherwise go to Section 3.3.
Warning: Disconnect the power from the unit before proceeding. This
device must only be reconfigured by a specially trained electrician with
corresponding qualifications. Failure to follow all instructions and warnings
may result in injury!
1. Remove the main board from the case. Refer to Section 2.6.
2. Locate the solder jumpers W1, W2, and W3 (located near the edge of the main
board alongside the transformer).
3. If your power requirement is 115 Vac, solder jumpers W1 and W3 should be
wired, but jumper W2 should not. If your power requirement is 230 Vac,
solder jumper W2 should be wired, but jumpers W1 and W3 should not.
Note: W4 jumper is not used.
Figure 3-1 shows the location of solder jumpers W1 through W3.
Figure 3.1 Main Board Power Jumpers

 Loading...


