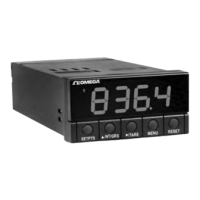
21
Configuring The Meter
4
SECTION 4. CONFIGURING THE METER
Refer to Table 6-1 for a summary list of menu configuration.
For first-time users: Refer to the QuickStart Manual for basic operation and
set-up instructions.
4.1 SELECTING THE INPUT TYPE INPT
To select your appropriate input type signal, follow these steps:
Before proceeding, set the input DIP switch settings at the back of your
meter. (Refer to Table 2-3).
1. Press the MENU button. The meter shows INPT .
2. Press the ∂TARE button. The meter flashes one of the following:
• 100M (for 0-100 mV dc) (Default)
• ±50M (for ±50 mV dc)
• 10V (for 0-10 Vdc)
• ±5V (for ±5 Vdc)
• 0-20 (for 0-20 mA dc)
3. Press the ßNT/GRS button to scroll through available choices.
4. Press the MENU button to store your choice. The meter momentarily shows
STRD , followed by DEC.P (Decimal Point).

 Loading...