7
En
Before Using the Integrated Amplifier
Note
• If the remote controller doesn’t work reliably, try replacing the
batteries.
• Don’t mix new and old batteries or different types of batteries.
• If you intend not to use the remote controller for a long time,
remove the batteries to prevent damage from leakage or
corrosion.
• Remove expired batteries as soon as possible to prevent damage
from leakage or corrosion.
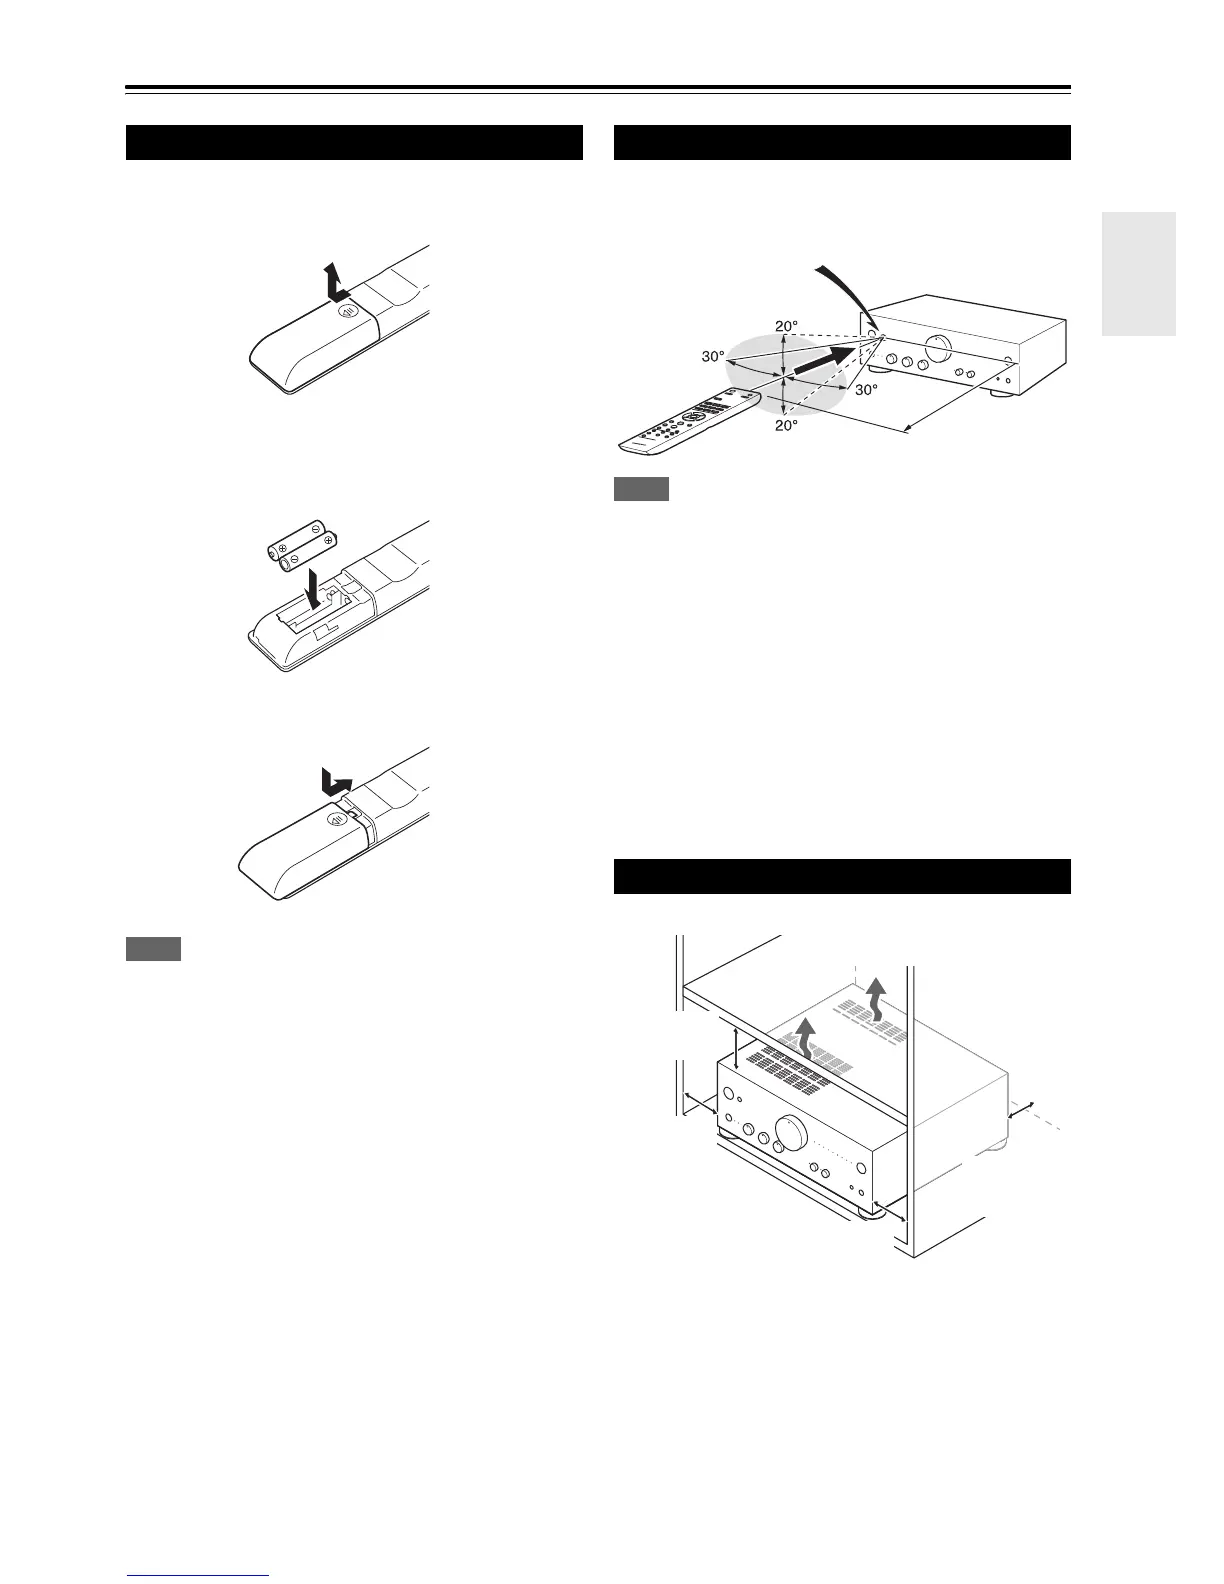
To use the remote controller, point it at the integrated
amplifier’s remote control sensor, as shown below.
Note
• The remote controller may not work reliably if the integrated
amplifier is subjected to bright light, such as direct sunlight or
inverter-type fluorescent lights. Keep this in mind when
installing.
• If another remote controller of the same type is used in the same
room, or the integrated amplifier is installed close to equipment that
uses infrared rays, the remote controller may not work reliably.
• Don’t put anything, such as a book, on the remote controller,
because the buttons may be pressed inadvertently, thereby
draining the batteries.
• The remote controller may not work reliably if the integrated
amplifier is installed in a rack behind colored glass doors. Keep
this in mind when installing.
• The remote controller will not work if there’s an obstacle
between it and the integrated amplifier’s remote control sensor.
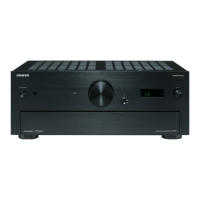
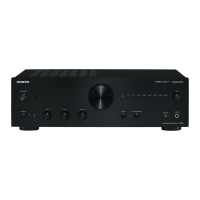
Install the integrated amplifier on a sturdy rack or shelf.
Position it so that its weight is evenly dispersed on its four
legs. Do not install the integrated amplifier in a place with
vibration or an unstable location.
The integrated amplifier is designed to have high conversion
efficiency, however, its temperature will become much
higher than other audio equipment.
Therefore, make sure
not to hamper heat dissipation by ensuring proper
ventilation.
Installing the Batteries
1
To open the battery compartment, press the small
hollow and slide the cover.
2
Insert the two supplied batteries (R03/AAA) in
accordance with the polarity diagram inside the
battery compartment.
3
Replace the cover and slide it shut.
Using the Remote Controller
Installing the Integrated Amplifier
Remote control sensor
Integrated amplifier
Approx. 16 ft. (5 m)
Approx. 8 in.
(20 cm)
Ensure proper ventilation.
Approx. 8 in.
(20 cm)
Approx.8in.(20cm)
Approx. 4 in.
(10 cm)
 Loading...