User Manual
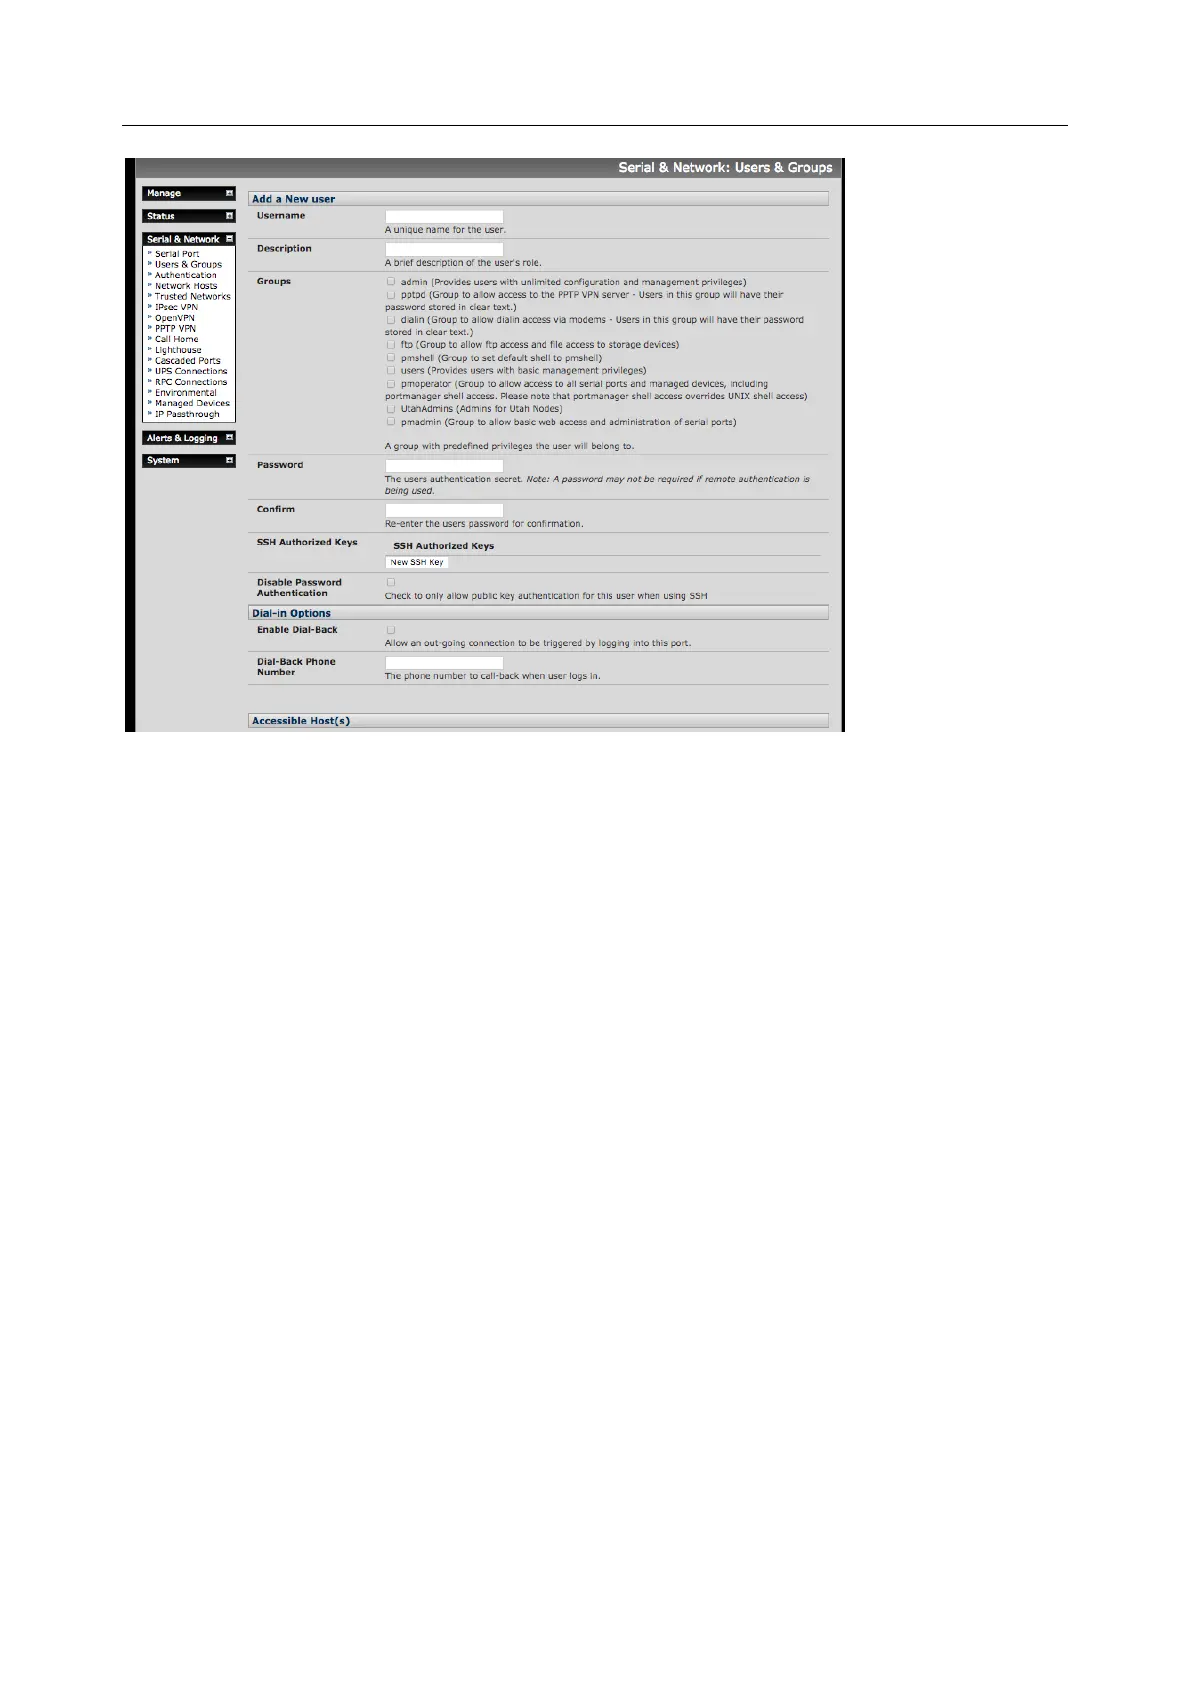
3. Add a Username for each new user. You may also include information related to the user (e.g.
contact details) in the Description field. The user Name can contain from 1 to 127 alphanumeric
characters and the characters "-" "_" and ".".
4. Specify which Groups you wish the user to be a member of
5. Add a confirmed Password for each new user. All characters are allowed.
6. SSH pass-key authentication can be used. Paste the public keys of authorized public/private
keypairs for this user in the Authorized SSH Keys field
7. Check Disable Password Authentication to only allow public key authentication for this user
when using SSH
8. Check Enable Dial-Back in the Dial-in Options menu to allow an out-going dial-back connection
to be triggered by logging into this port. Enter the Dial-Back Phone Number with the phone
number to call-back when user logs in
9. Check Accessible Hosts and/or Accessible Ports to nominate the serial ports and network
connected hosts you wish the user to have access privileges to
10. If there are configured RPCs, check Accessible RPC Outlets to specify which outlets the user is
able to control (i.e. Power On/Off)
11. Click Apply.
The new user will be able to access the accessible Network Devices, Ports and RPC Outlets. If the user is
a group member, they can also access any other device/port/outlet accessible to the group
 Loading...