Chapter 13 - Where to find features
Scheduler application user reference
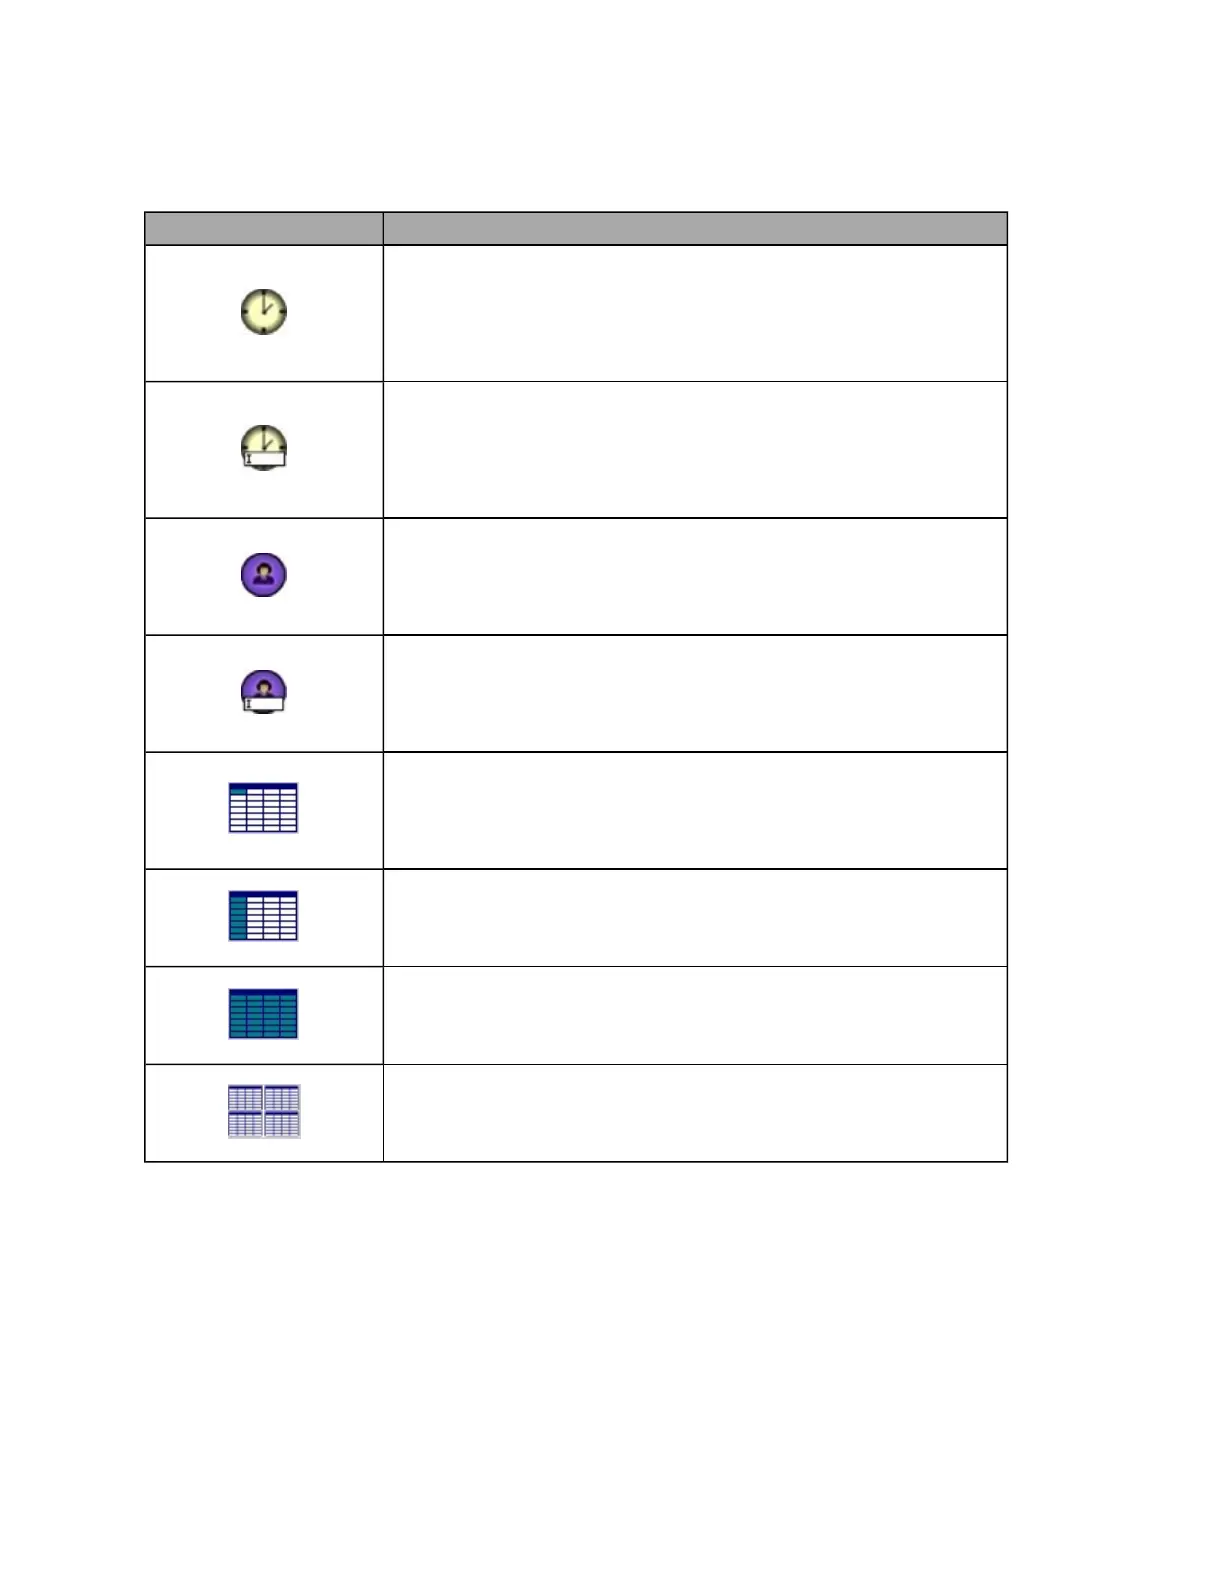
Button/section Description
New Appointment button
Shows the Select Patient dialog box and Optomap Appointment Details dialog box
where you can select the patient and then set the appointment details
respectively.
You can also select Schedule menu > New Appointment.
Edit Appointment button
Shows the Optomap Appointment Details dialog box where you can edit the
appointment details or cancel the appointment.
You can also edit an appointment by double-clicking the appointment or by
selecting Schedule menu > Edit Appointment.
New Patient button
Shows the Patient Details dialog box where you can add the new patient’s
details.
You can also select Schedule menu > New Patient
Edit Patient button
Shows the Select Patient dialog box and Patient Details dialog box where you can
select the patient and then edit the patient details respectively.
You can also select Schedule menu > Edit Patient.
Today’s Appointments View button
This is the default view shown when the Scheduler application starts. It shows
the appointments scheduled for the current day.
You can also select View menu > Today.
This Week’s Appointments View button
Shows the appointments scheduled for the current week.
You can also select View menu > This Week.
This Month’s Appointments View button
Shows the appointments scheduled for the current month.
You can also select View menu > This Month.
All Appointments View button
Shows all the scheduled appointments.
You can also select View menu > All.
92 of 100