Chapter 8 - Documenting your review
How to add procedure codes
1. Open the image you want to review and select Image menu > Procedure Coding to display the Set Procedure
Coding dialog box.
2. A green tick indicates the required tasks have been completed. When all the required tasks have
been completed, a procedure can be assigned to the image. Click the procedure code to select it.
Click OK.
How to change or remove a procedure code
You can change or delete procedure codes that have been added during the current session. Procedure
codes cannot be changed after the image session has been closed.
1. Open the Set Procedure Coding dialog box.
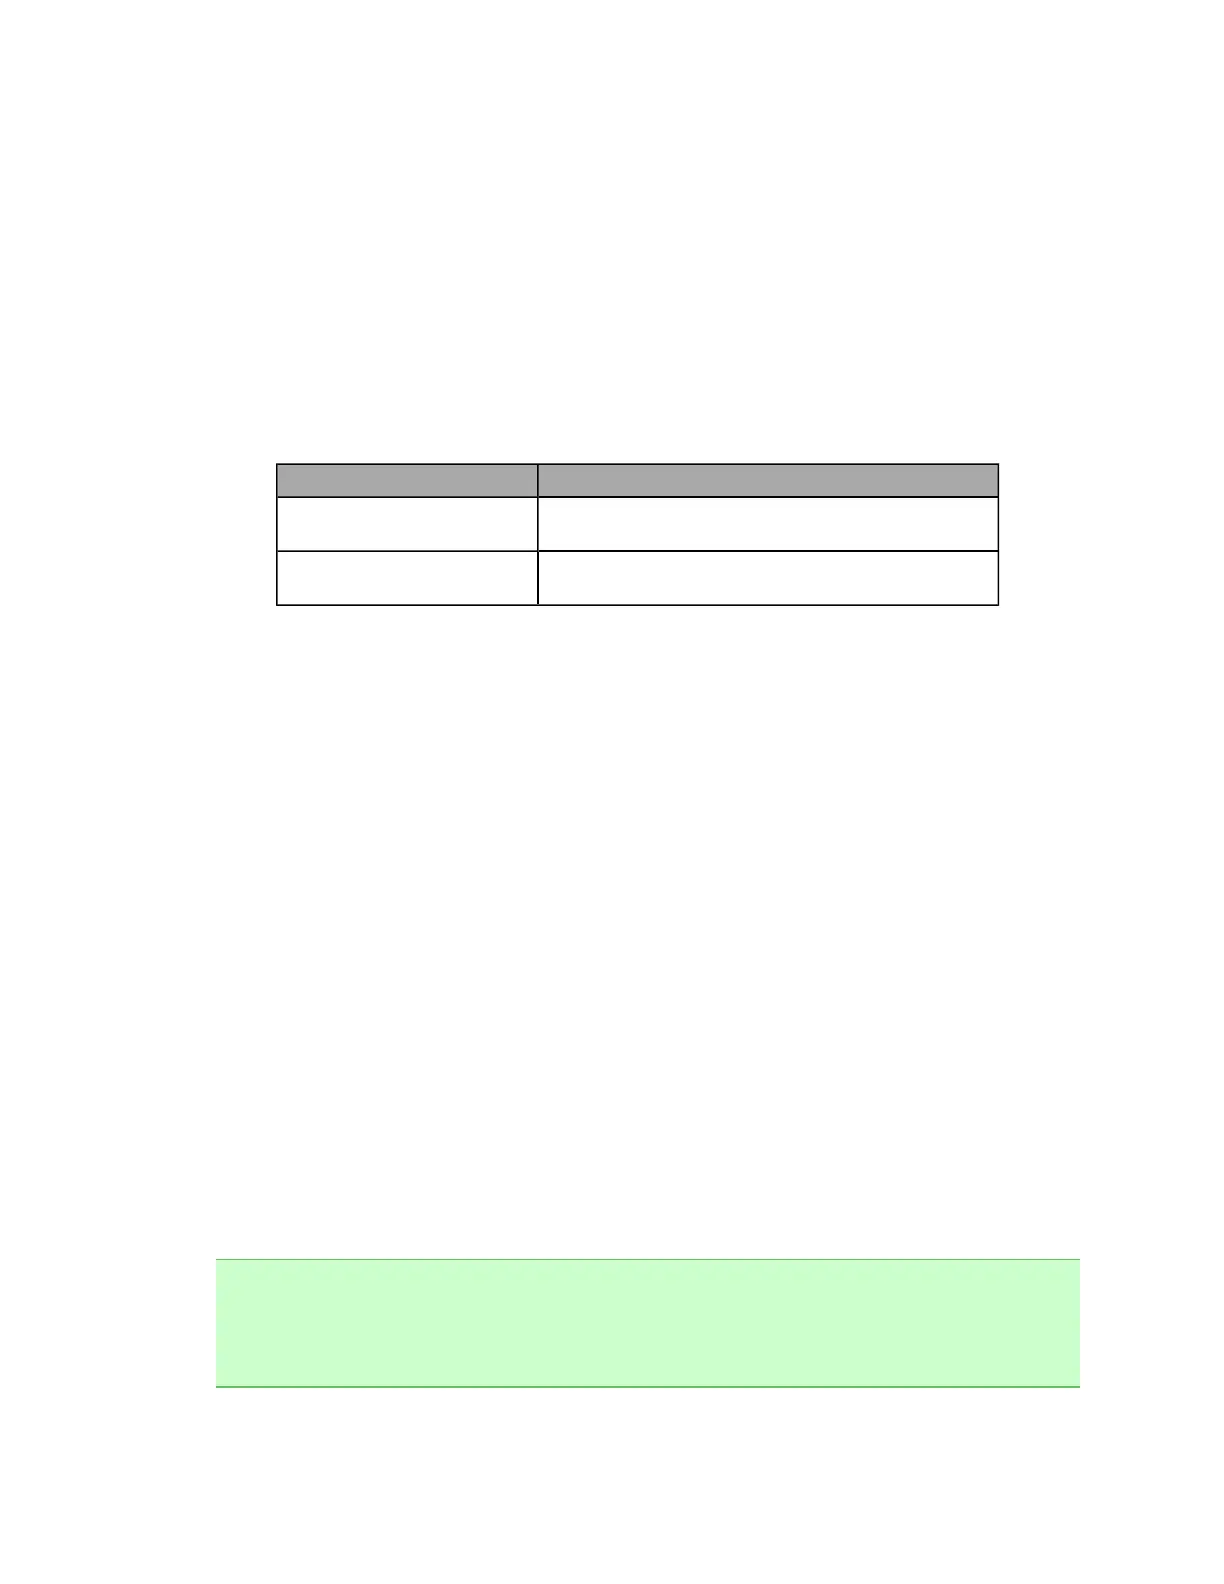
2. Make the required changes:
Action Description
To change the procedure
code
Select the other procedure code.
To remove the procedure
code
Select <No Procedure Code>.
3. Click OK.
How to identify images where procedure codes have been applied
1. Open the Patient History view for the patient, see About the Patient History view on page 35.
2. Check the Session List for purple markers. The relevant code will be displayed next to the purple
marker.
About Procedure Guidance
Optos does not provide, and the optomap® plus guidelines do not constitute advice on making
reimbursement claims. Diagnostic tests should be ordered by the treating physician and this physician is
responsible for appropriate usage, adequate documentation and proper coding. It is the responsibility of
the physician to comply with Medicare regulations, and check with the local insurance carrier for
reimbursement information and instructions. Optos does not accept any liability for reimbursement claims
made while using optomap® plus.
Using review notes
You can add, edit and remove review notes from the displayed image. Review notes are displayed in the
Review Note pane. The selected review note is displayed to the right of the pane.
Review notes cannot be edited or deleted after the image has been closed.
How to add a review note
You can add review notes to open images.
1. Open the image you want to review and then select Image menu > Review Notes to display the Review Notes
dialog box.
2. Type the information in the Comment box and click OK.
Note:
l
You can mark the image as reviewed with no comment by selecting the Mark as Reviewed with No
Comment box on the Review Notes dialog box.
l
You may add a diagnostic code at the same time, see Using diagnostic codes on next page.
57 of 100