Chapter 13 - Where to find features
Image types
Button/section Description
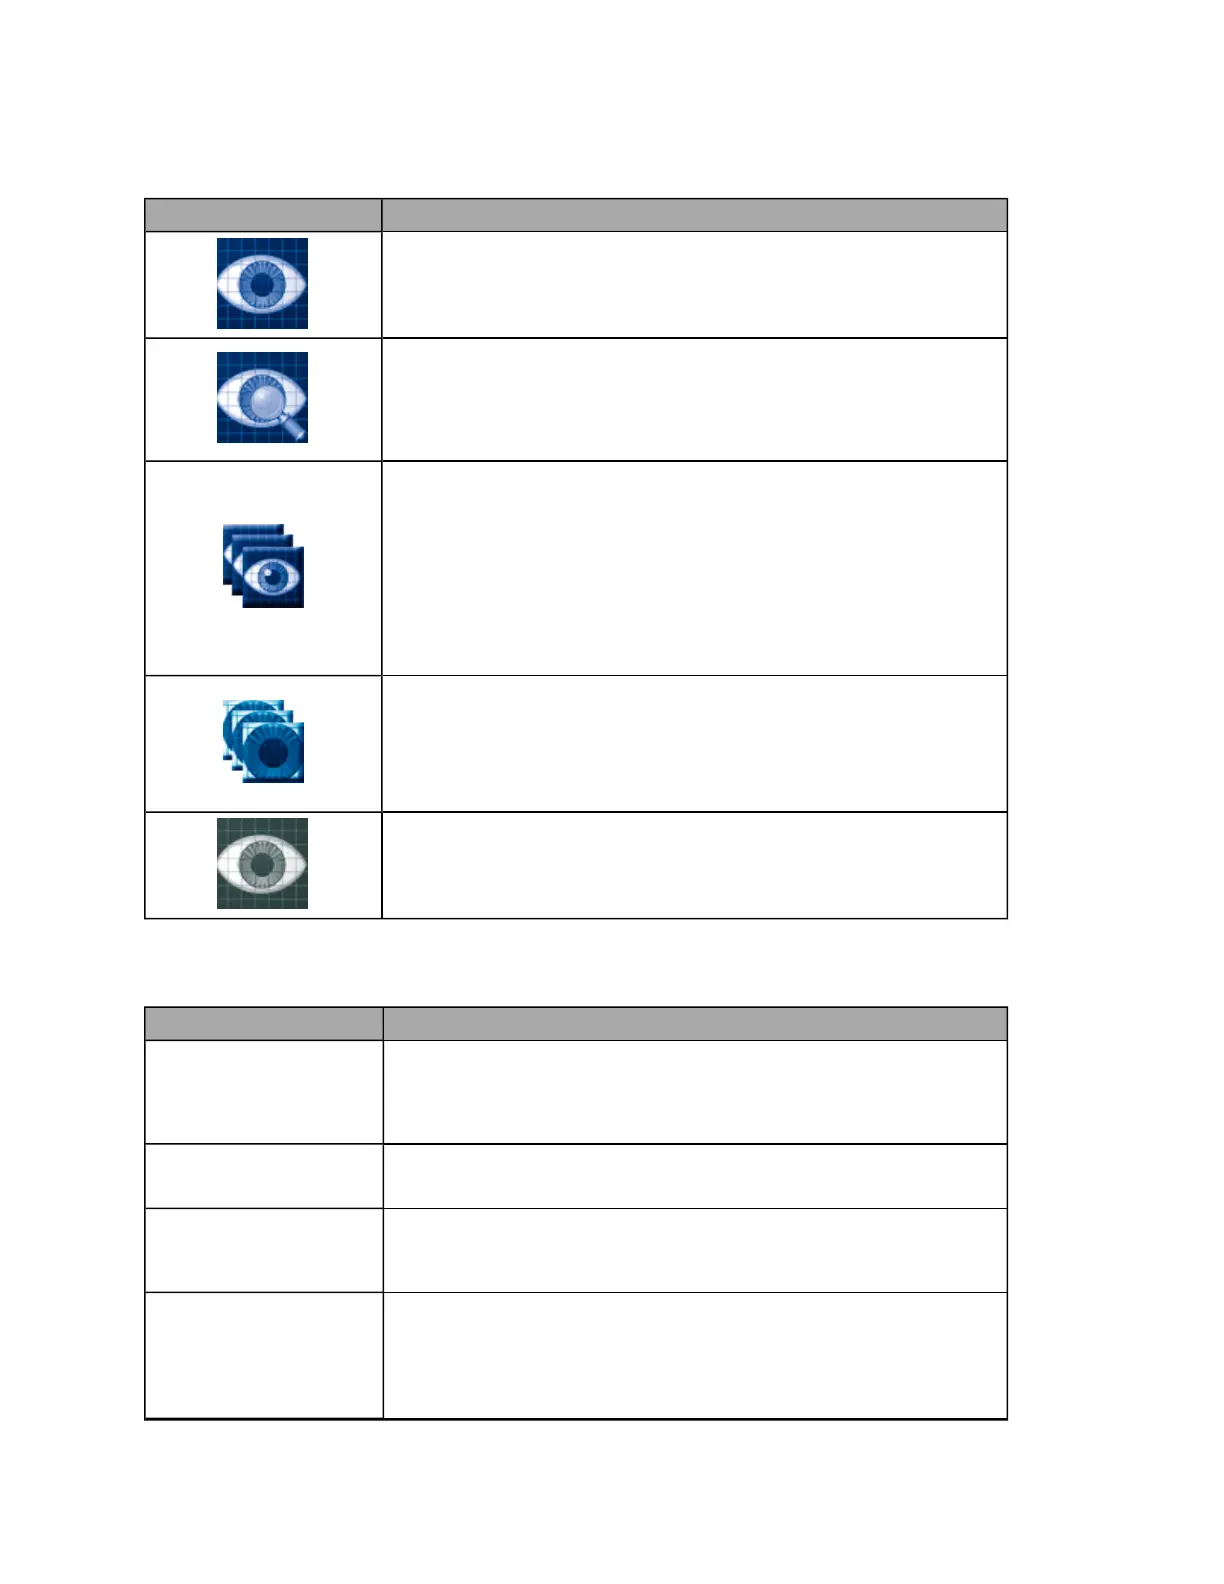
optomap® image button
Captures a retinal image. The standard optomap® procedure is a wellness
exam. This procedure captures a standard optomap® retinal image.
optomap® plus image button
Captures a medical retinal image. The optomap® plus procedure is a
medical retinal exam. Following this procedure will allow the use of the
enhanced features in the Review application. These images are captured at
a higher resolution than standard optomap® images.
optomap® fa image button
Captures fluorescein angiography images for a medical procedure. The
optomap® fa procedure allows the capture of a fluorescein angiography
images. These images are captured at a higher resolution than standard
optomap® images and allow the use of the enhanced features in the Review
application. The image capture rate for the early-phase can be set in the
Capture application settings. You must ensure that the necessary resources
are available to administer the fluorescein.
This button is only available when the optomap® fa option is available.
optomap® fa for central pole for central pole button
Captures narrowfield fluorescein angiography images (approximately half
the field of optomap® fa ultra-widefield angiography).
This button is only available when the optomap® fa for central pole option
is available.
optomap® af image button
Captures autofluorescein medical retinal images. The optomap® af
procedure is a medical retinal exam.
Image Capture Controls
Depending on which view mode has been configured, some of these controls may not be available.
Button/section Description
Right Eye (OD)
or Left Eye (OS)
Right Eye (OD) or Left Eye (OS) button
Opens the relevant Capture Right/Left Eye dialog box. You can see the
patient's eye on the External Eye Camera view. You use this view to fine tune the
patient alignment, see About capturing an image on page 19.
optomap® af
optomap® af setting
Sets the next image to be an autofluorescence image.
Fixation Level
Fixation Level setting
Controls the brightness of the green ball used to control the patient's gaze
direction. The settings should be as dim as possible.
Enable Self Alignment
Self Alignment setting
Activates the self alignment LEDs.
As the patient moves in, two red lights will be displayed when the
patient is at the correct distance. One red light will appear above and
the other below the green ball.
78 of 100