Chapter 13 - Where to find features
Image Quality Controls
Button/section Description
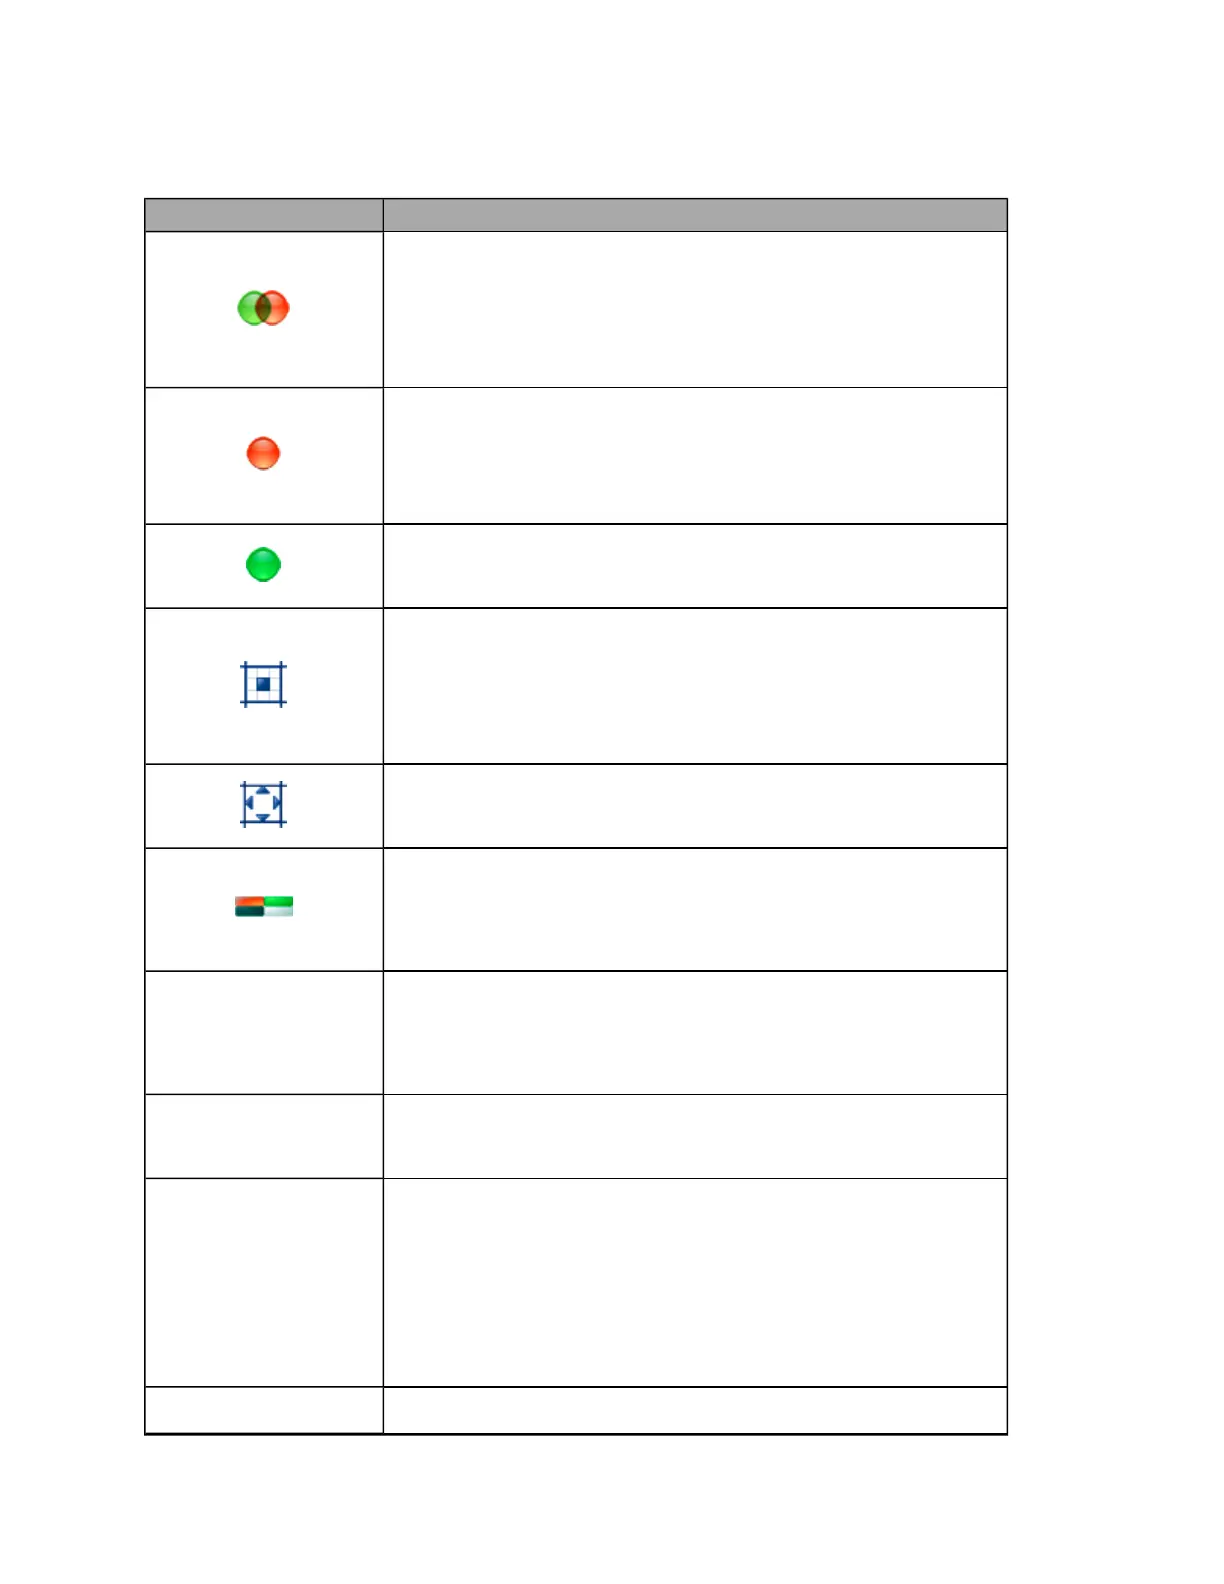
Composite Color view button
Shows the default view used to display an image that has just been
captured. This view mixes the red and green channels to present a color
image.
The Composite Color view is not available when an optomap® af image is
selected.
Red Channel view button
Shows a grayscale image. The Red Channel view shows the deeper layers of
the retina and choroid.
The Red Channel view is not available when an optomap® af image is
selected.
Green Channel view button
Shows a grayscale image. The Green Channel view shows the anterior layers
of the retina.
Central Pole view button
Shows the close-up image of the optic disk and macula. Once you are in
this close-up mode you can drag the image to review other areas. Click,
and hold down, the left mouse button and drag the image to the area you
want to view.
The Central Pole view button changes to the Full Field view button when pressed.
Full Field view button
Shows the full, ultra-widefield image. The Full Field view button changes to
the Central Pole view button when pressed.
Image Settings pane button
Displays the Image Settings pane. You can review the External Eye Camera view
taken when the image was captured. You can also adjust the settings to
suit the patient's individual characteristics. These adjusted settings will be
used when subsequent images are captured within the session.
OPTIMIZE
OPTIMIZE button
Adjusts the red and green settings to show the image using the optimal
display settings. Based on the colors in the image and the colors expected,
the software calculates the ideal value for the red and green contrasts
without saturating either color.
RESTORE
RESTORE button
Restores the image settings to those that existed when the image was
captured.
Red Contrast
Red Contrast Settings slider
This slider controls the exposure of the red channel. Increasing the red
settings will give the composite color image a more red hue; decreasing
the settings will give the composite image a more green hue.
Exposure level of the captured image. The upper arrow indicates the
exposure setting of the image when it was captured. This setting cannot be
adjusted. The lower arrow indicates the adjusted exposure setting.
The adjusted settings will be applied to the next image to be captured.
Green Contrast
Green Contrast Settings slider
80 of 100