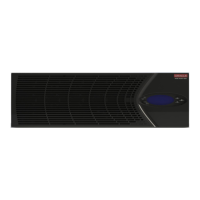
Installing the SSM3 Module
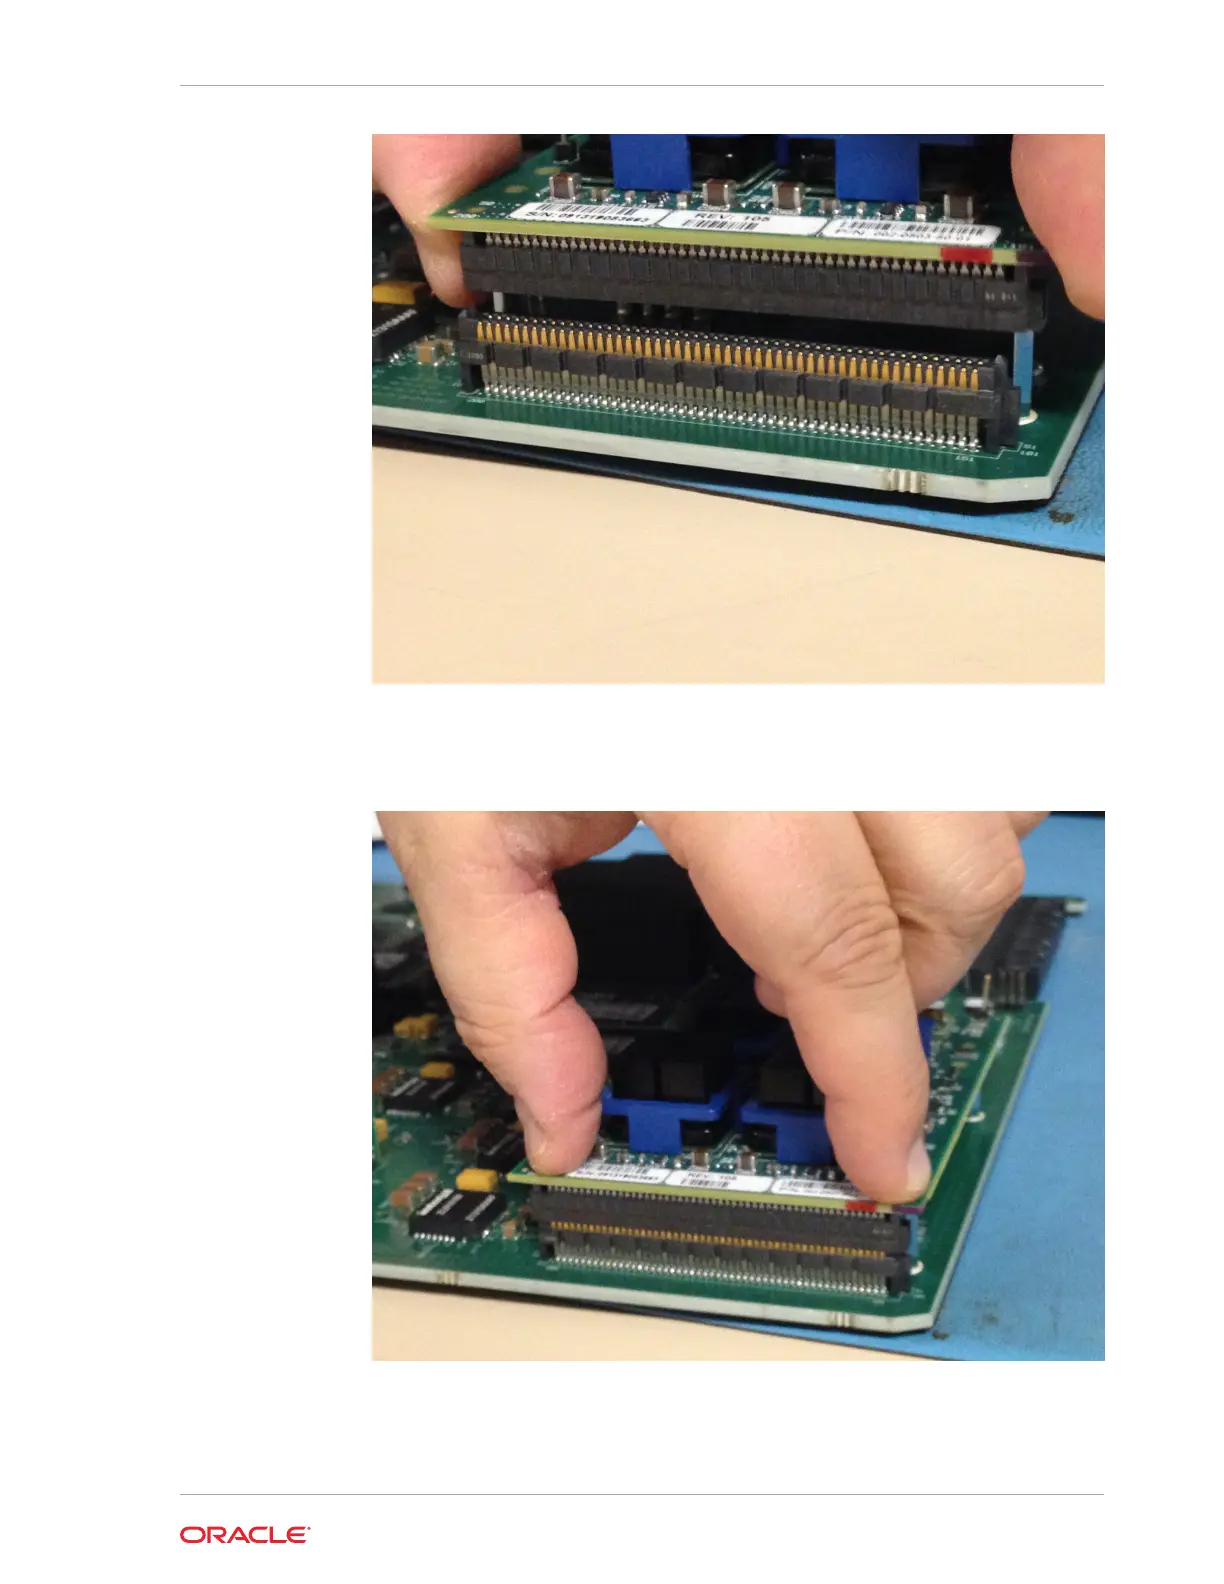
Press evenly across the top of the connector to fully seat the SSM3 module on the
NIU PCB as shown below. Note that the SSM3 is fastened to the NIU through four
standoffs attached to the NIU as shown in the figures below.
Fully Seating the SSM3 Module Connector
2. Using the Phillips screwdriver, insert and tighten the four standoff post screws to
secure the SSM3 module to the PCB.
Chapter 6
Replacing the SSM3 Module
6-21
 Loading...