Mark the Rackmount Location
No. Description
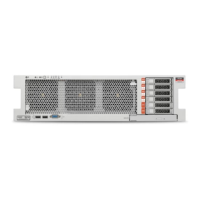
1 Chassis front
2 Slide-rail lock
3 Mounting bracket
4 Mounting bracket clip
2.
With the heads of the five chassis locating pins protruding through the five
keyhole openings in the mounting bracket, pull the mounting bracket toward
the front of the chassis until the mounting bracket clip locks into place with an
audible click.
3.
Verify that the rear locating pin has engaged the mounting bracket clip.
4.
Repeat Step 1 through Step 3 to install the remaining mounting bracket on the
other side of the server.
Related Information
■
“Mark the Rackmount Location” on page 31
■
“Attach Tool-less Slide-Rail Assemblies” on page 34
Mark the Rackmount Location
1.
Ensure that there is at least 1 rack unit (1U) of vertical space in the rack cabinet
to install the server.
2.
Place the rackmount installation card against the front rails.
Installing the Server 31

 Loading...
