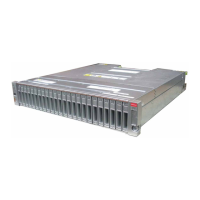
Before You Begin
• Review Prerequisites for Installation and Overview of Disk Shelves.
• To prevent the cabinet from tipping, always load the heaviest equipment, which are disk
shelves, starting from the bottom of the cabinet.
• To best prepare for cabling disk shelves to controllers, now and in the future, mount
controllers in the middle of the cabinet.
• Screws are not provided for installation into a cabinet with M6-sized threaded holes.
Caution:
This procedure requires a minimum of three people, or a mechanical lift, because of
the weight of the chassis. Attempting this procedure alone could result in equipment
damage or personal injury. Do not lift the chassis using the power supply handles.
1. Starting at the bottom of the cabinet, locate the appropriate rack unit (RU) height.
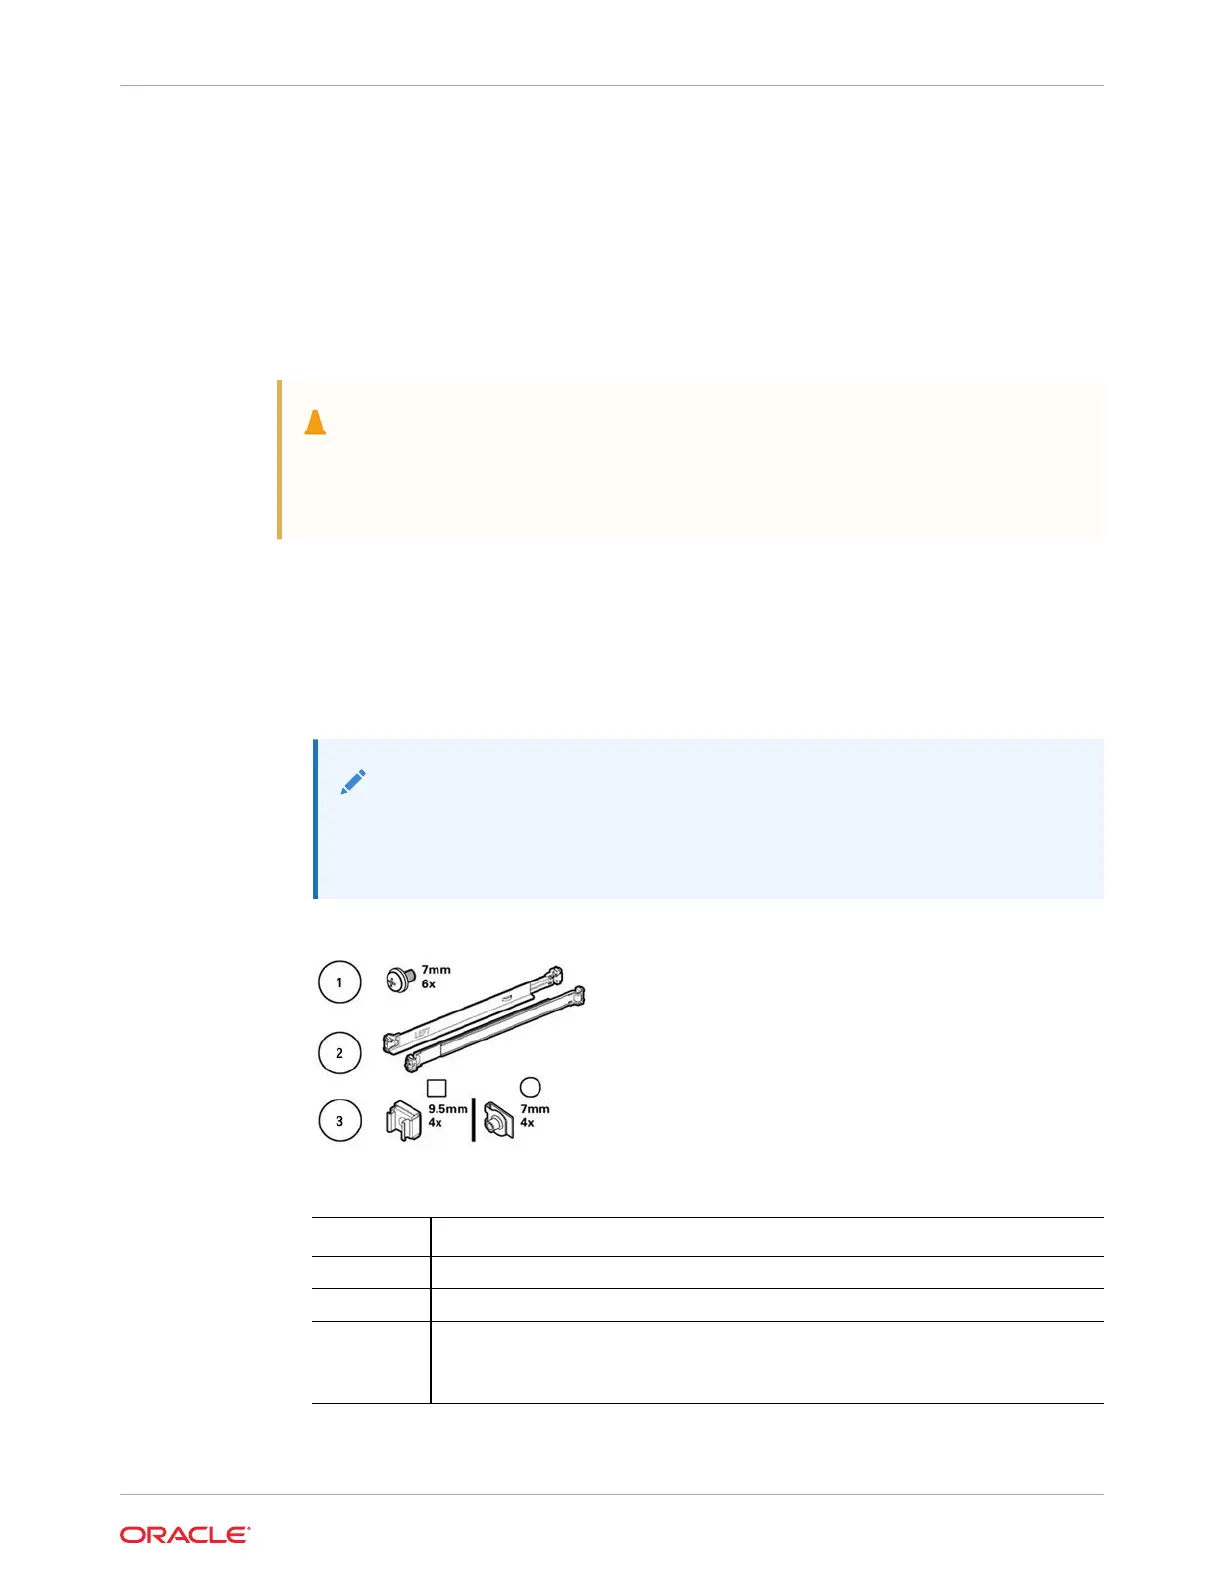
2. Unpack the contents of the disk shelf rail kit box, and identify the correct cage nuts for
your rack type.
There are two cage nut packets, each containing square or round hole cage nuts. Each
packet also contains a template for positioning the cage nuts.
Note:
This procedure shows rail kit installation for a square hole rack. The same steps
apply for a round hole rack. Also, screws are not provided for M6-sized
threaded rack holes.
Callout Description
1 Six 10-32 7 mm captive screws (two spares)
2 Two adjustable shelf rails
3 Two packets of four 10-32 cage nuts (only one set is required):
• Four 9.5 mm square cage nuts (two spares)
• Four 7 mm round cage nuts (two spares)
3. Attach the disk shelf rails to the rack, as follows:
Chapter 3
Installing an Oracle Storage Drive Enclosure DE3-24C Disk Shelf
3-5
 Loading...