User’s Manual
44
Highlighting an item and pressing the
button toggles that item On and Off. When an item is On, there is a checkmark
in the box beside it. The following items can be turned On or Off:
Remote Control – The icon
displays when the DVR can be controlled by the infrared remote control.
Zoom – The icon
displays on the enlarged video.
Network – The icon
displays when the unit is connected to a network via Ethernet. The icon
displays on each camera
when audio communication is available between the DVR and a PC running RAS via Ethernet. The icon
displays when VNC
service is running.
Freeze & Sequence – The icon
displays while in the Freeze mode, and the
displays while in the Sequence mode.
Screen Group – The number of screen group displays when the DVR is not in the 4x4 display mode of the 16-channel DVR and
3x3 mode of the 8-channel DVR.
Free Space – The icon
displays when the DVR is in the Recycle mode, and the percentage of available storage space displays
when the DVR is not in the Recycle mode.
Archive – The icon
displays when the DVR is archiving recorded data.
Mirror – The icon
displays when the DVR is disk mirroring.
Date/Time – The current date and time information displays.
User Name – The name of the current user logged in displays.
Background Panel – The background panel at the bottom of the screen displays in black.
Camera No. – The camera number displays at the top-left corner of each camera screen.
Camera Title – The camera title displays at the top-left corner of each camera screen.
Record – The record related icons display on each camera screen.
Audio – The icon
displays on each camera screen for which the DVR can play live audio.
PTZ – The icon
displays on each PTZ camera screen.
Text-In – The text input strings display on the screen. You can adjust the Display Dwell time (sec.) for the text input strings displayed
on the screen.
Not Connected Reason – The error code displays on the associated camera screen when the network device is not connected
properly. Refer to Appendix – Error Code Notices for error code information.
You can adjust the transparency of the setup screens by highlighting Transparency and using the Left and Right arrow
buttons.
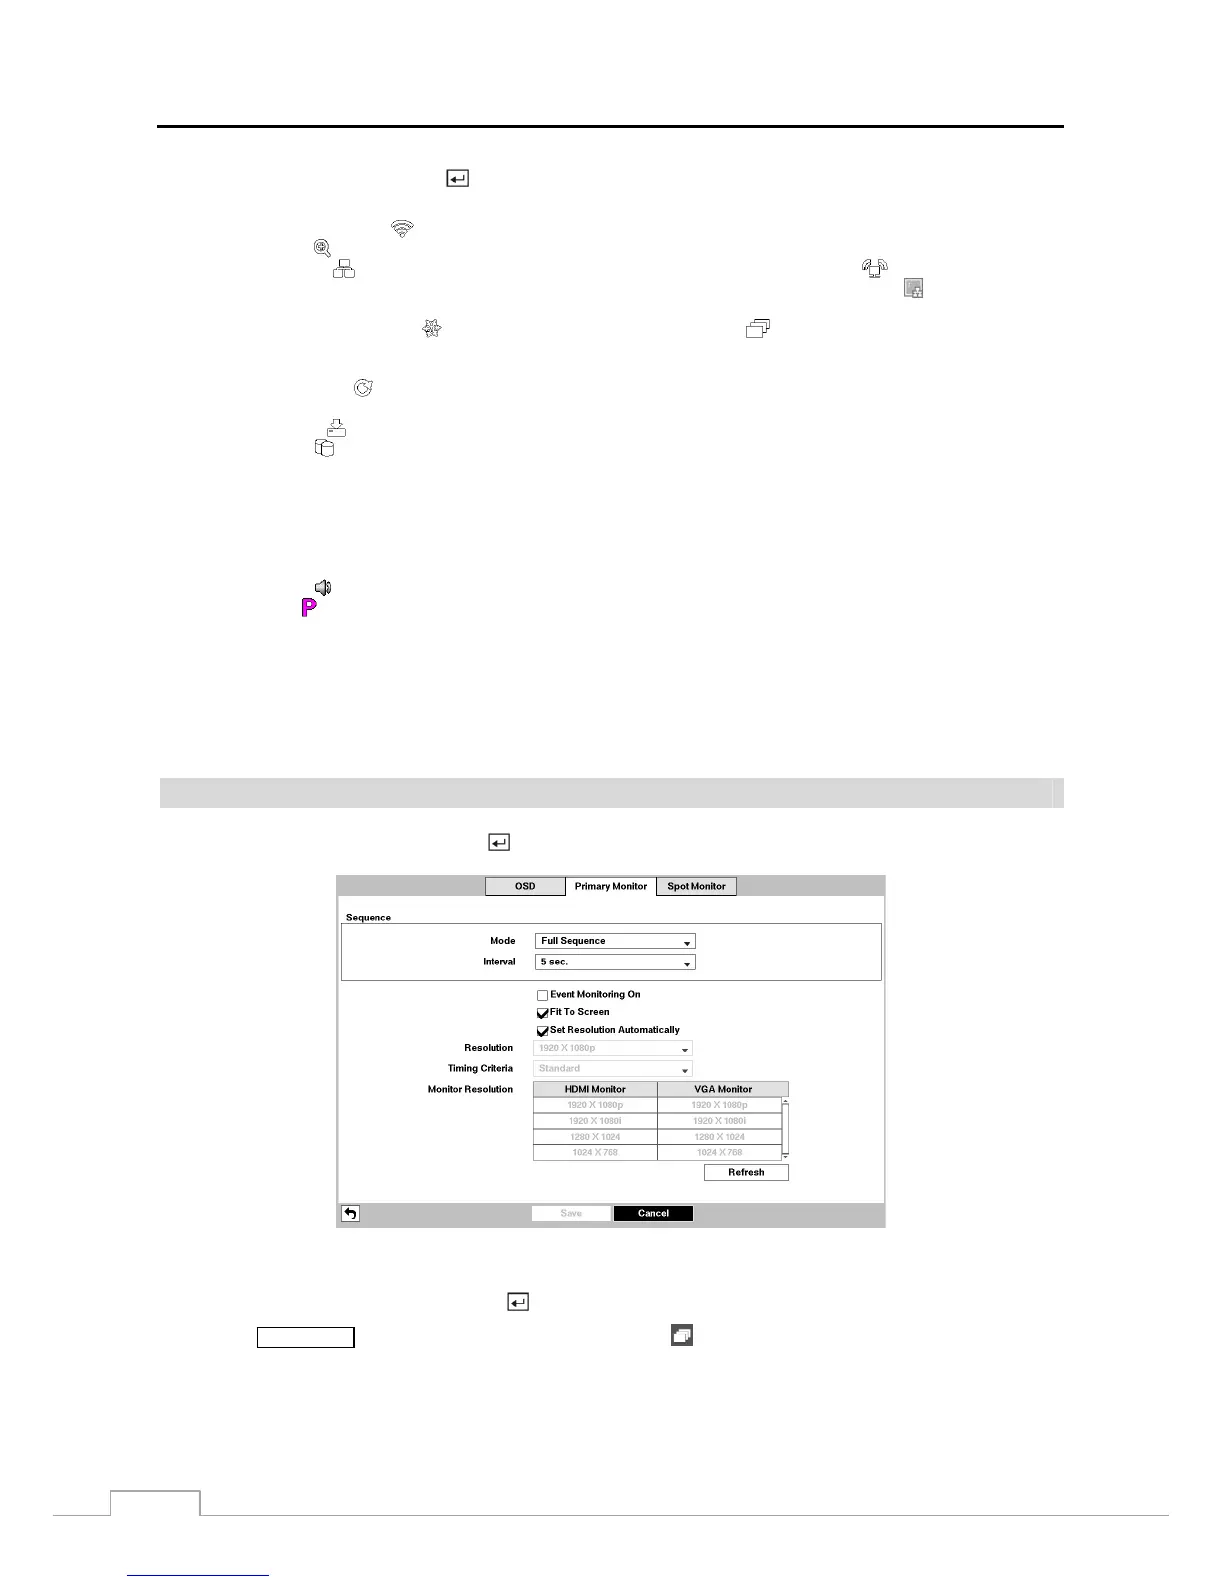
Primary Monitor
Highlight Primary Monitor and press the
button, and the Primary Monitor setup screen appears.
Figure 35 : Display – Primary Monitor setup screen.
Highlight the box beside Mode and press the
button. You can select between Full Sequence and Cameo Sequence.
Pressing the SEQUENCE button on the remote control or selecting (Sequence) in the Live Monitoring menu causes
the DVR to sequence cameras, and the DVR can sequence cameras in two modes: “Full” and “Cameo”. In the Full
mode, the DVR sequences through the cameras and displays them full screen. In the Cameo mode, the bottom right
window in a multi-screen format sequences through the cameras.
 Loading...