6.1 Scanning from the unit (Push
Scan)
You can easily scan a document by using the operation
panel on the unit. You can select one of the following
scanning modes depending on how you intend to use the
scanned image.
Important:
R Make sure the necessary scan features are set
beforehand on page 4.
Scanning mode
“VIEWER”
*1
Viewing using Quick Image
Navigator (Scan to Quick
Image Navigator)
“FILE”
*1
Saving as a file to your
computer (Scan to save as a
file)
“EMAIL”
*1
Activating the default email
software on your computer,
then attaching the scanned
image as a file (Scan to email)
“OCR” Opening the scanned image
using OCR software (Scan to
OCR)
“EMAIL
ADDRESS”
*1
Sending as an attached file to
an email destination directly
from this unit (Scan to email
address)
“FTP SERVER”
*1
Sending to an FTP server
(Scan to FTP server)
“SMB FOLDER”
*1
Sending to an SMB folder
(Scan to SMB folder)
“USB
MEMORY”
*1*2
Sending to a USB memory
device (Scan to USB memory)
*1 You can send the document as a
password-protected PDF file.
*2 Displayed only when the USB memory device is
inserted in the USB port of the unit.
Note:
R When scanning a document, we recommend using
the scanner glass rather than the automatic
document feeder for better results.
R Do not open the document cover when scanning a
document with the automatic document feeder.
R You can set the desired scan mode for push scan
beforehand (feature #493 on page 87).
R When you send a password-protected PDF file, you
will have to notify the password to the receiver
separately.
1 Set the original (page 35).
2 If the MSCANN light is OFF, turn it ON by pressing
MSCANN.
3 To scan 1-sided originals:
Go to the next step.
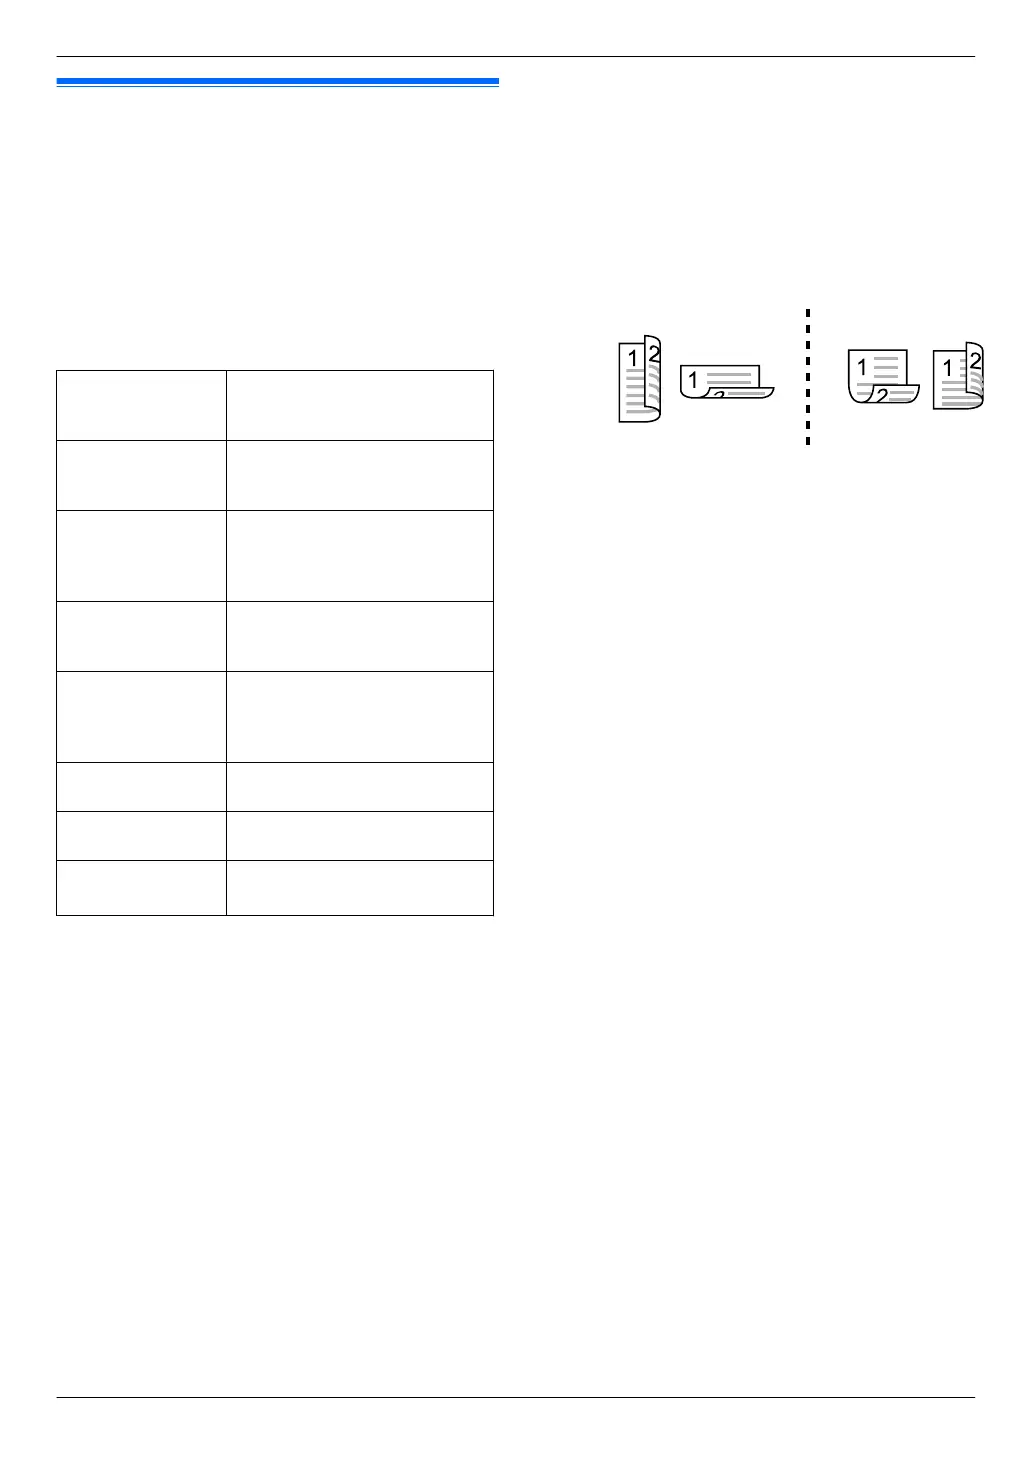
To scan 2-sided originals:
1. MDUPLEXN
2. Press MCN or MDN repeatedly to select the desired
binding of the original.
“LONG EDGE”
“SHORT EDGE”
3. MSETN
4 Press MCN or MDN repeatedly to select a scanning
mode. A MSETN
5 USB connection:
Press MCN or MDN repeatedly to select “USB HOST”.
A MSETN
LAN connection:
Press MCN or MDN repeatedly to select the destination
to which you want to send the scanned image. A
MSETN
R When scanning to email address, you can
enter the destination email address
– using dial keypad (page 53).
– pressing the desired station key (1-3).
– pressing MLOWERN, then press the desired
station key (4-6).
If the LDAP setting is activated beforehand
(page 95), select “LDAP SEARCH” or
“ADDRESSBOOK” by pressing MCN or MDN. A
MSETN
For LDAP search, enter the name using the dial
keypad (up to 11 characters), then press MSETN
to start searching.
6 If necessary, change the scanning settings. Press
MEN, press MCN or MDN repeatedly to select the desired
setting. A MSETN
R If you select “PASSWORD PDF” as the file format,
enter a 4-digit password using dial keypad
(page 53).
7 When using the scanner glass:
MxN A The unit will scan 1 page. Place the next
document on the scanner glass and press MSETN.
Repeat this until all the documents are scanned, then
press MxN.
When using the automatic document feeder:
MxN
42
6. . Scanner
6. Scanner
 Loading...