13.11.2 Using one-touch dial feature
1 Press MMONITORN or lift the handset.
2 Select the desired station key.
For station 1-3:
Press the desired station key.
For station 4-6:
Press MLOWERN, then press the desired station key.
R The unit will start dialling automatically.
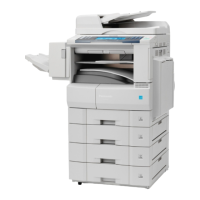
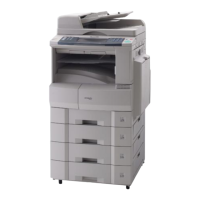
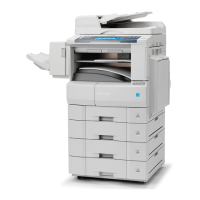
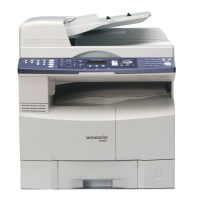
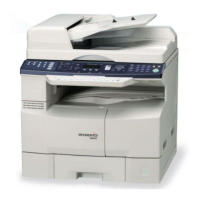
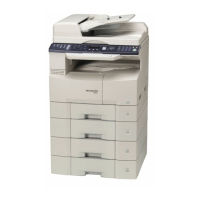
13.12 Lower input tray (optional)
You can add a lower input tray. See page 13 for
accessory information.
For number of sheets the unit can load, see page 141.
R The unit is set for printing A4-size plain paper by
default.
– To use other paper sizes, change the
recording paper size setting (feature #382 on
page 75).
– To use other paper types, change the
recording paper type setting (feature #385 on
page 76).
Important:
R Before starting installation of the lower input tray,
be sure to unplug the power cord from the unit.
R After installation, you can select the lower input
tray to be used for the following:
– Paper input tray setting for lists and reports
printing (feature #390 on page 76).
– Paper input tray setting for faxing (feature
#440 on page 81).
– Paper input tray setting for copying (feature
#460 on page 83).
– Paper input tray for PCL (feature #760 on
page 84).
R To use the lower input tray with your computer,
you need to change the printer properties. See
page 107 for details.
Caution for the lower input tray
R Do not drop the lower input tray.
R Hold the lower input tray with both hands when
removing or installing. The lower input tray
106
13. Useful Information
 Loading...
