1. Copy the setup file of the Maintenance Console to your
PC.
2. Double-click the setup file to run the installer.
3. Follow the on-screen instructions provided by the
installation wizard.
Starting the Maintenance Console and Assigning the Basic Items (Quick
Setup)
When you start the Maintenance Console with the Installer Level Programmer Code and connect to the PBX
for the first
time after initialisation (with the factory default setting), Quick Setup will launch automatically. During
Quick Setup, you will set up the basic items. For details about the basic items, refer to "2.3.4 Quick Setup" in
the Feature Guide.
1. Connect the PC to the PBX with a USB cable.
2. Start the Maintenance Console from the Start menu.
3. "Information before programming" appears.
a. Carefully read this important additional information,
which includes updates to this and other manuals.
b. Click OK to close this window.
4.
a. Enter the Installer Level Programmer Code (default:
INSTALLER).
The Programmer Code authorises different
programming levels, and the Quick Setup is only
available when you start the Maintenance Console
with the Installer Level Programmer Code.
Note
There are 2
other Programmer Codes with limited
authorisation: Administrator Level (default:
ADMIN), and User Level (default: USER).
b. Click OK.
5. Click Connect.
6.
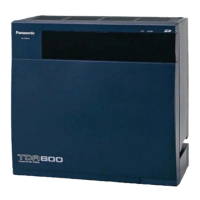
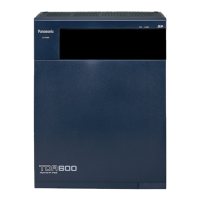
a. Select KX-TDA600 from PBX Model.
b. Select the USB tab.
c. Enter the system password for installer (default:
1234).
d. Click Connect.
Note
To connect to the PBX via USB, the KX-TDA USB
driver must be
installed on the PC, as explained above
in "Installing the Maintenance Console".
Installation Manual 313
3.3.1 Installing and Starting the Maintenance Console
 Loading...