21
VQT2S30
Preparation
∫ Optical Image Stabilizer
The lens included in DMC-G2K has a stabilizer function.
•
There is no [O.I.S.] switch on the 14–42 mm/F3.5–5.6 lens included in DMC-G2K. Set the
[STABILIZER] settings in the [REC] Mode menu. (P129)
Attach the lens cap.
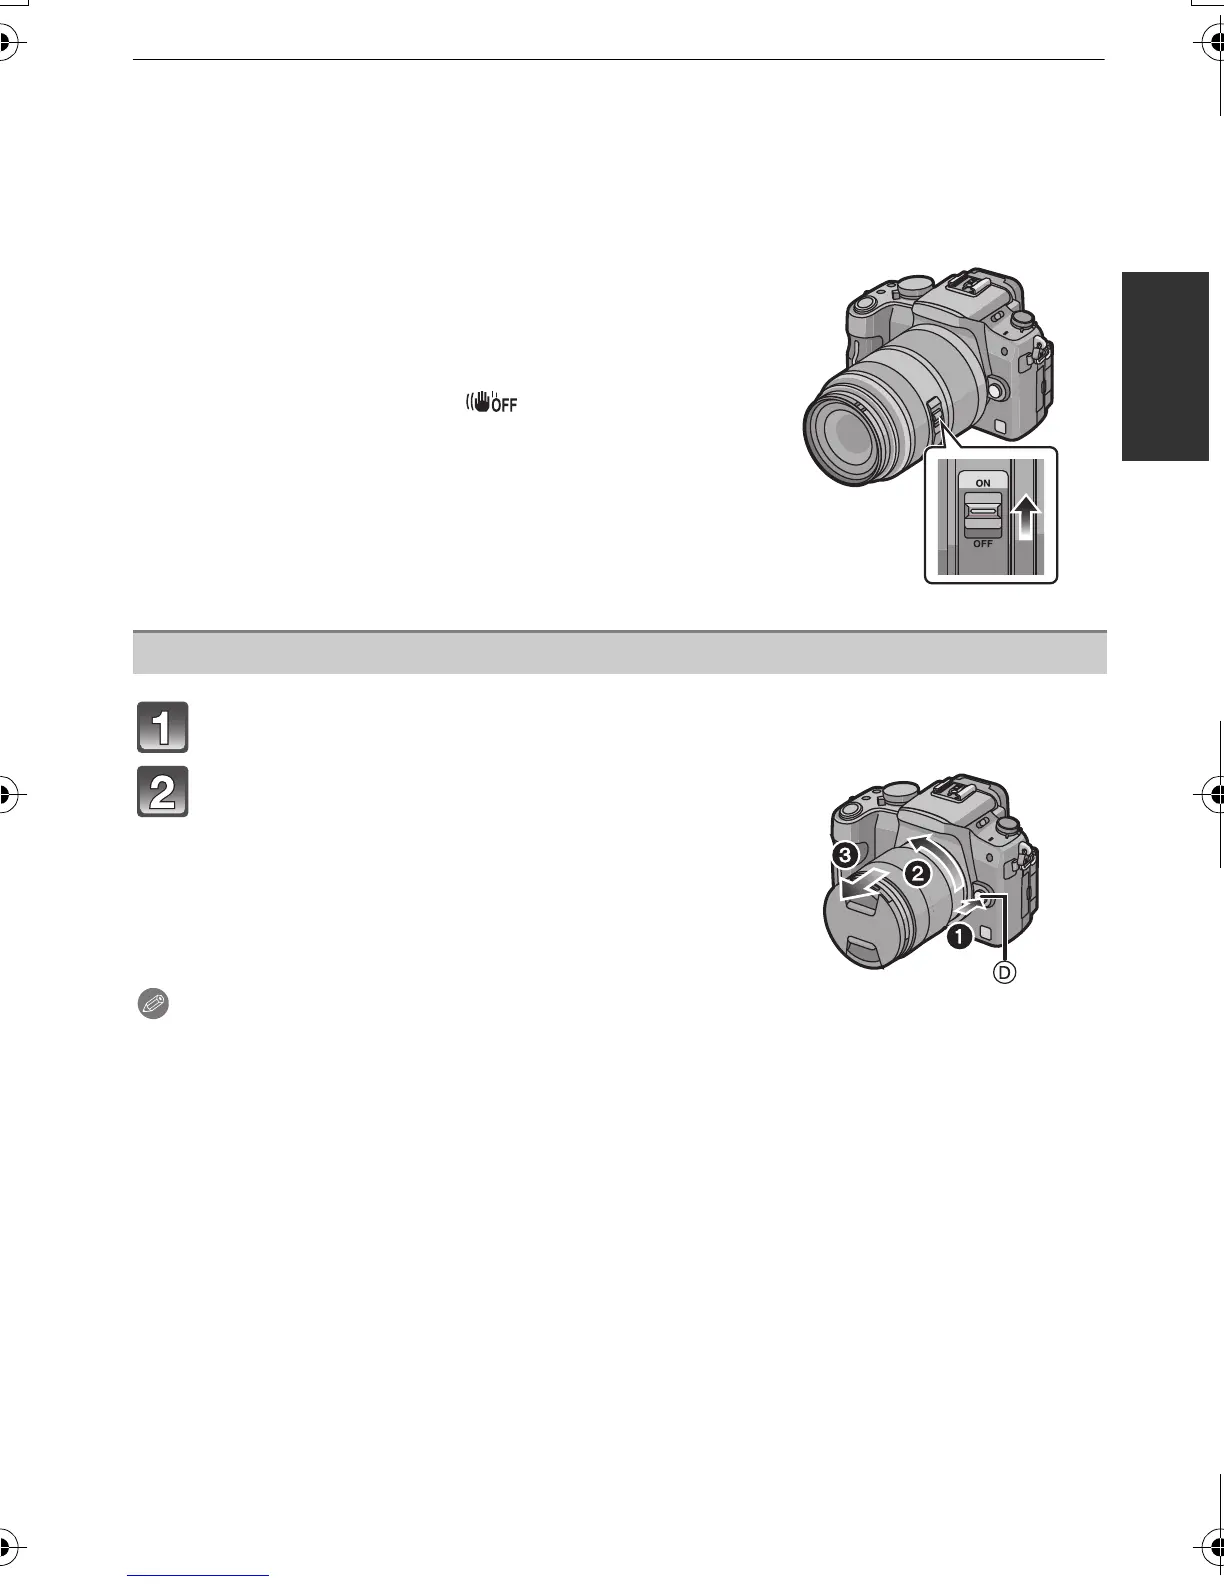
Press the lens release button D while
turning the lens as far as possible in the
direction of the arrow to detach it.
• Always attach the body cap to the camera body so
that dirt or dust does not get inside.
• Attach the lens rear cap so that the lens contact
point does not get scratched.
Note
•
Change lenses where there is not a lot of dirt or dust. Refer to P186 when dirt or dust gets on
the lens.
• When you turn the camera off or carry the camera, attach the lens cap to protect the surface of
the lens.
• Be careful not to lose the lens cap, the lens rear cap and the body cap.
When using a lens with an [O.I.S.] switch, it is
possible to set to enable the Optical Image Stabilizer
by switching the [O.I.S.] switch on the lens to [ON].
•
You can change the Optical Image Stabilizer Mode in
the [REC] Mode menu. (P129) It is set to [MODE1] at
the time of purchase.
• It is recommended to disable the Optical Image
Stabilizer when using a tripod. [ ] is displayed on
the screen at that time.
Example when a lens with the
[O.I.S.] switch is mounted.
Detaching a lens from the camera body
DMC-G2KPP-VQT2S30_eng.book 21 ページ 2010年4月13日 火曜日 午後9時20分
 Loading...