On-screen menu
The on-screen menu (menu screen) is used to perform various settings and adjustments of the projector.
Navigating through the menu
Operating procedure
button
1) Press the <MENU> button on the remote control or the control panel.
f The main menu screen appears.
POSITION
PICTURE
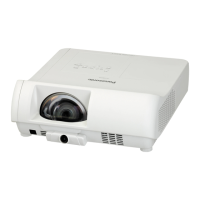
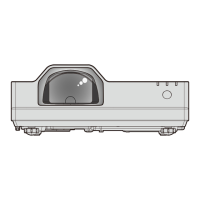
PT-TMZ400
PICTURE MODE STANDARD
CONTRAST
BRIGHTNESS
SHARPNESS
COLOR TEMPERATURE
DEFAULT
GAMMA
ADVANCED MENU
AUTO
OFF
1280x768/60
DAYLIGHT VIEW
DYNAMIC CONTRAST
RGB-SYSTEM
LANGUAGE
DISPLAY OPTION
PROJECTOR SETUP
SECURITY
NETWORK
ENTER
SELECT
RETURN
FUNCTION
ASSIGNED FUNCTION:
DISABLE
RGB/YP
B
P
R
2) Press as to select an item from the main menu.
f The selected item is highlighted in yellow.
POSITION
PICTURE
PT-TMZ400
LANGUAGE
DISPLAY OPTION
PROJECTOR SETUP
SECURITY
NETWORK
ENTER
SELECT
RETURN
FUNCTION
ASSIGNED FUNCTION:
DISABLE
AUTO
AUTO
ON
BLUE
DEFAULT LOGO
ON-SCREEN DISPLAY
HDMI SIGNAL LEVEL
SCREEN SETTING
STARTUP LOGO
AUTO SETUP SETTING
SHUTTER SETTING
SIGNAL SEARCH
BACK COLOR
P-TIMER
OTHER FUNCTIONS
3) Press the <ENTER> button.
f You can operate the sub-menus of the selected main menu.
POSITION
PICTURE
PT-TMZ400
LANGUAGE
DISPLAY OPTION
PROJECTOR SETUP
SECURITY
NETWORK
ENTER
SELECT
RETURN
FUNCTION
ASSIGNED FUNCTION:
DISABLE
AUTO
AUTO
ON
BLUE
DEFAULT LOGO
ON-SCREEN DISPLAY
HDMI SIGNAL LEVEL
SCREEN SETTING
STARTUP LOGO
AUTO SETUP SETTING
SHUTTER SETTING
SIGNAL SEARCH
BACK COLOR
P-TIMER
OTHER FUNCTIONS
4) Press as to select the desired sub-menu item, press qw or the <ENTER> button to switch or adjust
settings.
f Depending on the item, each time you press the qw button, items are switched in order as shown below.
ABC
f Depending on the item, each time you press the qw button, the individual adjustment screen with a bar
scale is displayed as shown below.
+5
CONTRAST
ENGLISH - 59
Chapter 4 Settings - On-screen menu
 Loading...