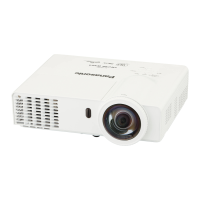
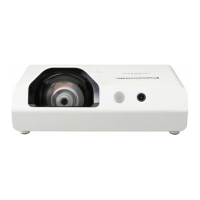
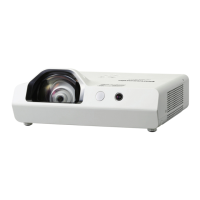
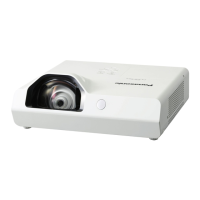
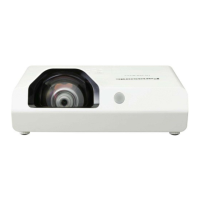
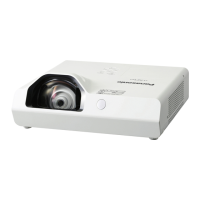
Model No. [SCREEN FORMAT] The available items to set when [SCREEN POSITION] is selected
PT-TMZ400, PT-TMW380
[16:10]
Cannot be set.
[16:9]
Three items of [CENTER], [HIGH] and [LOW] can be selected for
vertical position.
[4:3]
Three items of [CENTER], [LEFT] and [RIGHT] can be selected for
horizontal position.
PT-TMX380
[4:3] Cannot be set.
[16:9]
Three items of [CENTER], [HIGH] and [LOW] can be selected for
vertical position.
[16:10]
5) Press as to select [SCREEN POSITION].
f In the following cases, the [SCREEN POSITION] cannot be changed.
g For PT-TMZ400 and PT-TMW380, [SCREEN FORMAT] is set to [16:10].
g For PT-TMX380, [SCREEN FORMAT] is set to [4:3].
6) Press qw to set the screen position.
[STARTUP LOGO]
Set the logo display when the power is turned on.
1) Press as to select [STARTUP LOGO].
2) Press qw to switch the item.
f The items will switch each time you press the button.
[DEFAULT LOGO]
Displays the Panasonic logo.
[USER LOGO]
Displays the image registered by the user.
[OFF]
Disables the startup logo display.
Note
f When [USER LOGO] is selected, the display of the startup logo will be kept for approximately 15 seconds.
f To create/register the [USER LOGO] image, use “Logo Transfer Software”. The software can be downloaded from the Website
(https://panasonic.net/cns/projector/).
f If the [PROJECTOR SETUP] menu → [ECO MANAGEMENT] → [QUICK STARTUP] is set to [ON], the startup logo is not displayed when
projection starts before the specied time elapses after the projector enters the standby mode.
The specied time is a time set in the [PROJECTOR SETUP] menu → [ECO MANAGEMENT] → [QUICK STARTUP] → [VALID PERIOD].
[SHUTTER SETTING]
Enable/disable the shutter function automatically (shutter: closed/open) when the power is turned on.
1) Press as to select [SHUTTER SETTING].
2) Press the <ENTER> button.
f The [SHUTTER SETTING] screen is displayed.
3) Press as to select [STARTUP].
4) Press qw to switch the item.
[OFF]
Starts projection with the shutter function disabled (shutter: open) when the power is turned on.
[ON]
Starts projection with the shutter function enabled (shutter: closed) when the power is turned on.
[AUTO SETUP SETTING]
Set the automatic execution of AUTO SETUP.
Dot clock, clock phase and image position can be adjusted automatically without pressing the <AUTO SETUP>
button each time when unregistered signals are input frequently at meetings, etc.
1) Press as to select [AUTO SETUP SETTING].
2) Press qw to switch the item.
f The items will switch each time you press the button.
ENGLISH - 79
Chapter 4 Settings - [DISPLAY OPTION] menu
 Loading...
