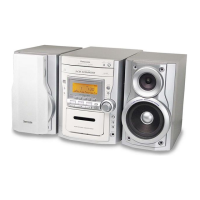
12.3. Checking & Repairing SMPS
P.C.B.
•
• •
• Follow (Step 1) to (Step 9) of Item 12.2.
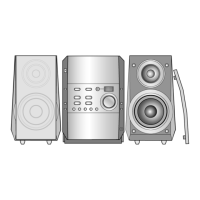
Step 1 Remove the 8P cable (SMPS P.C.B. to D-Amp P.C.B.)
from the big wire holder.
Step 2 Remove the 11P cable (SMPS P.C.B. to Power Supply
P.C.B.) from the big wire holder.
Step 3 Remove 4 screws on SMPS P.C.B.
Step 4 Detach SMPS P.C.B. from the bottom chassis and flip
it vertically.
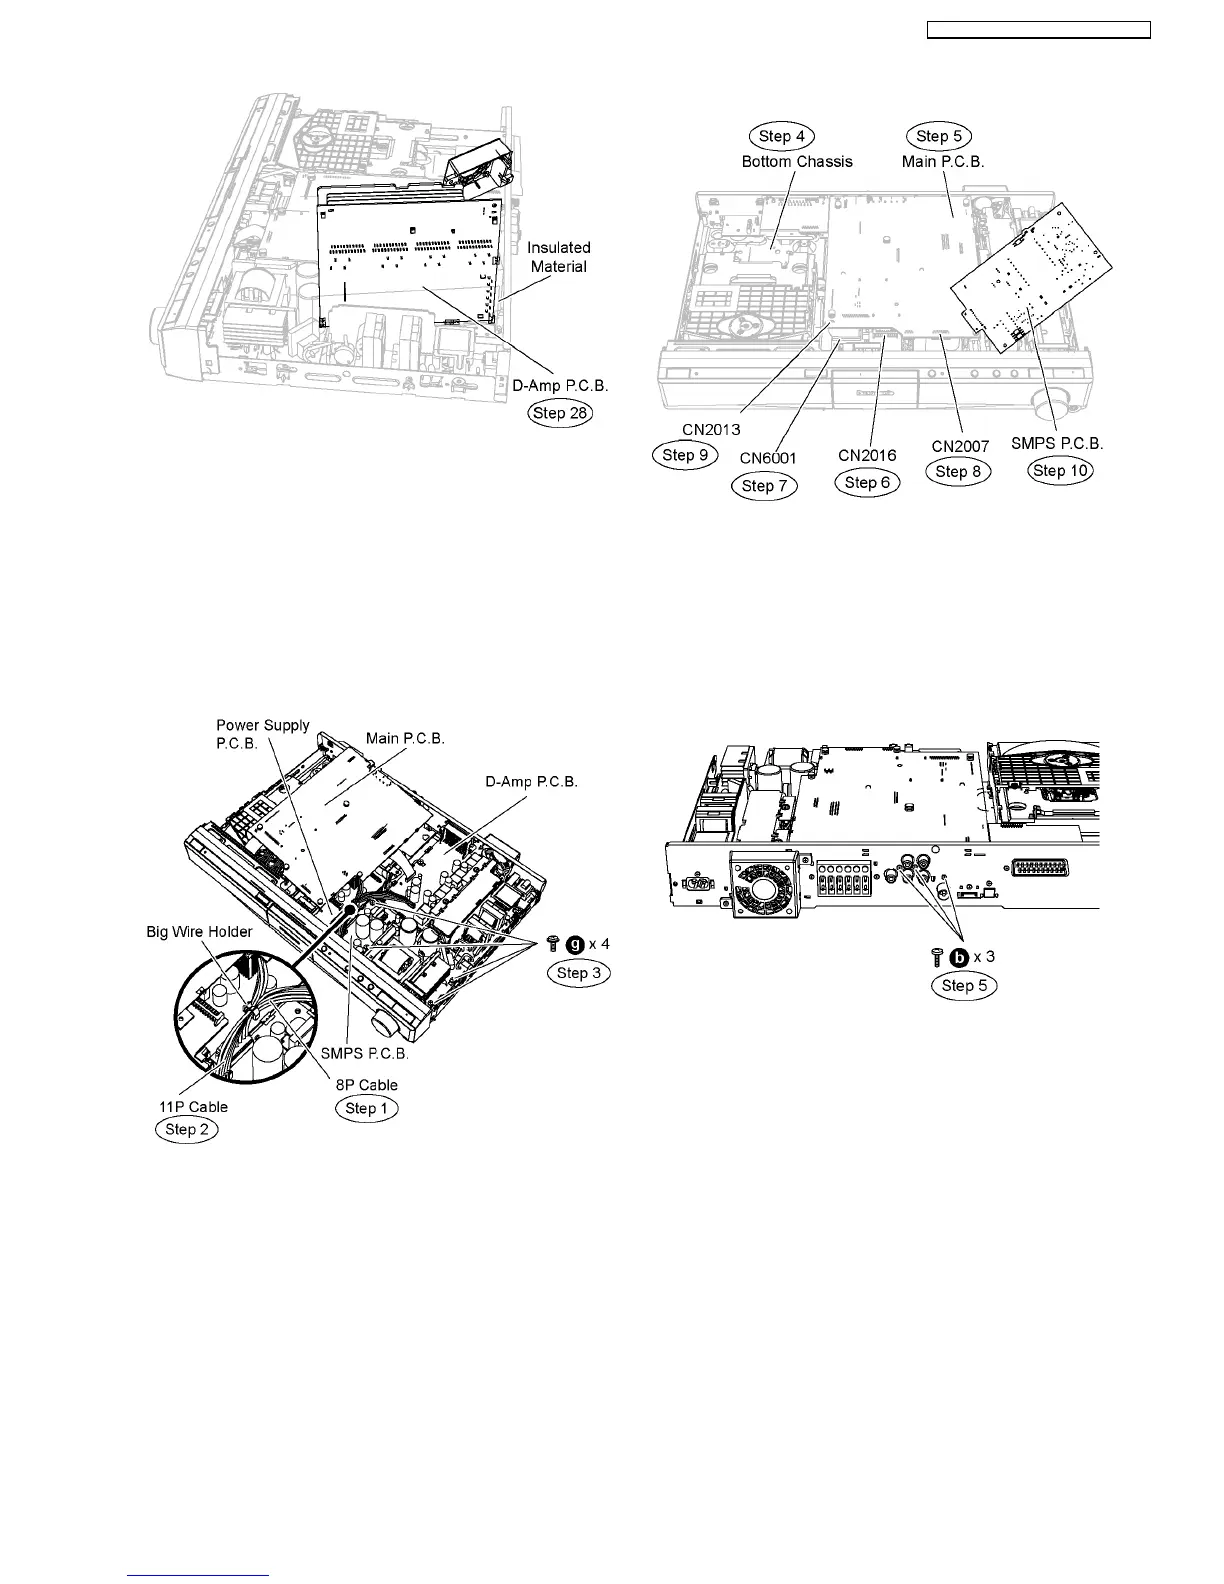
Step 5 Position Main P.C.B. according to the diagram shown.
Step 6 Connect 13P cable at the connector (CN2016) on
Power Supply P.C.B.
Step 7 Connect 28P cable at the connector (CN6001) on
Power Supply P.C.B.
Step 8 Connect 17P cable at the connector (CN2007) on Main
P.C.B.
Step 9 Connect 4P cable at the connector (CN2013) on Main
P.C.B.
Step 10 Position SMPS P.C.B. according to the diagram
shown.
12.4. Checking & Repairing Power
Supply P.C.B.
Step 1 Remove the top cabinet.
Step 2 Remove the front panel.
Step 3 Remove Panel P.C.B.
Step 4 Remove Power Button P.C.B.
Step 5 Remove 2 screws at rear panel.
Step 6 Remove2screwsonMainP.C.B.
Step 7 Detach 13P cable at the connector (CN2016) on Power
Supply P.C.B.
Step 8 Detach 28P cable at the connector (CN6001) on Power
Supply P.C.B.
73
SA-PT560E / SA-PT560EB / SA-PT560EG