106 – Pvd3665_Gb_Ex_August 2022
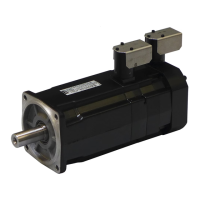
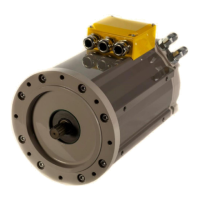
Step 3 – Connection of the power cable :
1. Insert the cable in the cable gland Ref 2.
2. Strip the wires on 3 mm.
3. Put the wires U, V, W, Ground, TH+ and TH- and also BR+ and BR- in a case of a
motor with a brake in the terminal of the PCB Ref 4 and tighten each screws at the
torque value of 0,6N.m.
4. Make the shielding connection with the connection of the terminal on the screw Ref
5 at the torque value of :
5. If the shielding connection is not necessary, cut the wire short the cable.
Step 4 – Fitting of the rear cover :
1. Slowly take up any slack in the cables and close the cover Ref 3.
2. Tighten the cable gland caps Ref 2 at the torque value of :
3. Tighten the screws of the connection modules Ref 6 at the torque value of 0,5
N.m.
4. Place the rear cover Ref 3 and take care to don’t hurt the toric seal placed on the
rear flange.
5. Tighten the nuts for the EX3-EX4-EX6 and the screws for the EX8 Ref 1 at the
torque value of :
 Loading...