110 – Pvd3665_Gb_Ex_August 2022
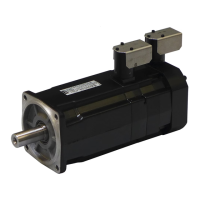
Step 3 – Connection of the power cable :
1. Insert the cable in the cable gland or conduit stop Ref 2.
2. Strip the wires on 5mm and crimp the wires U, V, W and Ground in the faston
terminals 6,8x0,8.
3. Place the wire U, V, W and Ground on the terminals and plug the wires TH+ and
TH- and also BR+ and BR- in a case of a motor with a brake equiped in the terminal
of the PCB Ref 4 .
4. Crimp the shielding wire in the faston terminal 2,8x0,8 and plug it on the terminal
Ref 5.
5. If the shielding connection is not necessary, cut the wire short the cable.
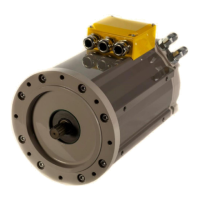
Step 4 – Fitting of the rear cover :
1. Slowly take up any slack in the cables and close the cover Ref 3.
2. Tighten the cable gland caps or conduits stop Ref 2.
3. Tighten the screws of the connection modules Ref 6 at the torque value of 0,5
N.m.
7. Place the rear cover Ref 3 and take care to don’t hurt the toric seal placed on the
rear flange.
4. Tighten the 4 nuts Ref 1 at the torque value of 5,6 N.m.
5. Connect the outside ground with the screw Ref 7 and tighten it at the torque value
of:
 Loading...