64
Locking torque: First time 6 Nm
Second time 17 Nm
4. Remove the connecting rod and measure the width of the plastic clearance gauge after
being compressed. If the specified value is exceeded, replace the connecting rod bearing
bush.
Oil clearance: 0.020~0.052mm
Note:
Do not turn the connecting rod until the measurement is completed.
Clearance between main journal and oil
1. Clean the mounting surface of bearing bush, main journal, motor body and engine base.
2. Install the bearing bush and crankshaft to the body.
3. Place a plastic clearance gauge on the main journal and make it parallel to the
crankshaft.
Note:
Do not place the plastic clearance gauge on the oil hole of the main journal.
4. Install the bearing bush on the engine base and install the engine base on the body.
5. Tighten the bolts with the specified torque in the order of the numeric marks on the
engine base.
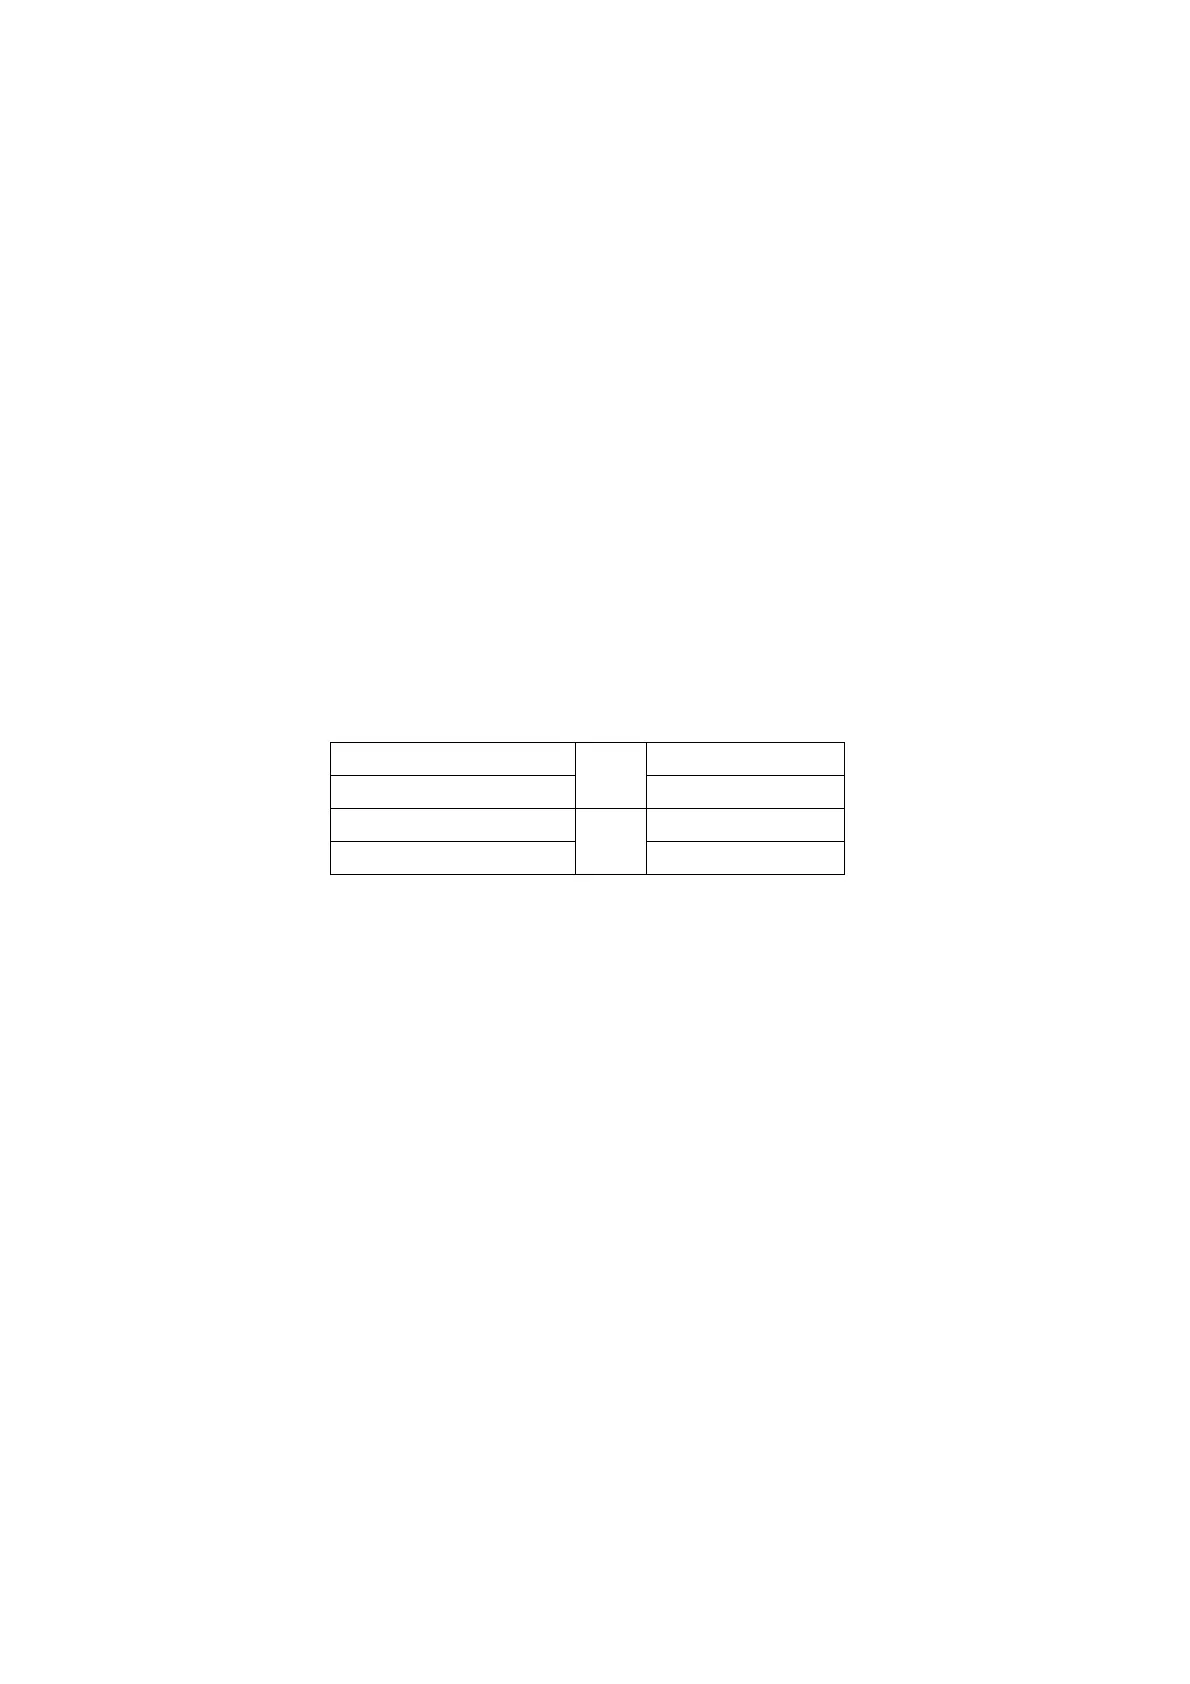
Locking torque:
1
st
tightening
M8
15 Nm
2
nd
tightening 30 Nm
1
st
tightening
M6
6 Nm
2
nd
tightening 12 Nm
6. Remove the engine base and measure the width of each plastic clearance gauge after
being compressed. If the specified value is exceeded, replace the bearing bush.
Oil clearance: 0.012~0.044mm
Note:
Do not turn the crankshaft until the measurement is completed.
Engine body and base
1. Check the engine body and base for cracking, damage and corrosion; If any, replace it.
2. Check the cooling water channel for dirt or blockage; If any, clean it.
 Loading...