Installing Drivers for 6000 Boards
Plug in your PenMount 6000 control board and install PenMount Windows
Universal Driver. Make sure the driver is installed before control board is
plugged. Then the driver will have the assigned COM port detect PenMount
non-PnP device.
To install the driver:
1. In folder PenMount Universal Driver, find “Setup.exe” and run it.
2. A License Agreement window appears. Click “I Agree” and “Next”.
3. When ready to install the program, click “Install”.
4. Installation takes some time.
5. When the warning message screen appears, please click “Install this
driver software anyway” to continue.
For RS232 interface, it will appear one time.
For USB interface, it will appear twice.
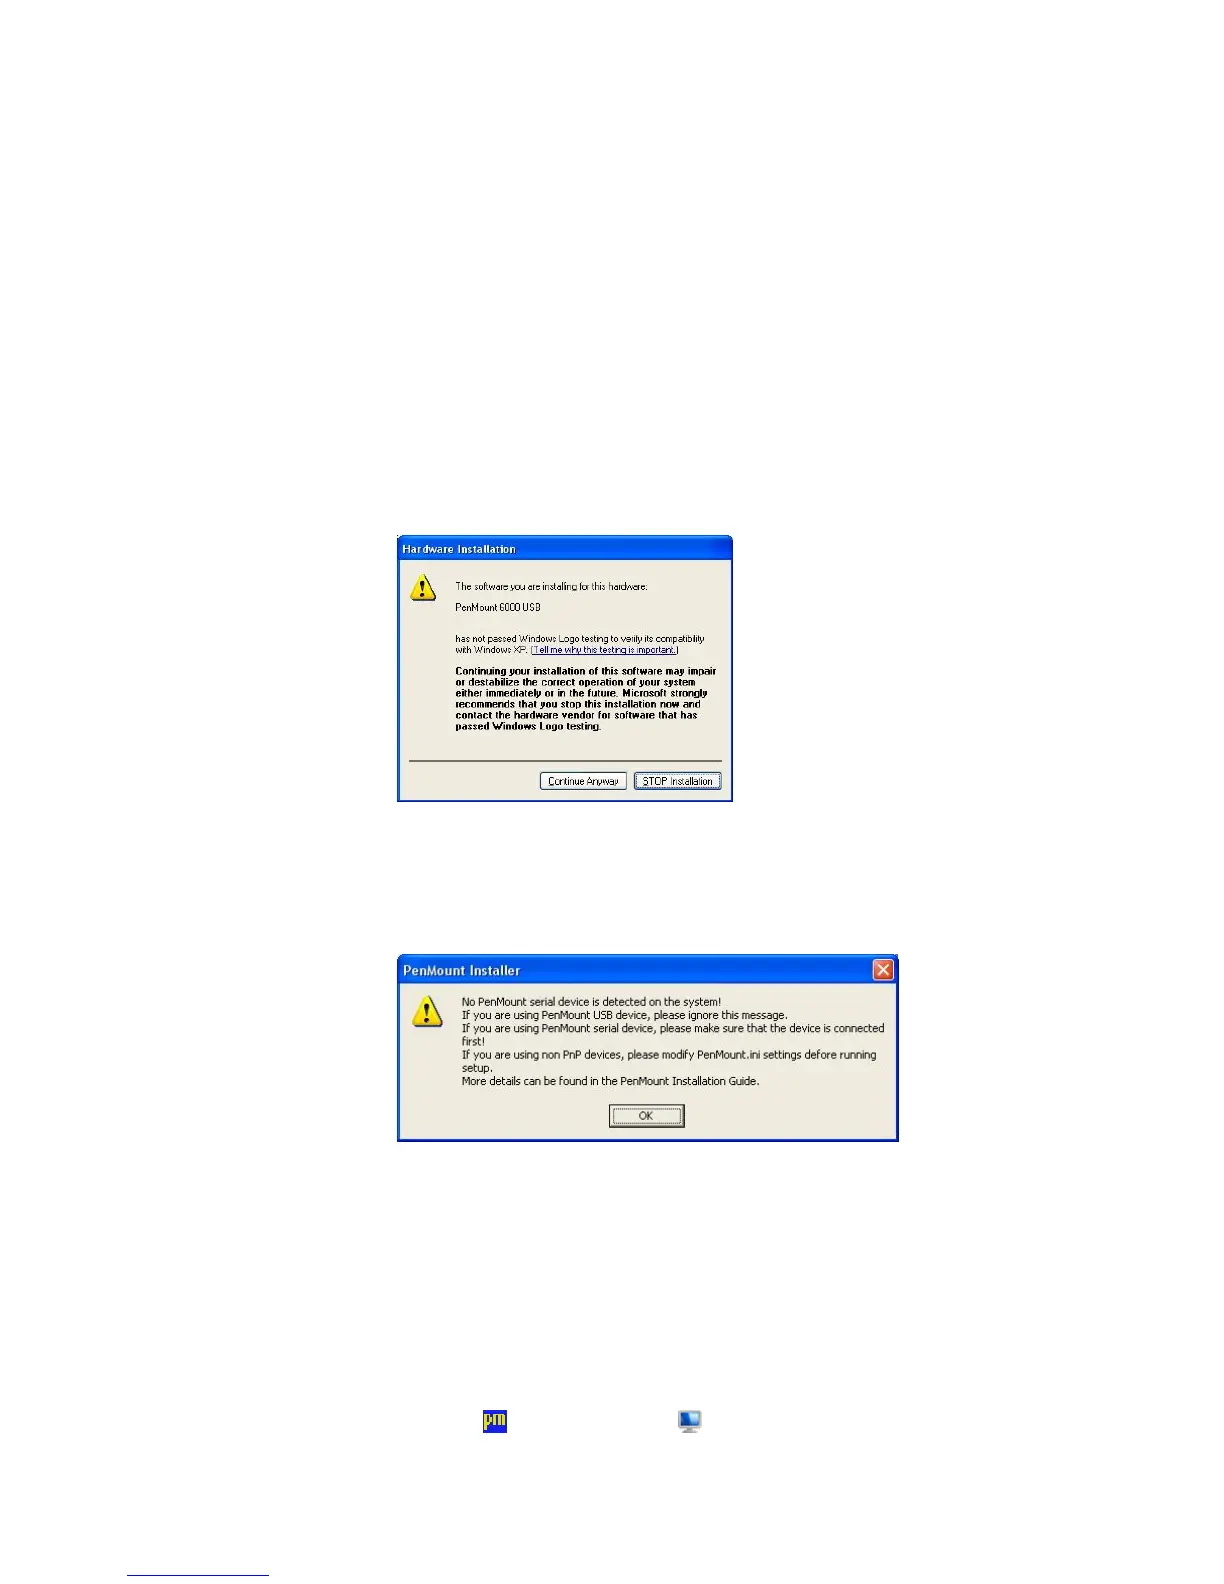
6. If the PenMount serial device isn’t detected by system, a message box as
below will display reminding you to check if the non-PnP device is
connected. If yes, you need to modify related setting in install.ini prior to
installing driver.
7. A window notifying of installation completion appears. Click “Finish”.
NOTE: If you are installing the driver with Microsoft WHQL, you will see
the screen in step 7 directly instead of step 6.
NOTE: Please restart your Windows system after installation finishes.
8. Then restart operating system.
As soon as driver installation finishes, both the icons of PenMount
Monitor
and Gesture AP show up in the notification area.