3
Shooting
47
The outcome of Cross Processing for Custom Image and Smart
Effect varies each time a picture is taken. If you take a cross
processed image that you like, you can save the Cross
Processing settings used in that image, so you can load and use
the same settings again.
1 Press B in single image display of playback
mode.
The playback mode palette appears.
2 Use ABCD to select a and press E.
The camera will search for cross processed images starting
from the most recent image taken.
[No cross processed image] appears if there are no cross
processed images.
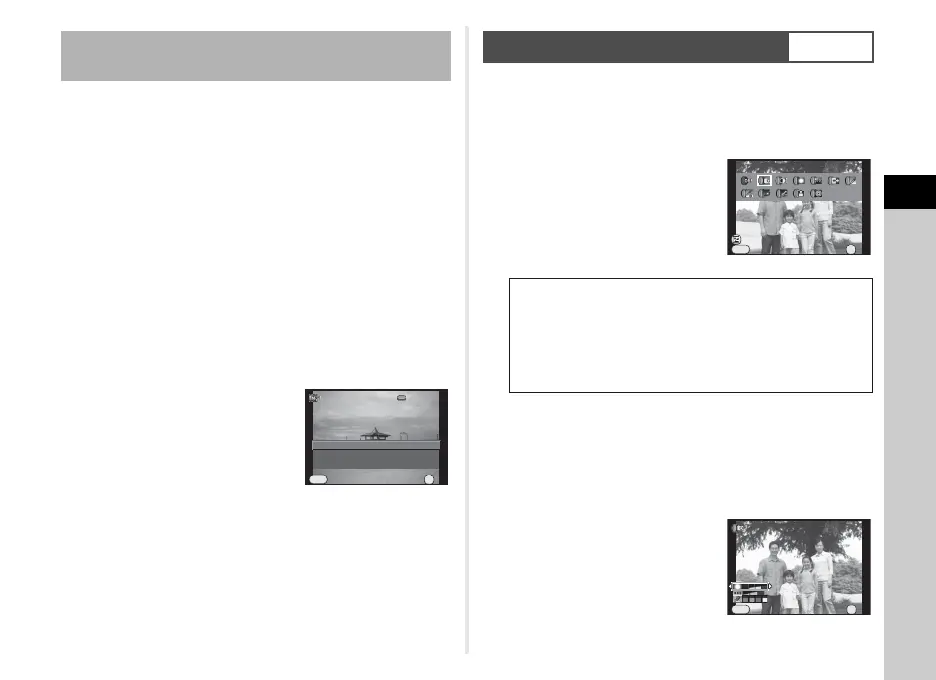
3 Use V to select a cross
processed image.
4 Use AB to select a number and press E.
The settings of the selected image are saved to [Favorite 1
- 3].
tMemo
• Saved cross processing settings can be loaded by selecting
[Cross Processing] in [Custom Image], and selecting
[Favorite 1 - 3] for the parameter.
1 Select [Digital Filter] from v or A 1 menu and
press E.
The Digital Filter setting screen appears.
2 UseABCD to select a
filter.
Select [No Filter] to not shoot with
a digital filter.
Proceed to Step 6 if you do not need to change the
parameters.
3 Press J.
The parameter setting screen appears.
4 Use AB to select a
parameter, and use CD to
adjust the value.
Saving the Cross Processing Settings of a
Captured Image
Save as Favorite 1
Saves this i mage's Cross
Saves this image's Cross
Processing settings
100-0001
Save as Favorite 2
Save as Favorite 3
OK
Cancel
OK
MENU
Digital Filter
v/A1
Toy Camera
High Contrast
Shading
Tone Expansion
Invert Color
Extract Color
Unicolor Bold
Water Color
Posterization
Slim
Fish-eye
Toy Camera
Cancel
OK
OK
Parameter Adj.
MENU
Shading Level
Cancel
OK
OK
MENU