- Place the flywheel with the top dead centre mark aligned with the crankcase.
- Place the flywheel cover by aligning the reference marks of the drive and the crankcase cover.
- Reassemble the cover on the engine, placing the three connectors in the drive for the water pump.
- Carry out the steps in the reverse order from the dismantling procedure.
CAUTION
TAKE CARE TO CORRECTLY POSITION THE FLYWHEEL CONNECTOR. MAKE SURE THE CEN-
TRING DOWELS ARE PRESENT.
Flywheel and starting
- Check the integrity of the internal plastic parts of the flywheel and the Pick-Up control plate.
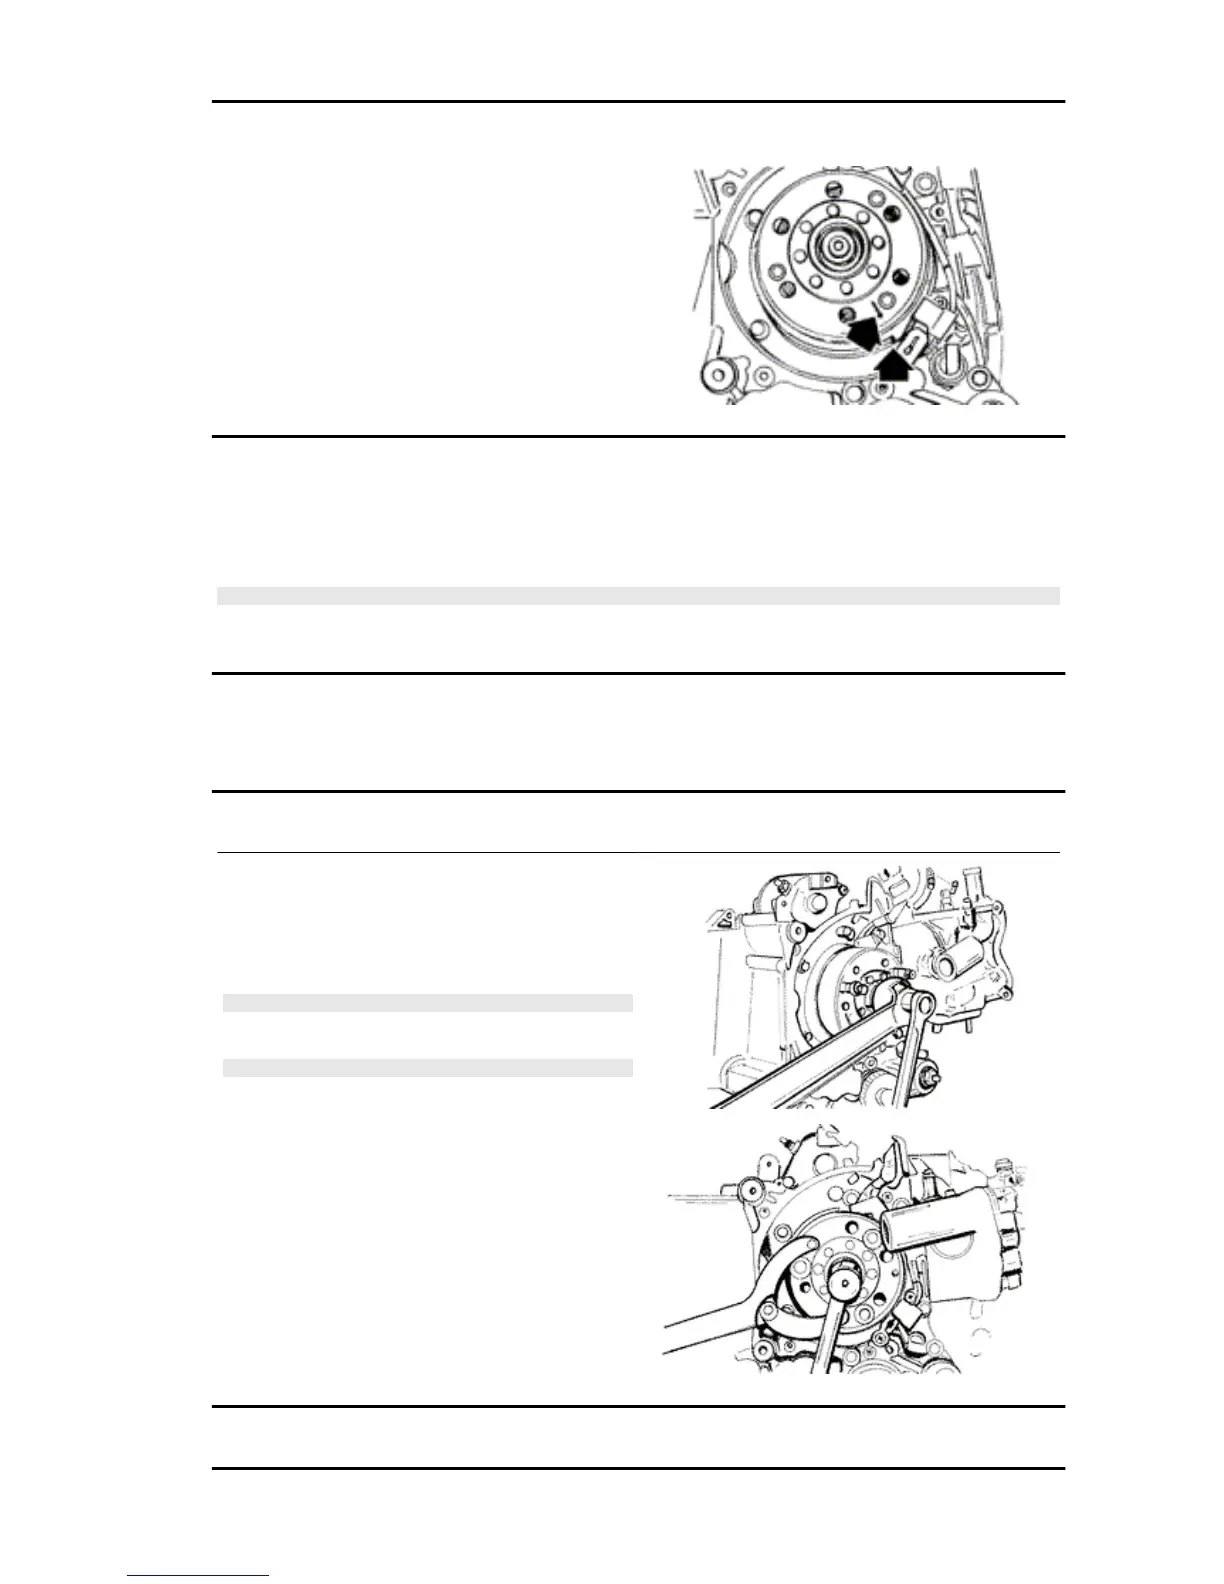
Removing the flywheel magneto
- Lock the rotation of the Flywheel with the calliper
spanner tool.
- Remove the nut.
- Take out the flywheel.
CAUTION
THE USE OF A CALLIPER SPANNER OTHER THAN THE
ONE SUPPLIED COULD DAMAGE THE STATOR COILS
N.B.
THE FLYWHEEL OF THE 200 CM³ MODELS FEATURES
ENHANCED INERTIAL MASS.
X9 Evolution 125 Engine
ENG - 111