Removing the intake manifold
- Remove the flywheel cover completely as de-
scribed in the flywheel cover section.
- Loosen the 3 crews and remove the intake mani-
fold.
N.B.
TAMPERPROOF SCREWS ARE SUPPLIED WITH 125 CC
MODELS.
Removing the timing system drive
- Remove the parts listed below first: transmission cover, driving pulley with belt, start-up piston, oil
sump with spring and by-pass piston, oil pump pulley cover, the O-ring on the crankshaft and the pinion
separation washer.
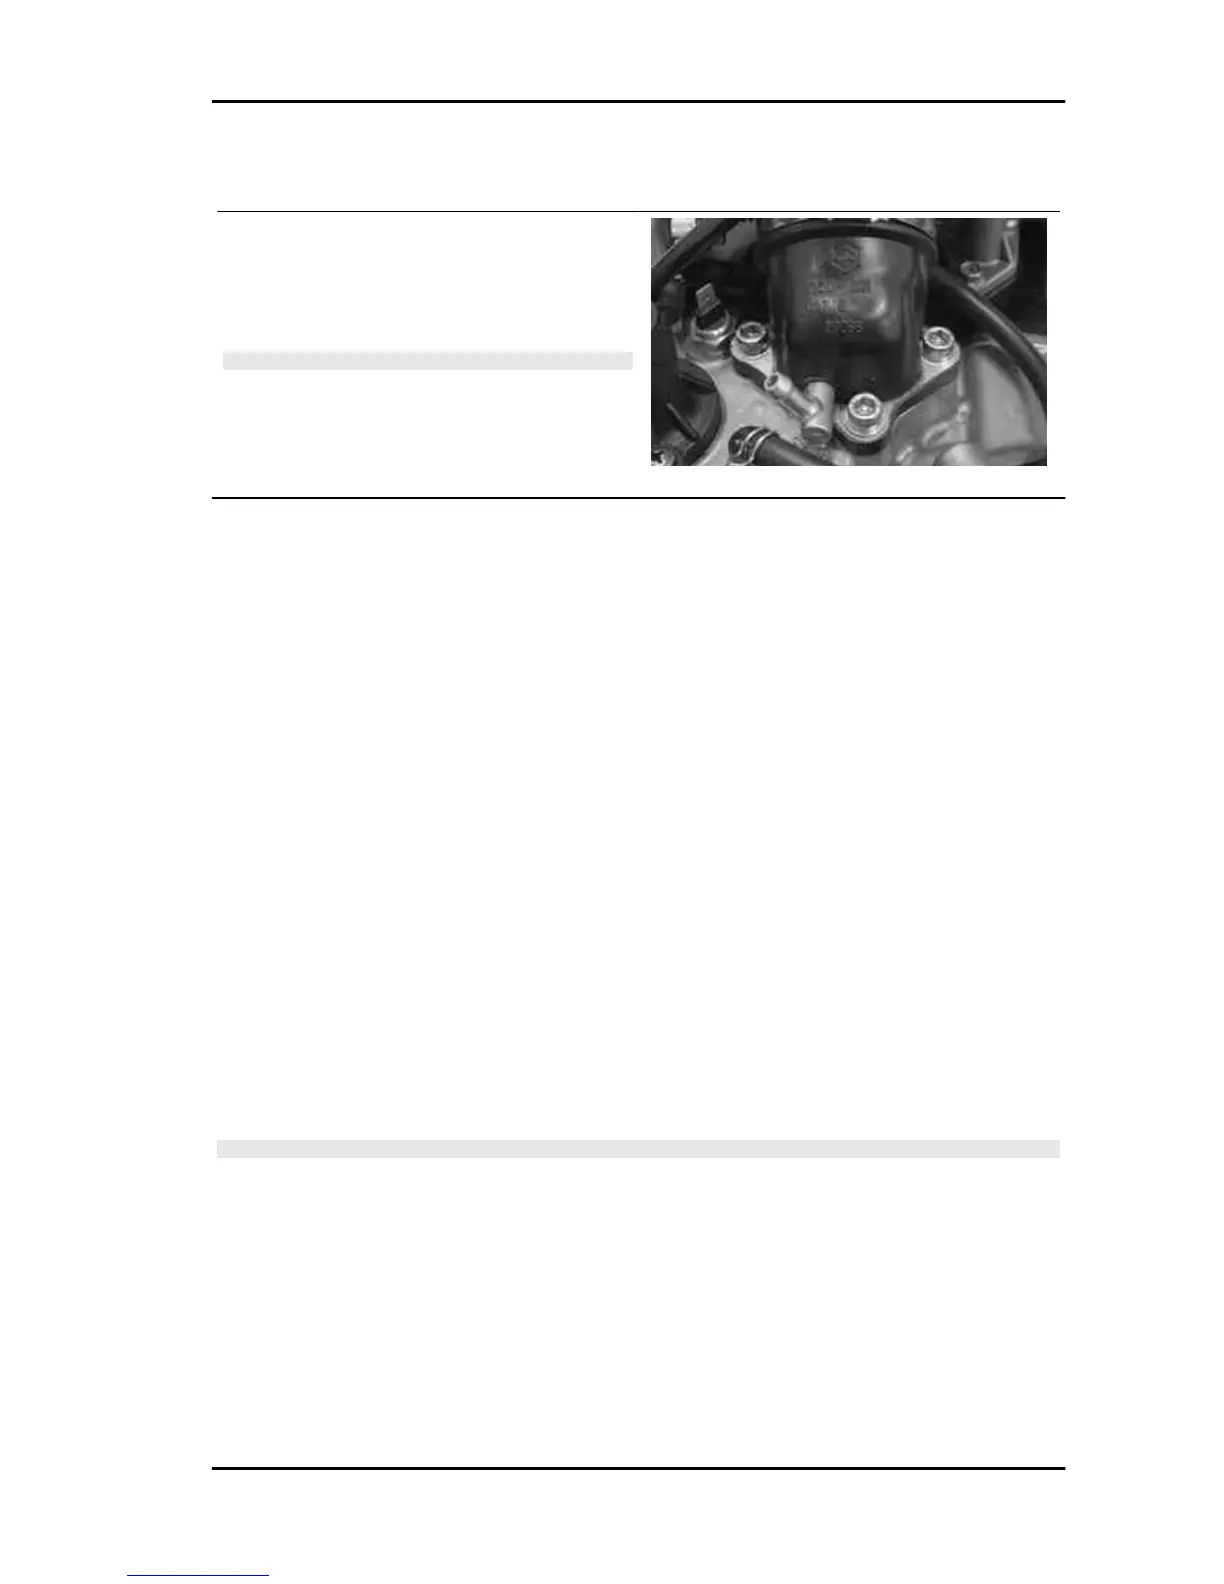
- Remove the tappet cover.
- Remove the central screw fastener and the automatic valve-lifter retaining cover, as shown in the
figure.
- Remove the return spring of the automatic valve lifter unit and the automatic valve lifter unit and its
end of stroke washer.
- Loosen the central screw on the tensioner first.
- Remove the two fixings shown in the figure.
- Remove the tensioner with its gasket.
- Remove the internal hex screw and the counterweight shown in the figure.
- Remove the camshaft command pulley and its washer.
- Remove the command sprocket wheel and the timing chain.
- Remove the screw indicated in the figure, the spacer and the tensioner slider.
The chain tensioning pad must be removed from the transmission side. As regards the lower chain
guide pad, it may only be removed after the head has been removed.
N.B.
It is advisable to mark the chain in order to guarantee that the initial direction of rotation is maintained.
X9 Evolution 125 Engine
ENG - 113