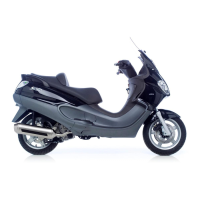
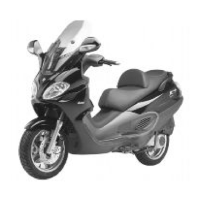
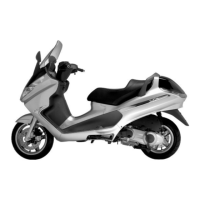
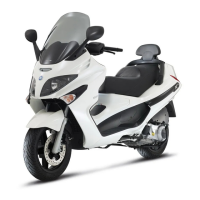
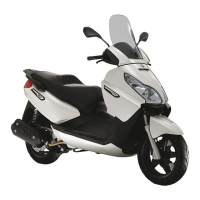
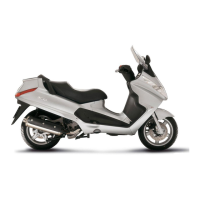
This section è is devoted to the operations that can be carried out on the vehicle's bodywork.
Seat
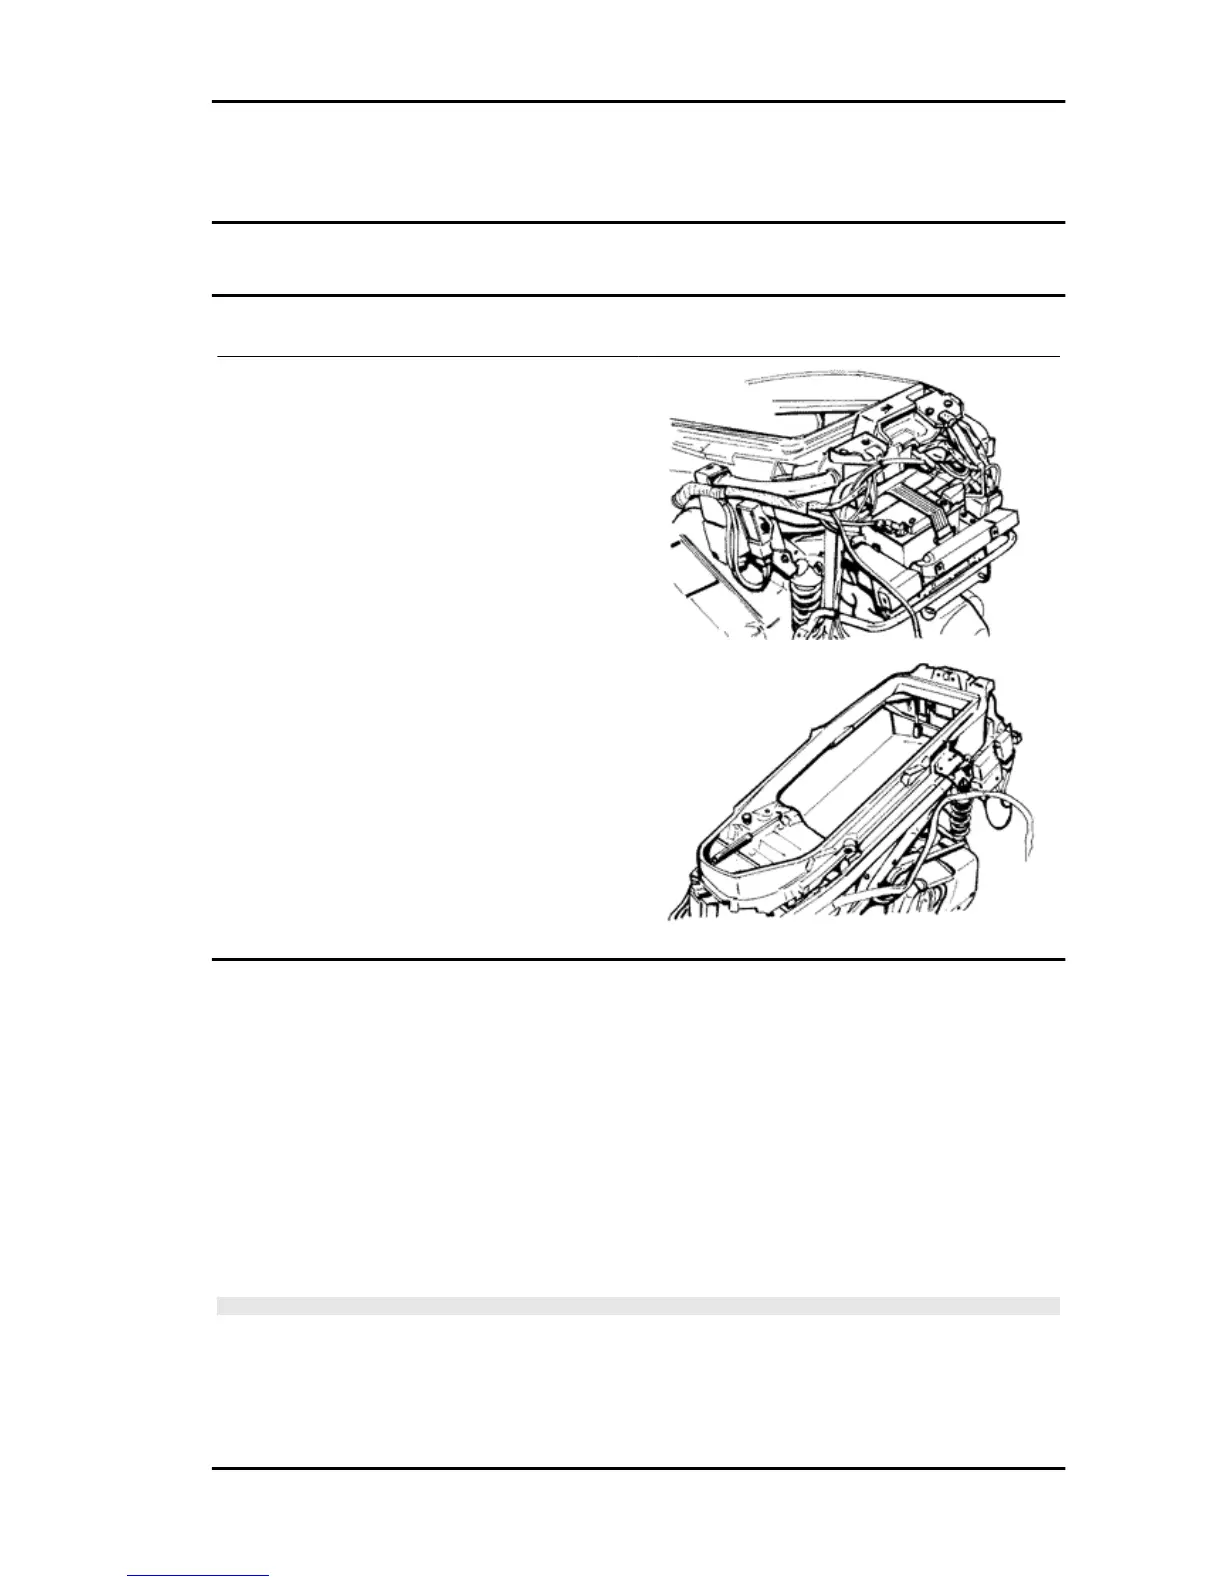
Helmet bay
- Remove all electrical devices, the fuse box and
release the wires fixed to the chassis with the rel-
ative clamps;
- Remove the battery after removing the elastic
belt;
- Undo the screws fixing the rear frame to the
chassis and to the helmet compartment and re-
move compartment by lifting the front part and
sliding it backwards;
- Remove the saddle;
- Unscrew the remaining fixing screws, remove the
rubber cover and the helmet compartment light
switch and then slide the helmet compartment off
and upwards
Fuel tank
- Remove both footrests, the central cover and the tunnel cover as described before;
- Separate the electrical connections of the fuel gauge and disconnect the fuel supply line and tank
breather;
- Remove the horn after unscrewing its fixing screws indicated in the figure and after disconnecting the
electrical connections.
- Unscrew the four fixing screws of the holding bracket indicated in the figure and remove it;
- Unscrew the two fuel tank fixing screws, located on the upper part;
- Slide off the tank downward after tilting it slightly.
N.B.
this operation should be preferably be carried out with the tank empty.
X9 Evolution 125 Chassis
CHAS - 199