Install the base unit
Operating Manual PITreader, PITreader Firmware V1.5.x
1004806-EN-08
| 32
6 Install the base unit
6.1 General installation guidelines
NOTICE
Damage due to electrostatic discharge!
Electrostatic discharge can damage components. Ensure against discharge
before touching the product, e.g. by touching an earthed, conductive sur-
face or by wearing an earthed armband.
} Install the device in the front panel of a control cabinet or in a control console.
Material thickness:
– non-metallic: 2 … 6mm
– metal: 2 … 4mm.
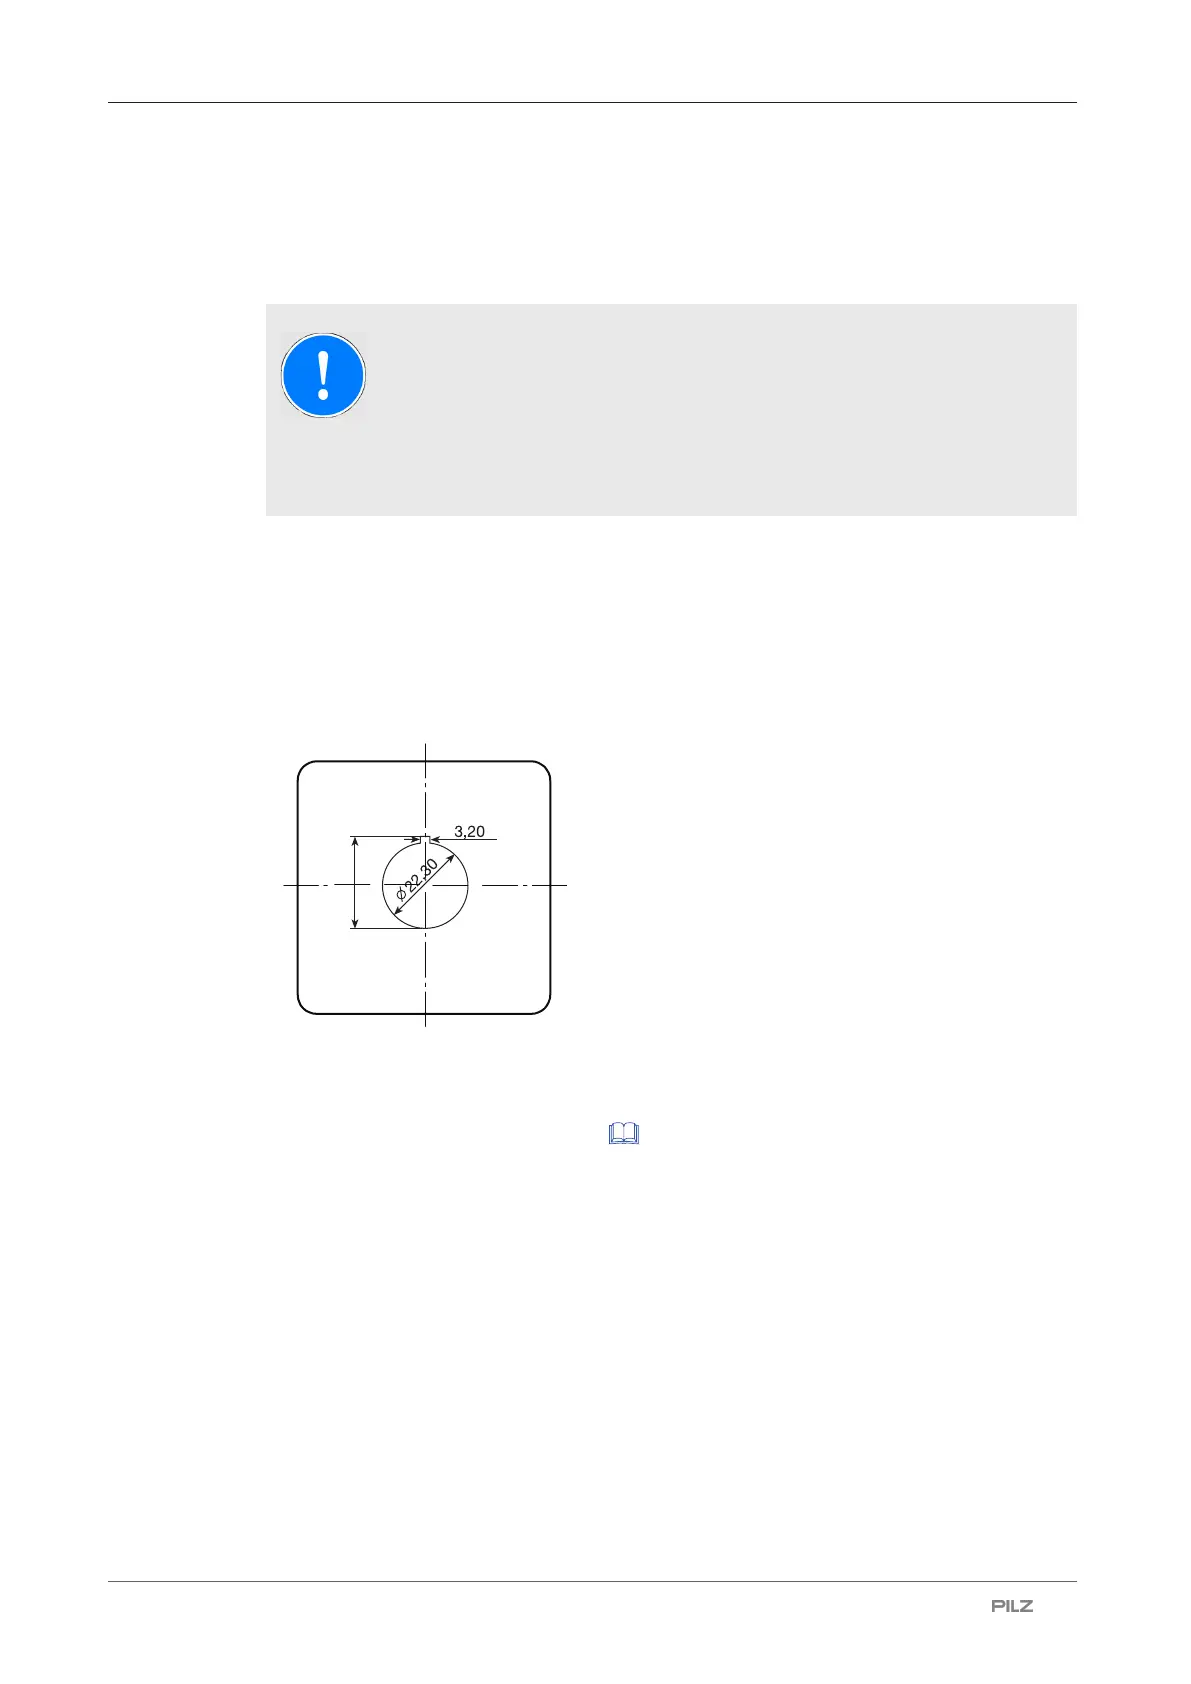
} Provide the front panel of the control cabinet or control console with a mounting cutout (Ø
22.3mm +0.4mm/-0.0mm, D22 in accordance with EN60947-5-1) and give the cutout a
recess for the latch (to protect against twisting):
} Guide the PITreader key adapter h (order no. 402 308) into the mounting cutout and se-
cure it from the other side using a plastic nut (M22). Note the torque setting of 1.3 ...
2.1Nm. We recommend that you use the installation wrench "PITes wrench" for fixing
the plastic nut (see Order reference [ 56]).
} Plug the PITreader base unit (order no. 402 255) on to the neck of the PITreader key ad-
apter h (order no. 402 308) and turn it 15° clockwise until it locks into position.