Setting up08
30
En
Using CTI
1 Press HOME MENU.
2 Select “Picture“ (/ then ENTER).
3 Select “Pro Adjust“ (/ then ENTER).
4 Select “Colour Detail“ (/ then ENTER).
5 Select “CTI“ (/ then ENTER).
6 Select the desired parameter (/ then ENTER).
7 Press HOME MENU to exit the menu.
Using Colour Management
1 Press HOME MENU.
2 Select “Picture“ (/ then ENTER).
3 Select “Pro Adjust“ (/ then ENTER).
4 Select “Colour Detail“ (/ then ENTER).
5 Select “Colour Management“ (/ then ENTER).
6 Select an item to be adjusted (/ then ENTER).
7 Select the desired level (/).
• To perform adjustment for another item, press RETURN, and then
repeat steps 6 and 7.
• You may press / to immediately change an item to be adjusted.
8 Press HOME MENU to exit the menu.
Using Colour Space
1 Press HOME MENU.
2 Select “Picture“ (/ then ENTER).
3 Select “Pro Adjust“ (/ then ENTER).
4 Select “Colour Detail“ (/ then ENTER).
5 Select “Colour Space“ (/ then ENTER).
6 Select the desired parameter (/ then ENTER).
7 Press HOME MENU to exit the menu.
Using Intelligent Colour
1 Press HOME MENU.
2 Select “Picture“ (/ then ENTER).
3 Select “Pro Adjust“ (/ then ENTER).
4 Select “Colour Detail“ (/ then ENTER).
5 Select “Intelligent Colour“ (/ then ENTER).
6 Select the desired parameter (/ then ENTER).
7 Press HOME MENU to exit the menu.
Eliminating noise from images
1 Press HOME MENU.
2 Select “Picture“ (/ then ENTER).
3 Select “Pro Adjust“ (/ then ENTER).
4 Select “NR“ (/ then ENTER).
5 Select an item to be adjusted (/ then ENTER).
You can select "DNR", "MPEG NR" or “BNR”.
6 Select the desired parameter (/ then ENTER).
CTI
Provides images with clearer colour contours. The CTI stands for
Colour Transient Improvement.
Selections Off
Deactivates CTI.
On
Activates CTI.
Item button button
R Closer to magenta Closer to yellow
Y Closer to red Closer to green
G Closer to yellow Closer to cyan
C Closer to green Closer to blue
B Closer to cyan Closer to magenta
M Closer to blue Closer to red
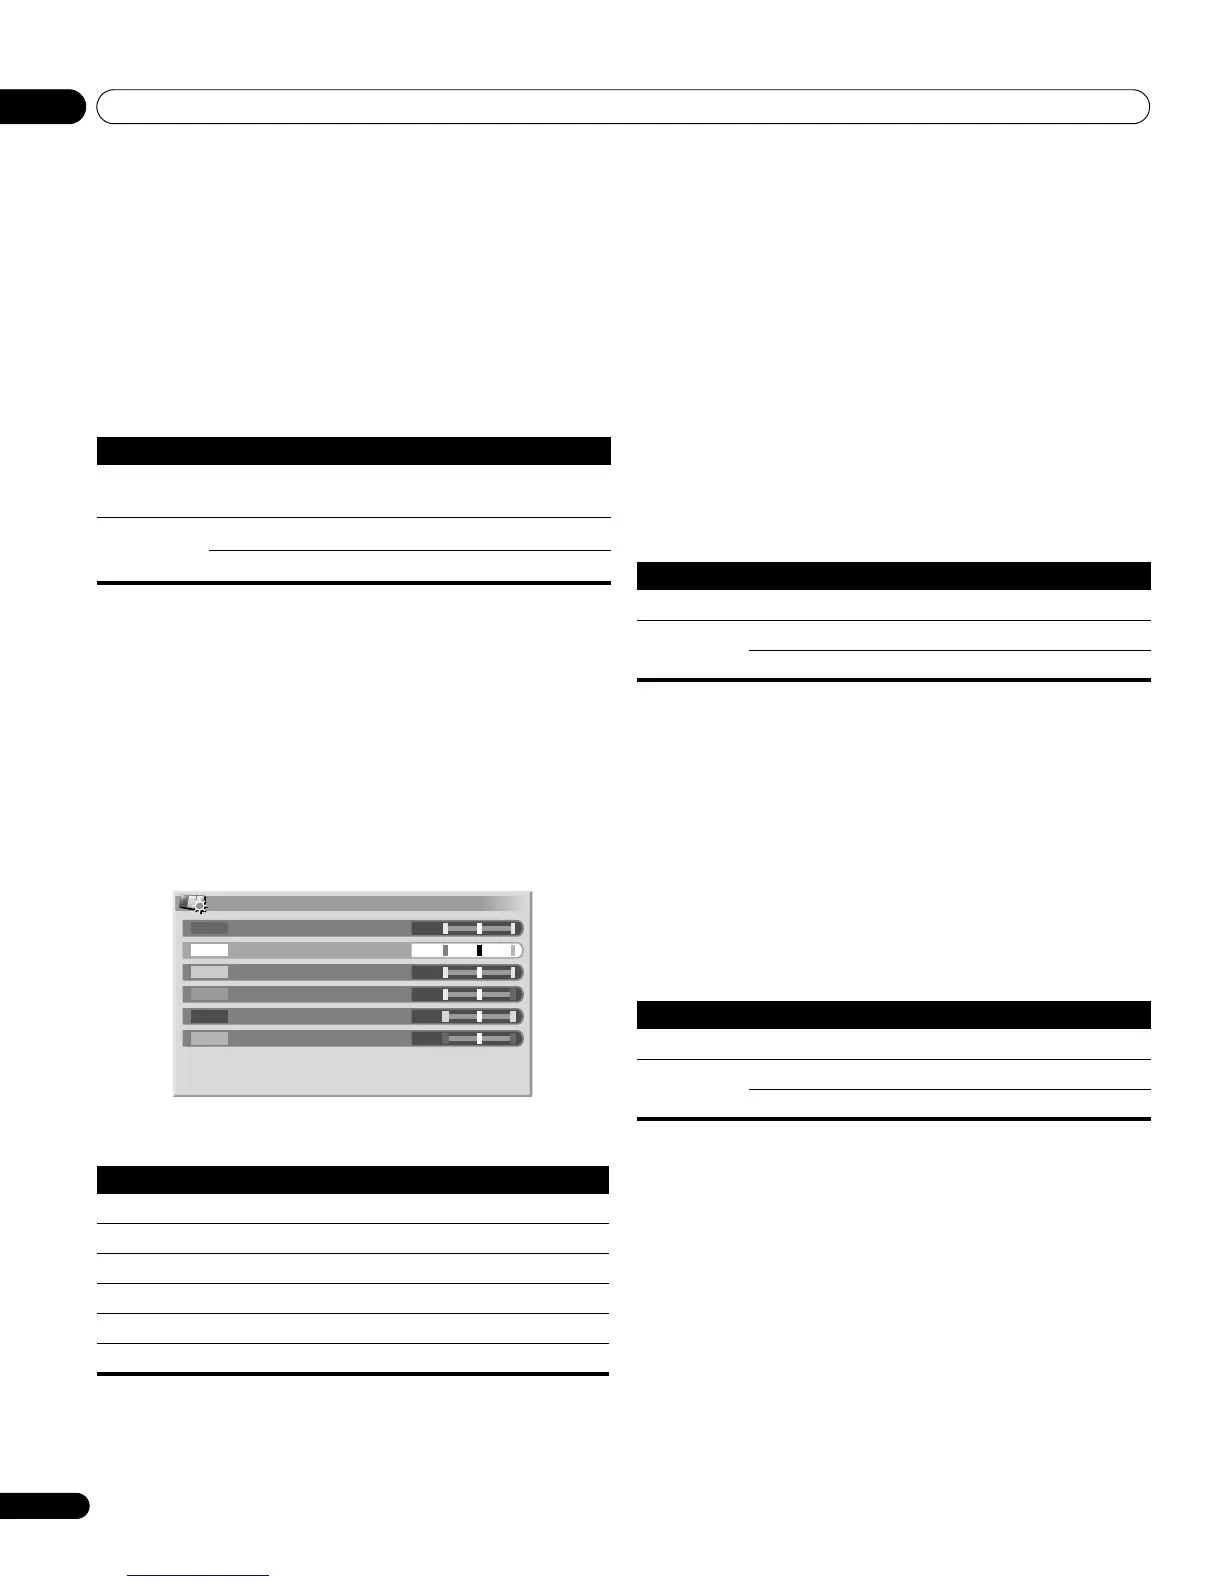
Colour Management
0
0
0
0
0
0
Y
R
G
C
B
M
Colour Space
Changes the colour reproduction space.
Selections 1 Optimized for vivid, vibrant colour reproduction.
2 Standard colour reproduction.
Intelligent Colour
Performs such compensation that results in the optimum colour tones for images.
Selections Off Deactivates Intelligent Colour
On Activates Intelligent Colour.
 Loading...