Fix the adapter into the clean milling unit reception.
NOTE
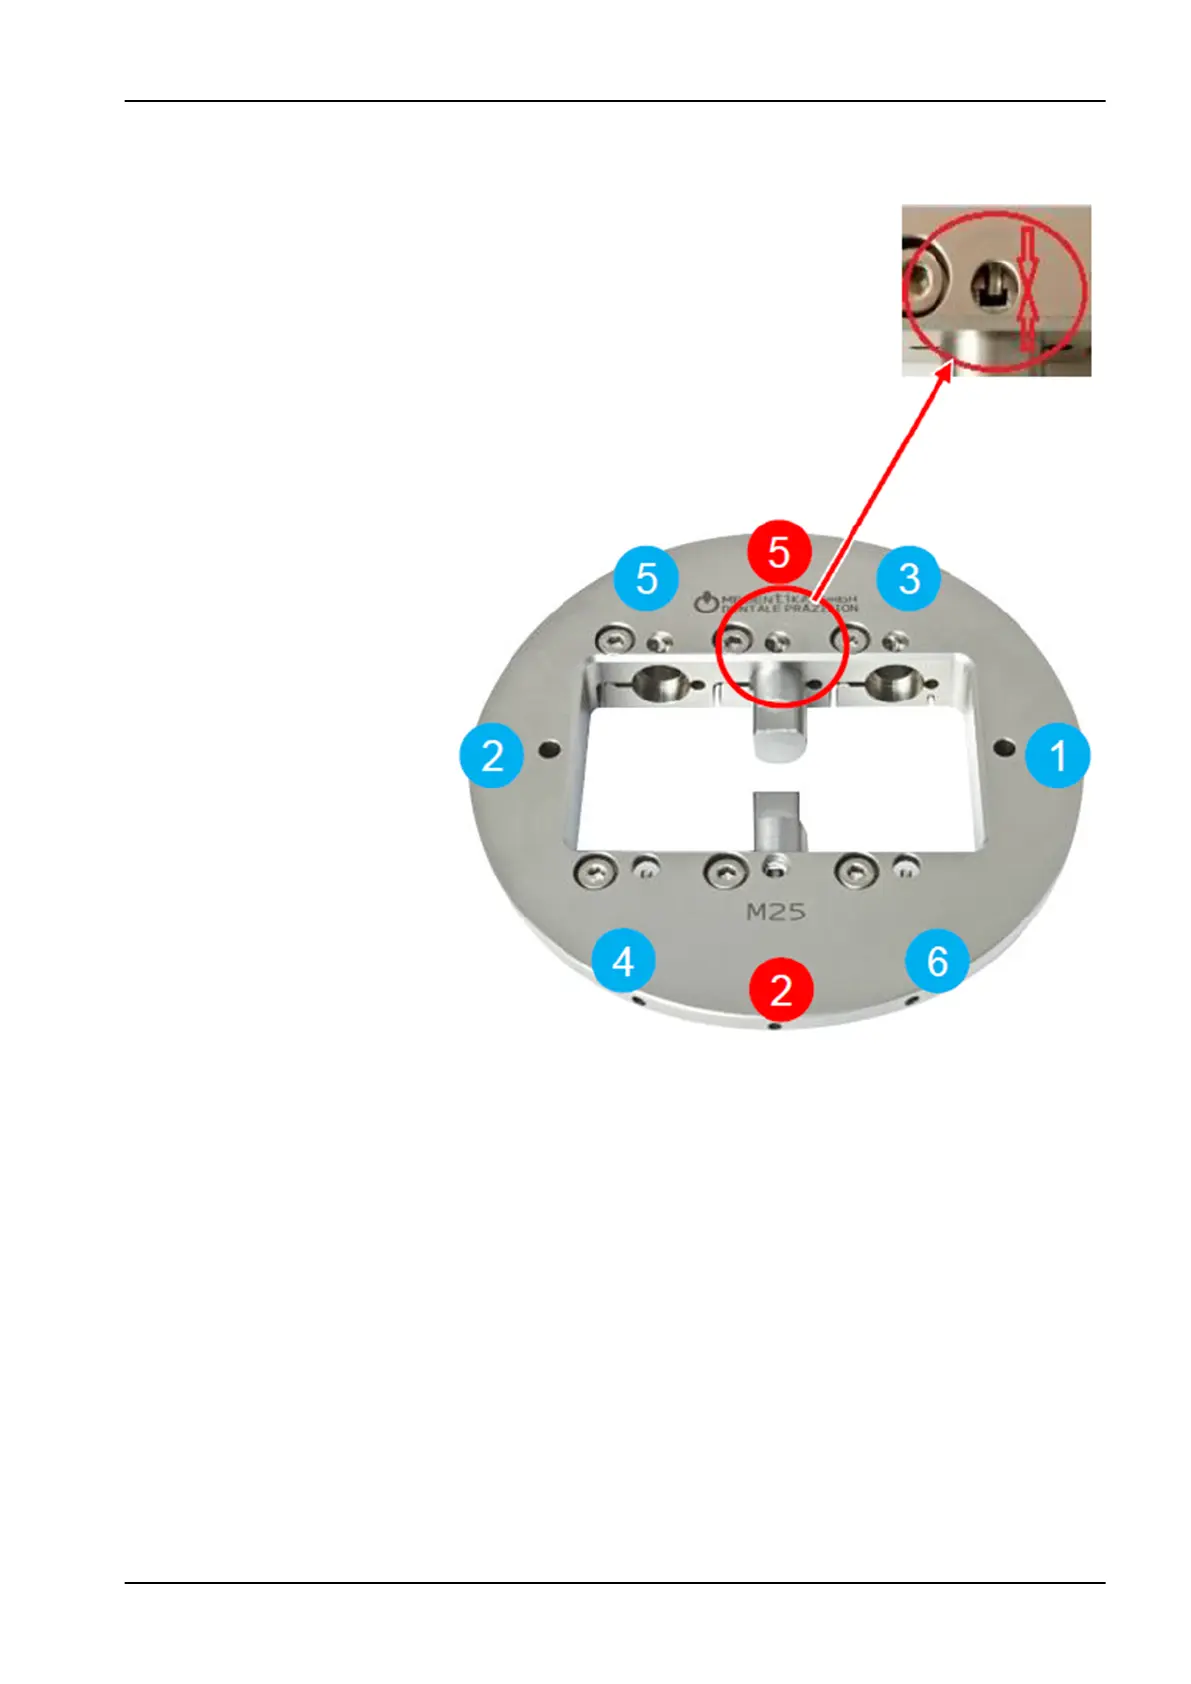
The screws should always be screwed in loosely at first and tightened
afterwards in the same order.
The test pins are milled directly on the milling unit with the scripted test
program available from your local dealer. A 2 mm metal tool (T2) is required
for the milling process.
7 Adapters
User's manual Planmeca PlanMill 50 S 39