7.19
Shocks
7
4. Press the end cap into the reservoir to access the
snap ring.
5. Remove the snap ring, then remove the cap from the
bo
dy.
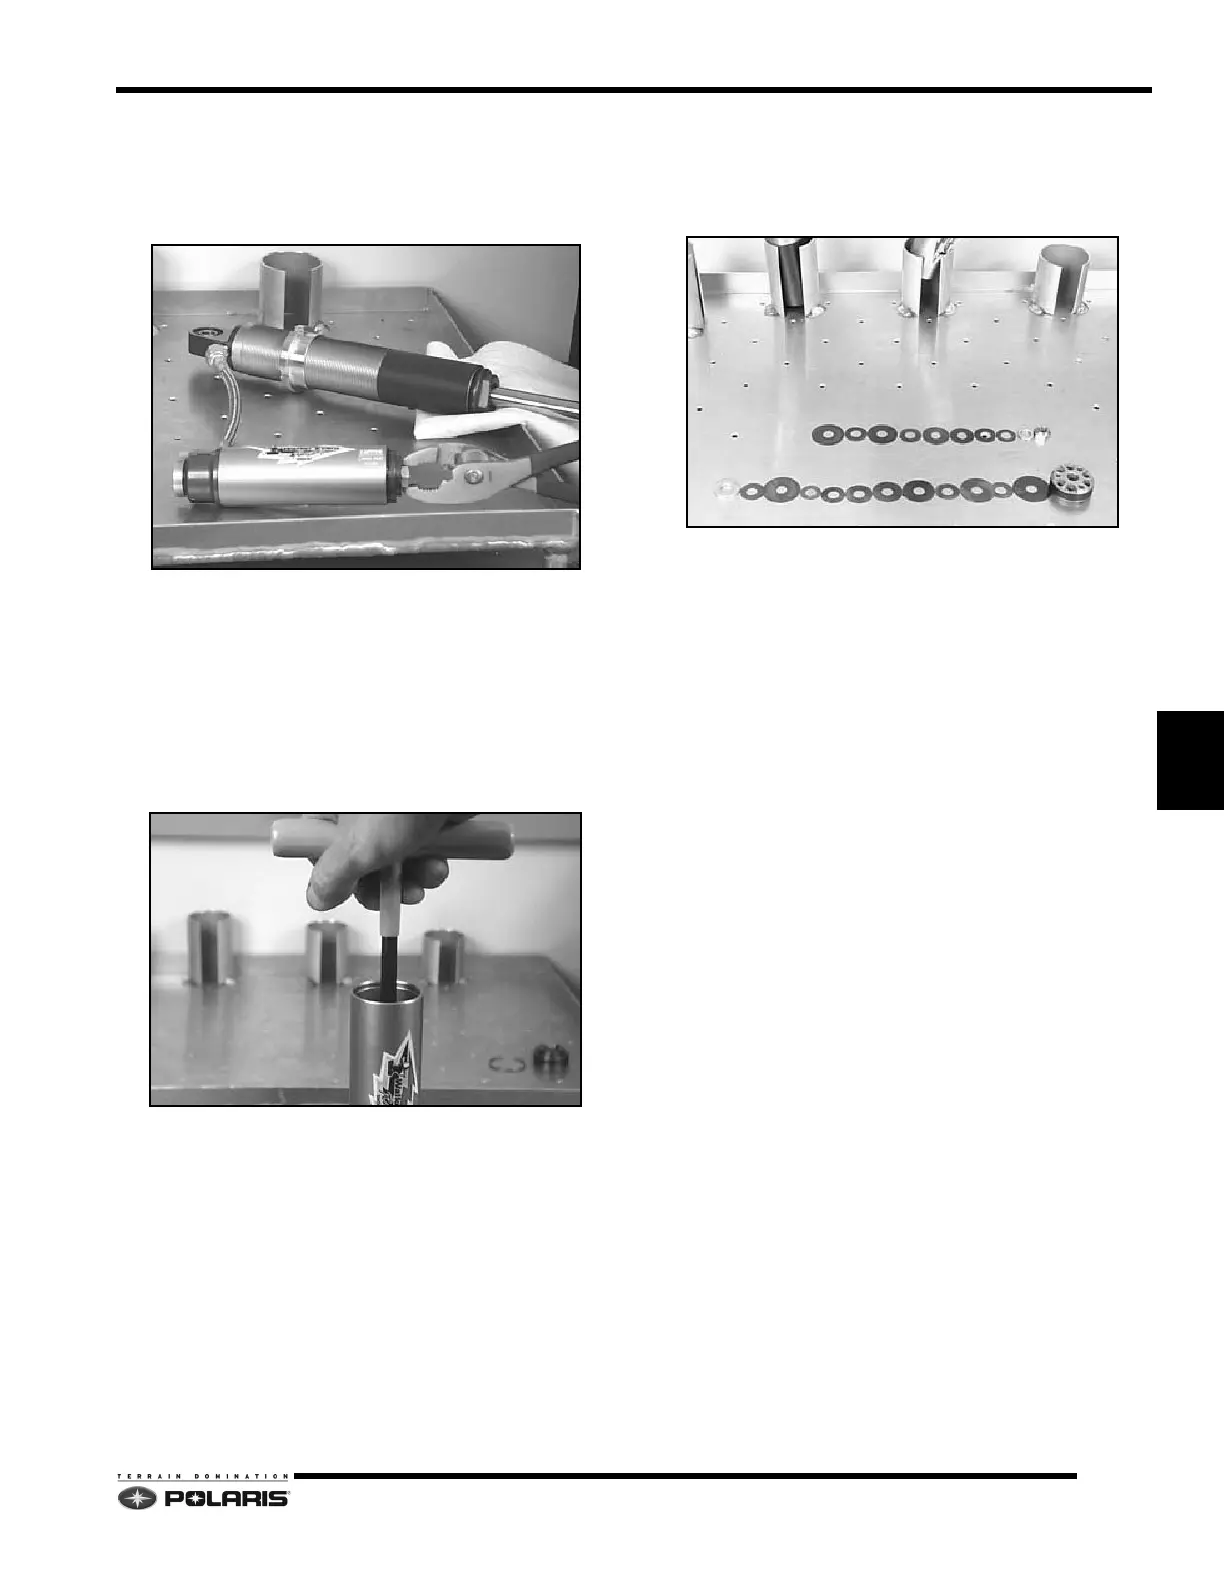
6. Place the shock lower eyelet in a vise.
7. Loosen and remove the bearing cap from the shock.
8. Remove the used oil from the shock body.
NOTE: Insert the IFP tool (PN PS-45908) and cycle the
int
ernal floating piston (IFP) a few times to purge the
shock oil from the reservoir.
9. Remove the IFP from the reservoir with the IFP tool
(
PN PS-45908).
10. Clean and inspect ALL parts and replace worn out
pa
rts if needed.
IMPORTANT: Seal kits are available and should be
inst
alled at this time if seals or o-rings are damaged or
worn.
11. Place the shock rod in a vise so that the threaded part
is fac
ing upward.
12. Place the valve stack on a clean shop towel in order
of re
moval.
NOTE: Place the valve stack on a clean shop towel in
ca
se you have to move them. This will also help when
assembling them back onto the shock rod.
13. Inspect the valves for kinks, waves, pits or foreign
ma
terial.
14. Inspect the piston wear band and replace if damaged
or
worn.
 Loading...


