9.36
Chassis
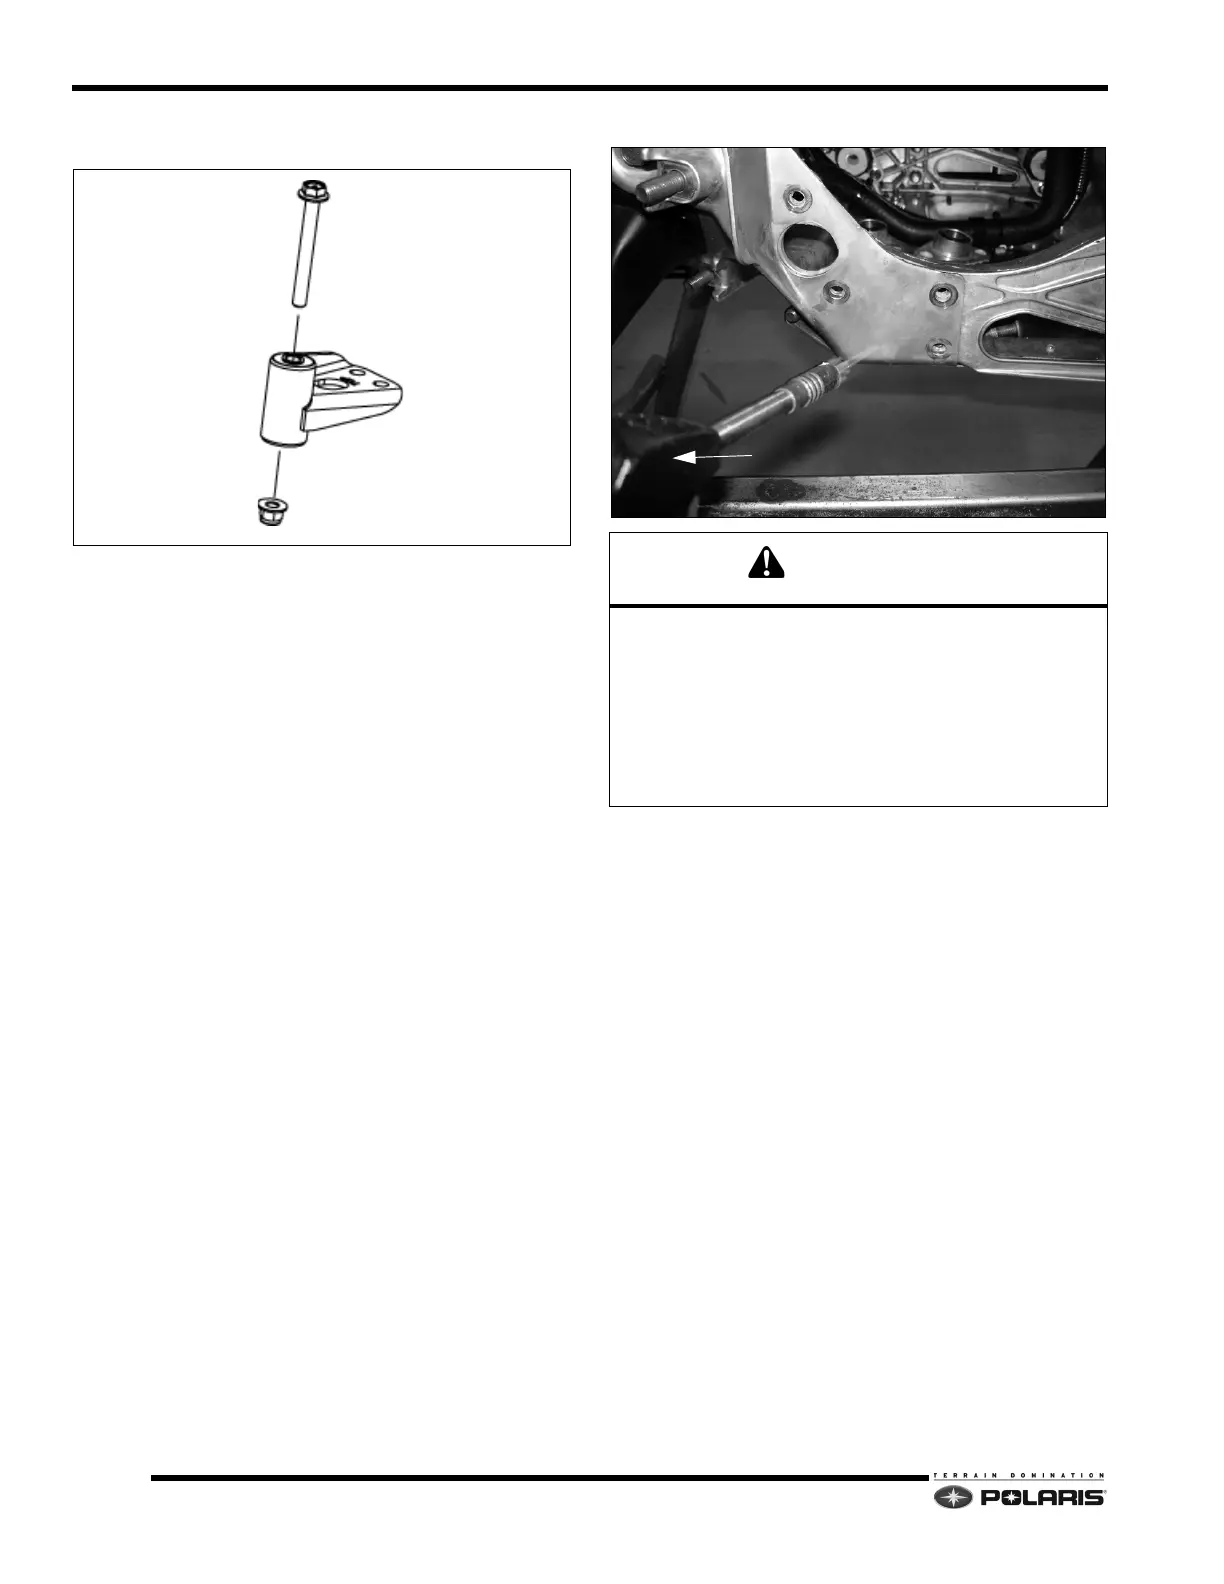
8. Remove the tie rod boot. Remove the idler arm bolt
and nut.
9. When all of the noted fasteners and nuts are removed,
the
next step is to heat where the bulkhead clip mates
with the engine side support brace.
10. Wearing heat resistant gloves, use a propane gas
tor
ch to heat the adhesive between the two
components.
Apply torch until adhesive begins to crackle. During
this tim
e, the adhesive may smoke and bubble.
Continue heating the area until the components can
be
separated.
NOTE: Left side shown.
Keep flame away from flammable materials. Use torch
in well-ventilated area.
Only apply heat to area that requires adhesive bond
separation. Do not apply heat to areas of adhesive
where bond line separation is not needed. Doing so will
require removing the part, removing adhesive, and then
re-applying new adhesive.
 Loading...


