9.38
Chassis
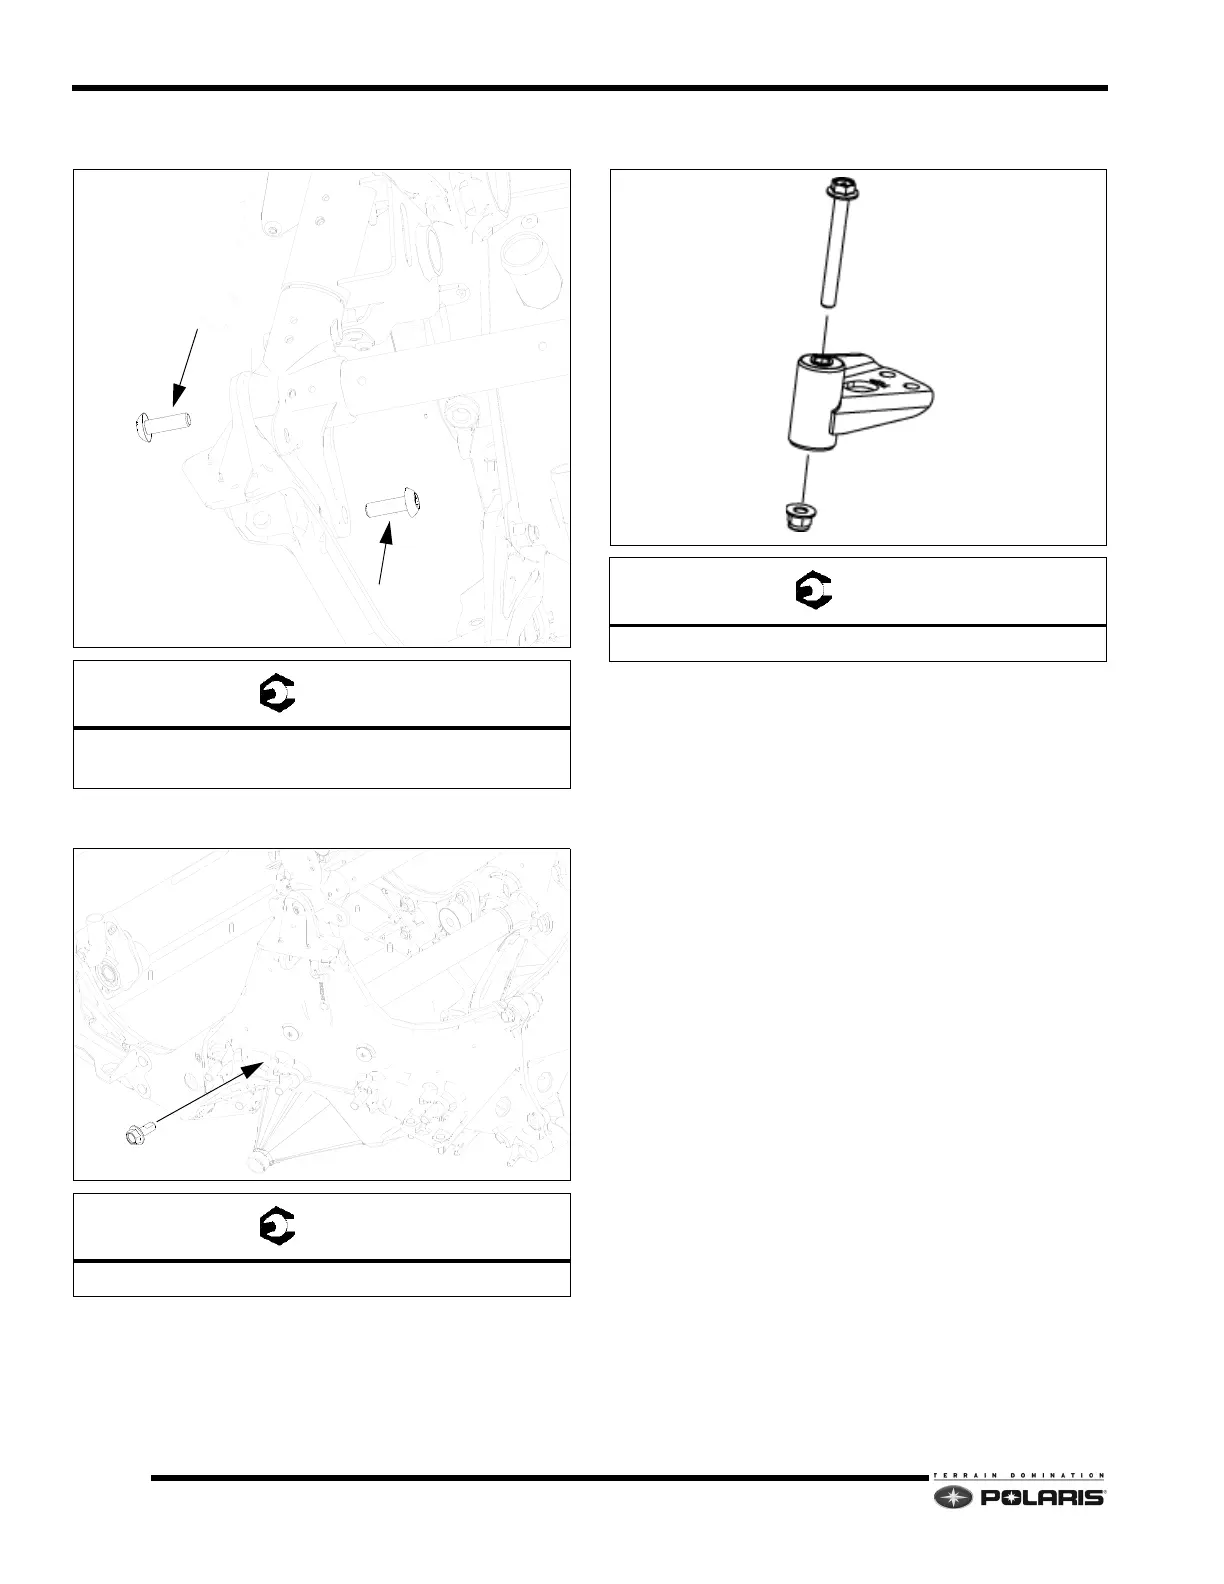
8. Reinstall the over structure-to-bulkhead screws.
Torque screws to specification.
9. Reinstall the cross shaft fastener. Torque to
spec
ification.
10. Reinstall the idler arm bolt and nut. Torque nut to
s
pecification.
11. Reinstall the tie rod boot.
12. Reinstall the bulkhead floor plate.
13. Reinstall the right fender assembly using new rivets.
14. Reinstall the following components:
• Right/left engine compartment door
•Hood
• Exhaust pipe/silencer
• Oil tank/clutch cover assembly
• Airbox assembly
• Engine assembly
• Right side front suspension components
NOTE: Allow the adhesive to cure for 24 hours at 68°
F (
20° C) before placing the snowmobile back into
service.
Over Structure-to-Bulkhead Fasteners:
22 ft-lbs (30 Nm)
Cross Shaft Fasteners: 35 ft-lbs (47 Nm)
Idler Arm Nut: 37 ft-lbs (50 Nm)
 Loading...


