3-15
3 First Steps
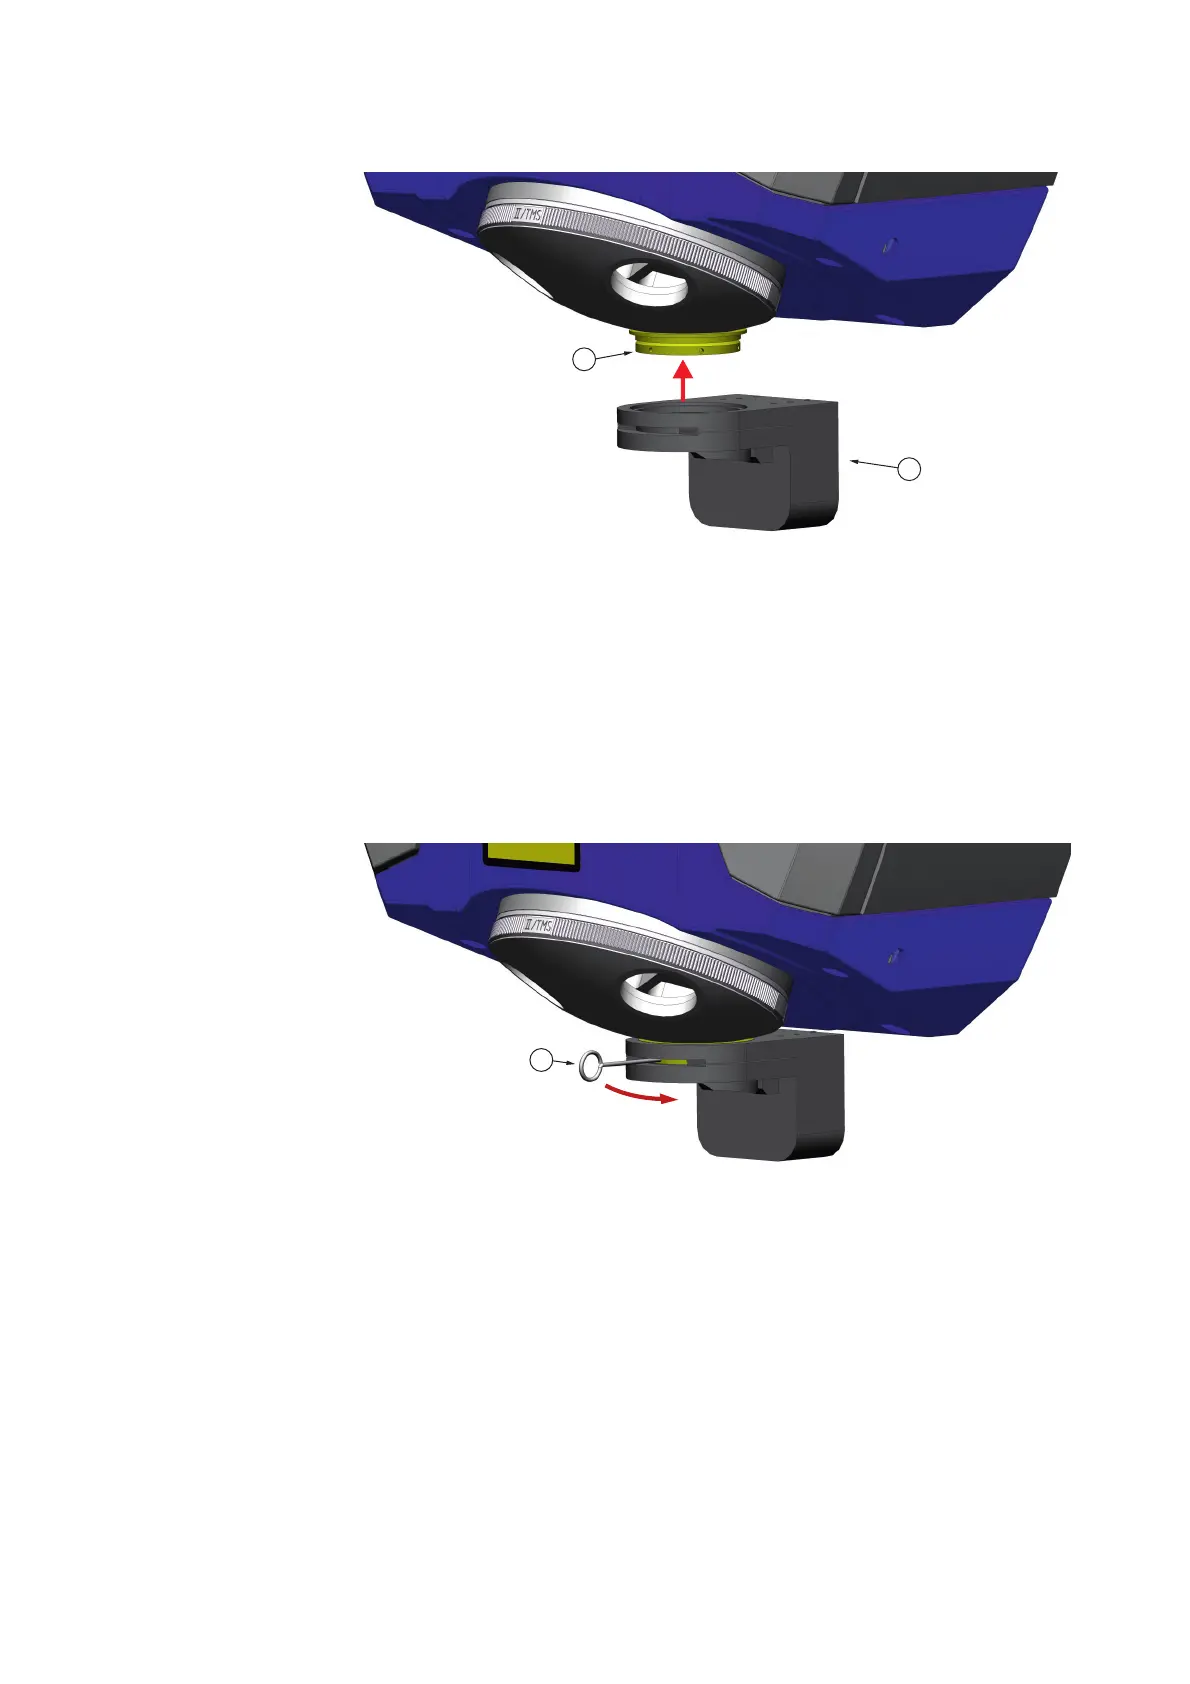
Figure 3.11: Place the objective positioner [F] onto the clamping ring [E].
6. Align the objective positioner so that the cable outlet is pointing
backwards.
7. The clamping ring has holes all the way around which can be seen
through the recess in the objective positioner. Insert the clamping tool [G]
through this recess into one of the holes in the clamping ring of the turret
insert and tighten the clamping ring (
Open
or
Close
lettering on the
objective positioner).
The objective positioner has been assembled.
Figure 3.12: Fasten the objective positioner with the clamping tool [G].
8. Screw a suitable objective into the objective insert.
Dismantling
Dismantling is in reverse order.