3-41
3 First Steps
23. Click Learn Mode.
24. To define the area of evaluation and the search pattern, click in the
toolbar of the document window.
25. Holding the left mouse button pressed, draw a rectangle around the area
which you want to examine. Choose a unique image section within the
overall picture. The rectangle needs to be at least 8 x 8 pixels across and
may have a maximum size of 400 x 400 pixels.
If you create a rectangle which is too small or too big, it will be replaced by
a rectangle with the same center but corrected dimensions. It can take up
to 30 seconds for the software to analyze a large search pattern and
display it in the video image.
26. Click Process All.
After the evaluation, the diagram is automatically displayed in the
analyzer in the lower area of the document window.
27. In the menu bar, select Analyzer > Domain (toolbar of the
analyzer: ).
28. Select Bode Plot in the pull-down menu.
29. In the menu bar, select Analyzer > Pattern (toolbar of the analyzer: ).
30. Select the A area of evaluation in the pull-down menu.
31. In the menu bar, select Analyzer > Channel (toolbar of the
analyzer: ).
32. Depending on the direction of movement of the MEMS resonator, select
X-Horizontal or Y-Vertical in the pull-down menu.
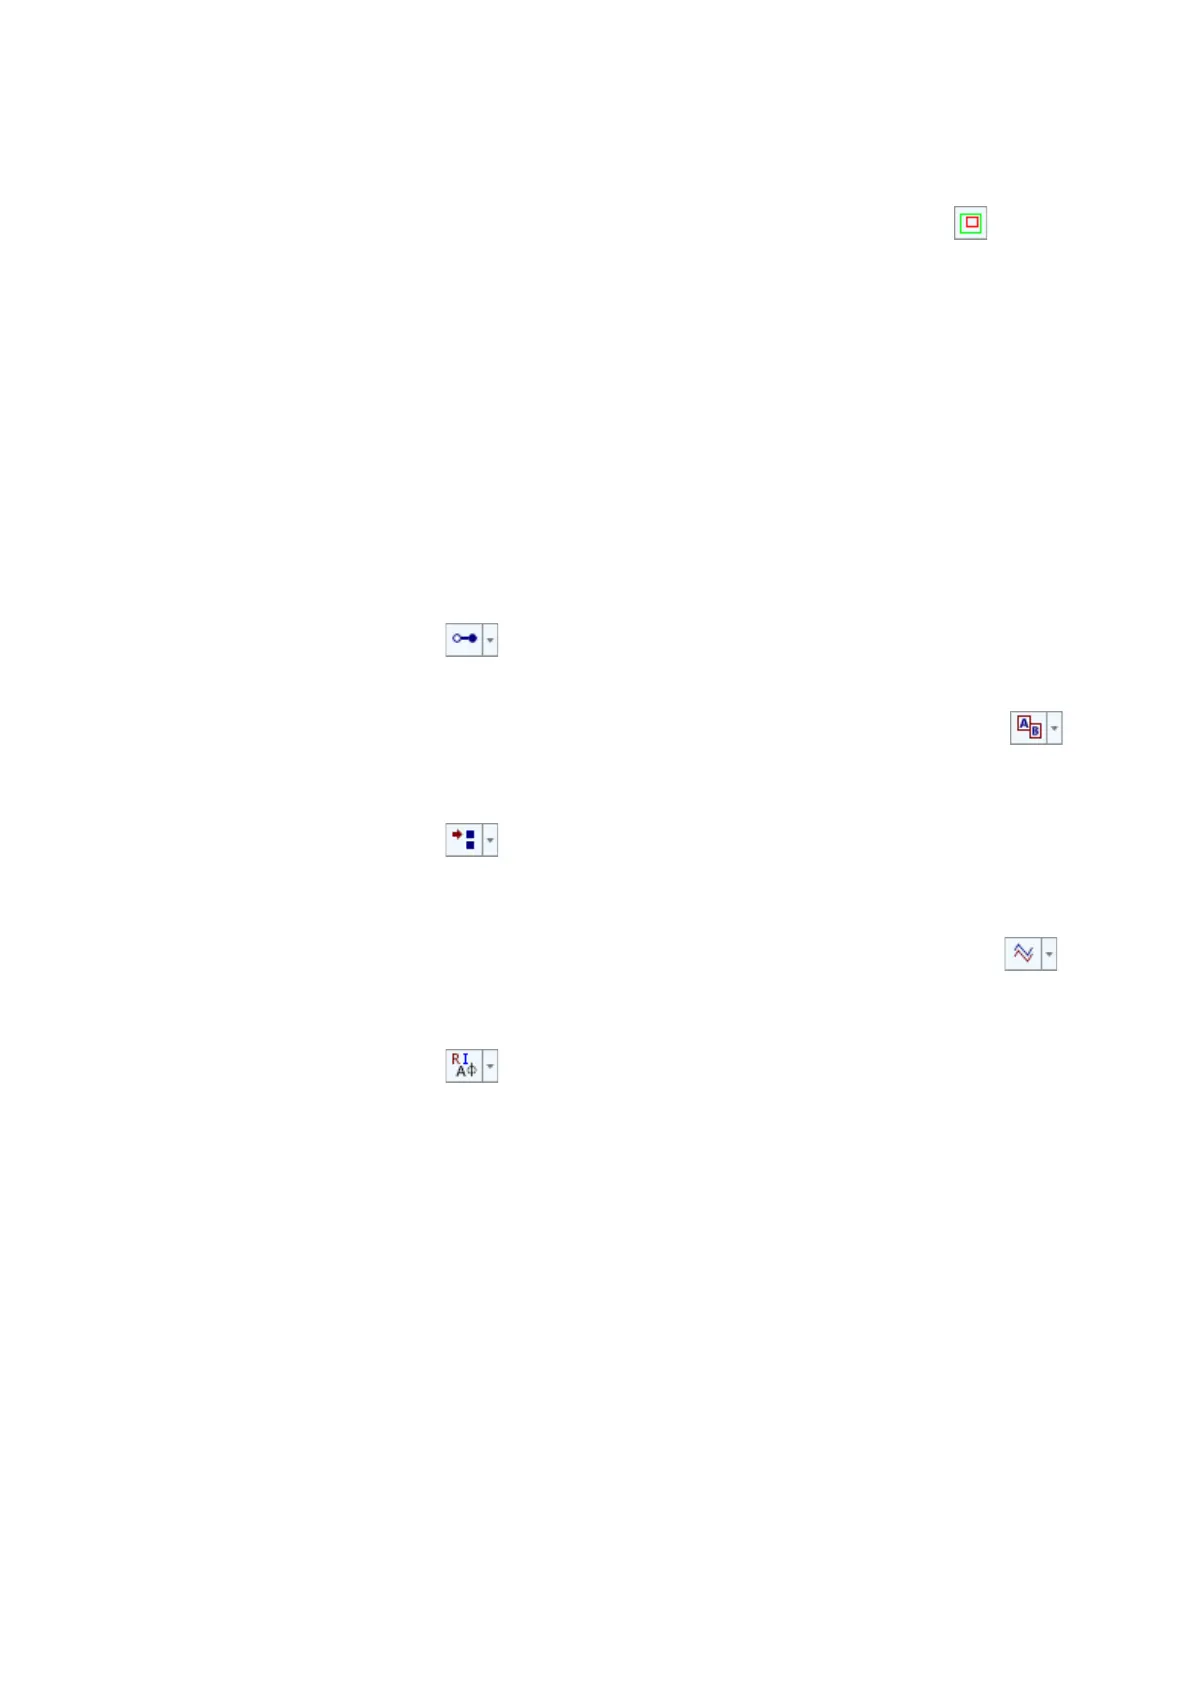
33. In the menu bar, select Analyzer > Signal (toolbar of the analyzer: ).
34. Select Displacement in the pull-down menu.
35. In the menu bar, select Analyzer > Display Type (toolbar of the
analyzer: ).
36. Select Frequency [Hz], Magnitude [m] and Phase [°] in the pull-down
menu.