2 Setting up the Ether232Plus Ether232Plus User Guide
10 Precidia Technologies Inc. 02-CML000057
3 Connect the Ethernet cable to a hub or router if you have not already done so.
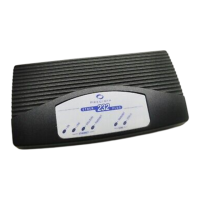
4 Ensure the LINK lamp is lit to indicate a valid Ethernet connection, and the STATUS
lamp is flashing to indicate the unit is ready to transmit/receive data.
5 If you know the IP address of the Precidia unit, ping the unit to ensure you have a
valid network connection. (See Check IP Address (Ping) on page B-3.)
2.2 Setting Up the Terminal
Once the Precidia unit is connected to your PC, you can access the Configuration
screen using terminal software.
You may use any terminal emulation software as HyperTerminal, which comes stan-
dard with Windows operating systems, or Procomm Plus (Symantec). For further help
on using Hyper Terminal, please refer to our Help Guide: Working With HyperTer-
minal
at http://www.precidia.com/products/documentation.html.
I
MPORTANT
! W
INDOWS
NT/2000/XP U
SERS
:
If using HyperTerminal to perform firmware upgrades, or to download static Web
pages to the Precidia unit, you need to use the latest version of HyperTerminal.
To obtain your free HyperTerminal upgrade, visit http://www.hilgraeve.com.
1 Start your terminal program.
2 Select the correct COM port in your terminal program (usually Com1 or Com2).
3 Configure the terminal with the following settings:
• Bits per second: 9600 (required)
• Data bits: 8
• Parity: None
• Stop bits: 1
• Flow control: Hardware
N
OTE
: The Data Bits, Parity, Stop Bits, and Flow control settings listed above are
recommended settings. Configuration can be accessed using any settings at 9600 bps.