iPocket232 User Guide 1 Before You Start
23-CML000293 iPocket232 Inc. 5
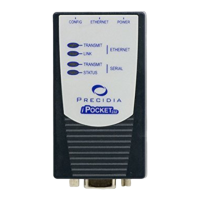
Table 1.2: Connectors
Port Location Description
Activates local configuration through the serial
port. (To activate, press and hold the recessed
CONFIG button for several seconds using a ball
point pen or similar object.)
Accepts RJ-45 connector for direct connection
to 10BaseT Ethernet network.
N
OTE
: If connecting directly to another Ethernet
device, use a cross-over cable. If connecting to a
100BaseT network, your hub must support
automatic switching to 10BaseT.
Accepts the IPocket232-supplied 9V power
adapter.
Accepts DB-9 serial cable for operation and
configuration.
1.4 Hardware Requirements
Equipment Included
The following items are included with your iPocket232 device:
• one (1) iPocket232 device
• one (1) power adapter (North American)
• one (1) mounting bracket
Additional Equipment Needed for Installation
To complete the hardware installation, you will need the iPocket232 package, along
with the following equipment: