66
To install an expansion card:
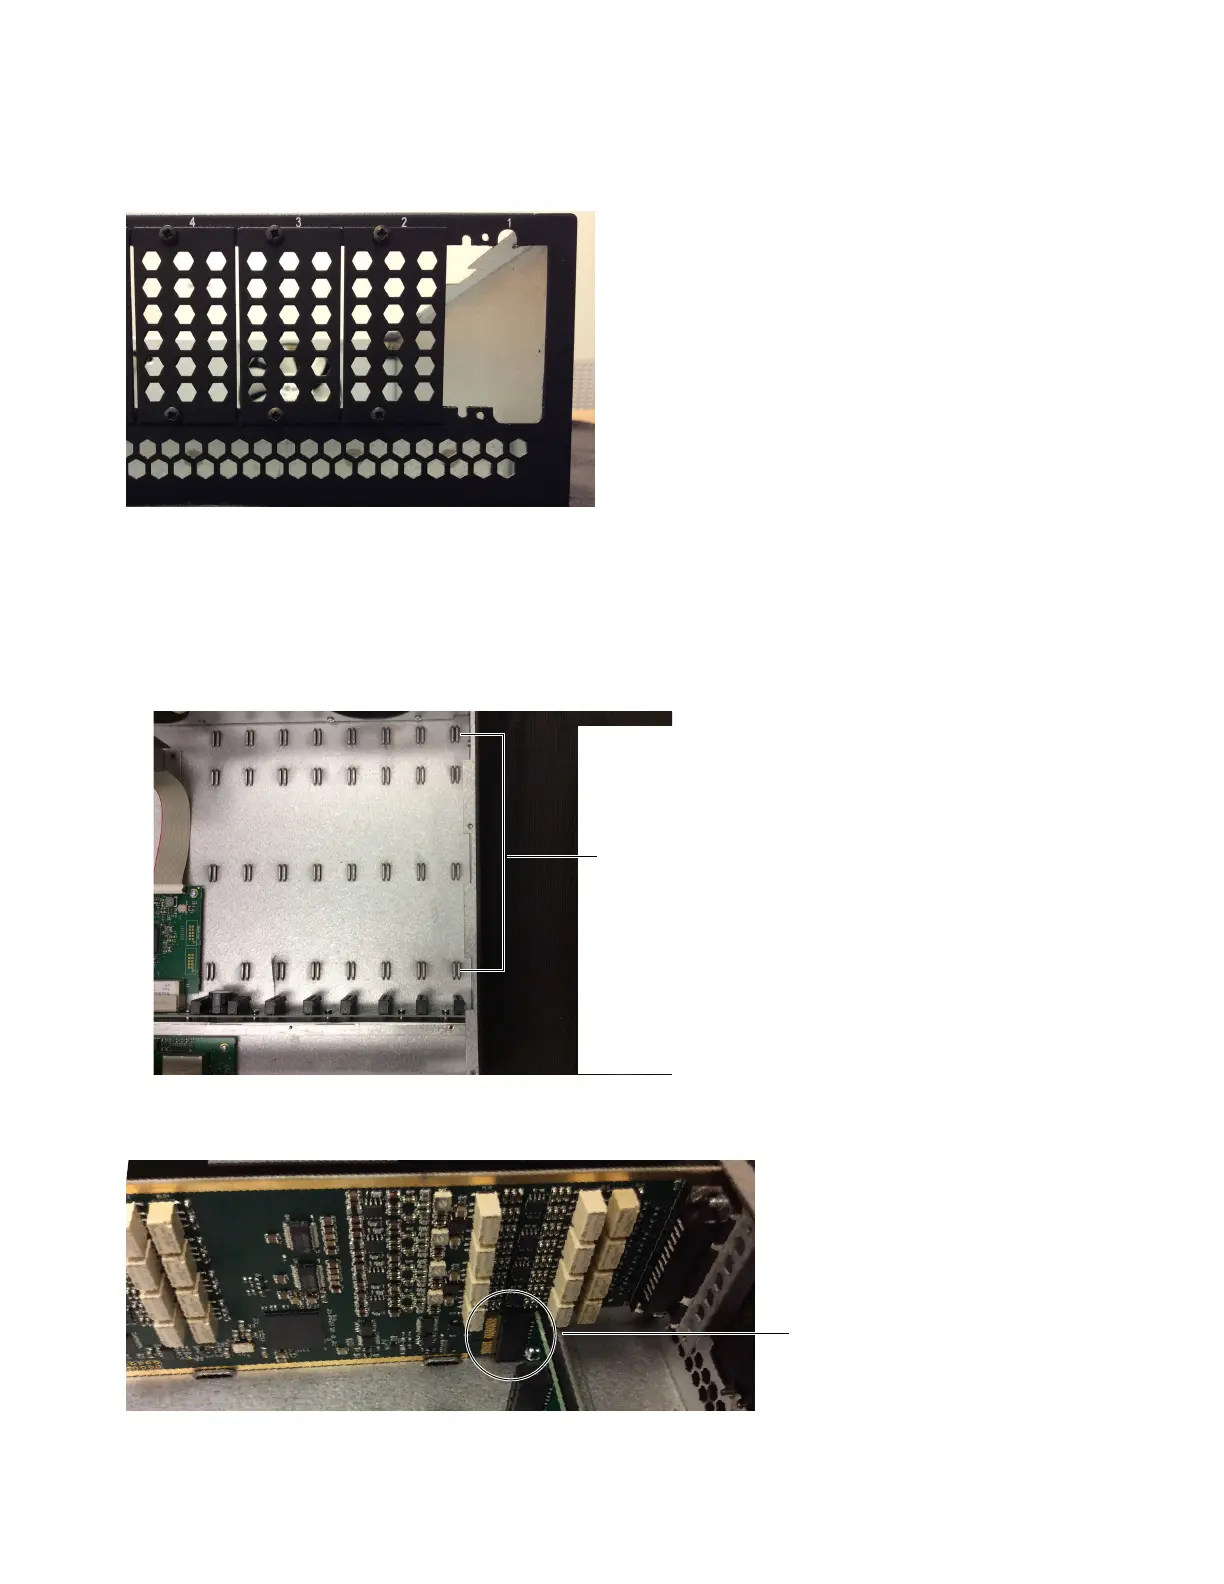
1 Standing at the back of the unit, use a #1 Phillips screwdriver to remove the faceplate covering the slot where you want to install the
card. For example, to install a card into slot 1 remove the two fasteners securing the faceplate on slot 1 shown below.
Set the fasteners aside (you will use them to secure the new card to the unit after the card is installed).
2 Remove the expansion card from its packaging, being careful to handle it by its edges only.
3 Orient the card with its external connectors facing you (towards the back of the unit) and its PCIe
connector also facing the back of the unit.
4 Align the card in the corresponding guide rails on the bottom of the unit. Ensure any internal cables (such as the ribbon cable near
slot 8) are laid under the card.
5 Align the PCIe connector on the card with the PCIe port mounted in the unit.
Faceplate removed from slot 1
Guide rails for slot 1
Side view showing card PCIe connector aligned with unit PCIe port
 Loading...