67
6 Making sure to guide the audio connectors through the open slot on the back of the unit, carefully push the card towards the back of
the unit until it seats fully into its PCIe connector.
7 Once the card is seated completely in its slot, secure it to the unit using a #1 Phillips screwdriver and the fasteners you removed from
the faceplate in step 1. Note that the fasteners are threaded into different threaded holes than when they were securing the faceplate.
8 Proceed to Completing the Installation.
Installing a MTRX MADI Module
The MTRX MADI module is a daughter card that is mounted to the motherboard. Installing a MADI module involves freeing the moth-
erboard from the chassis, installing the MADI module onto its connector pins, then reattaching the motherboard assembly to the chassis.
In addition to a #1 Phillips screwdriver, you will also need a small flathead screwdriver and a 3/16-inch socket or similar sized open end
wrench.
Pushing the card into its PCIe connector
Fasteners re-installed to secure the card into slot 1
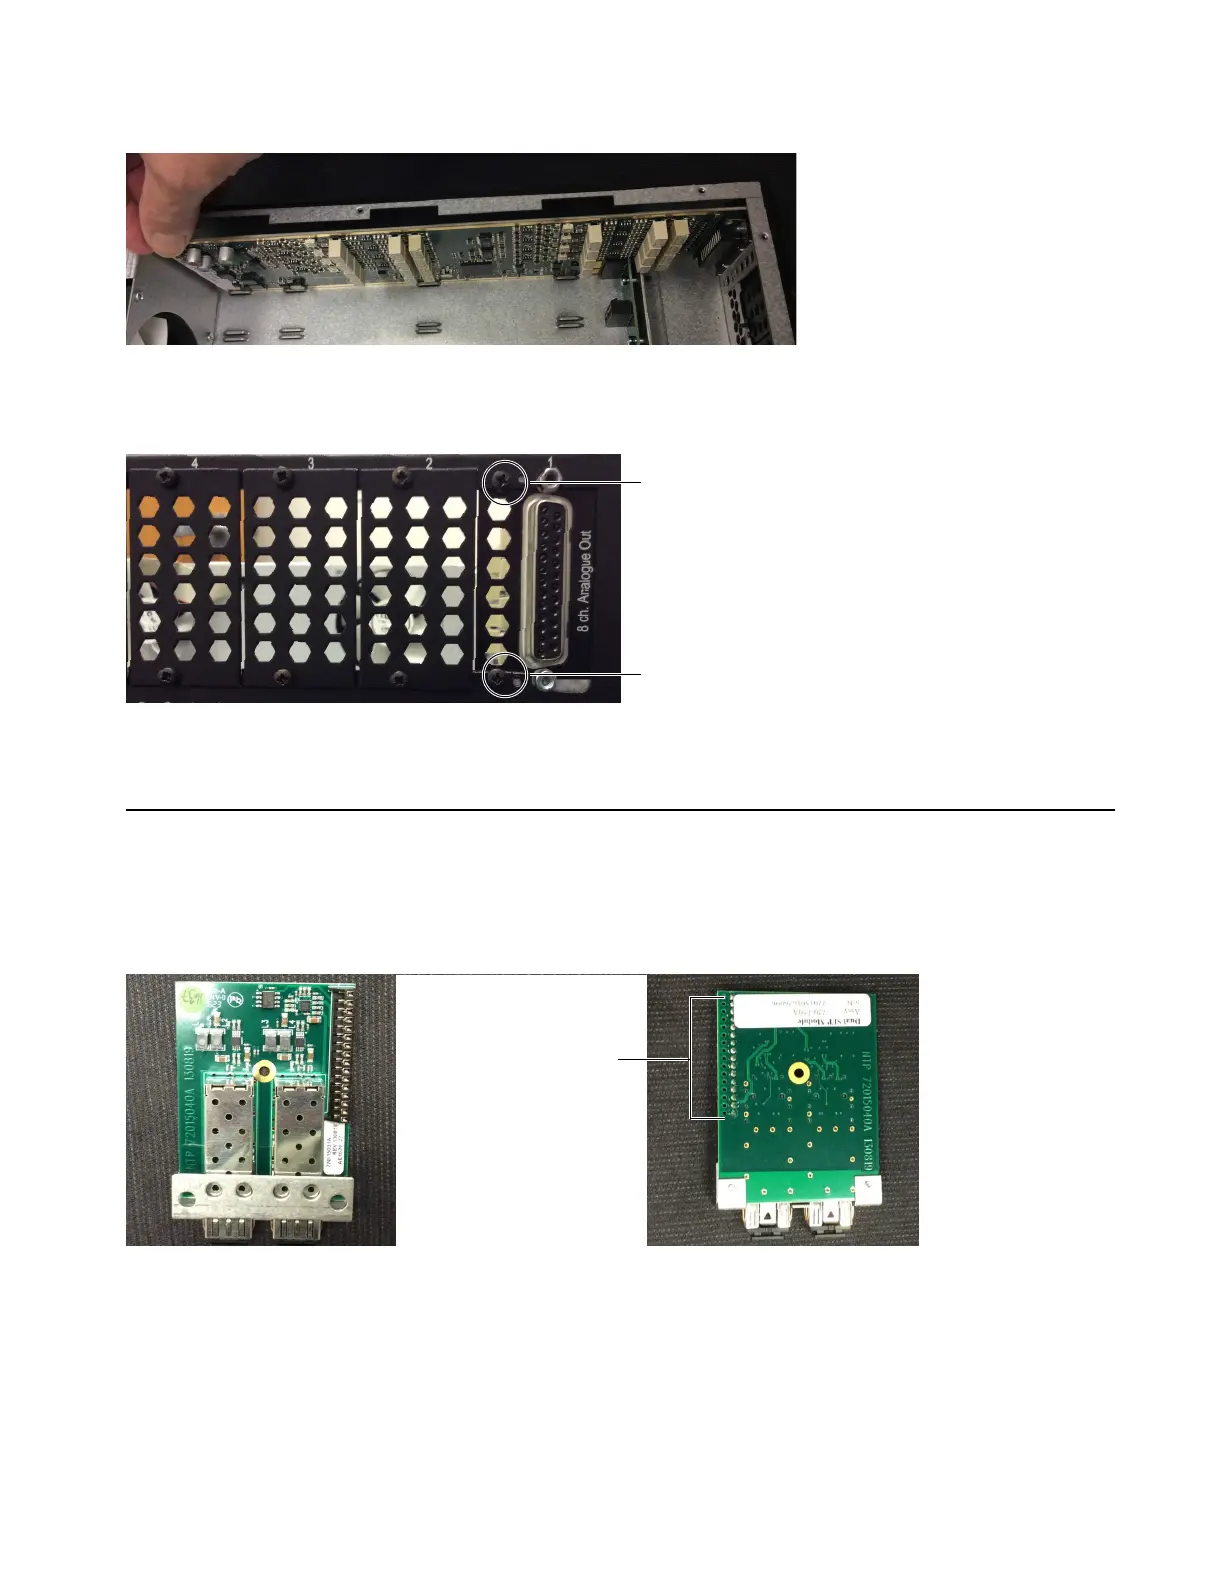
MTRX MADI module, top (shown at left) and underside showing connector (at right)
 Loading...