69
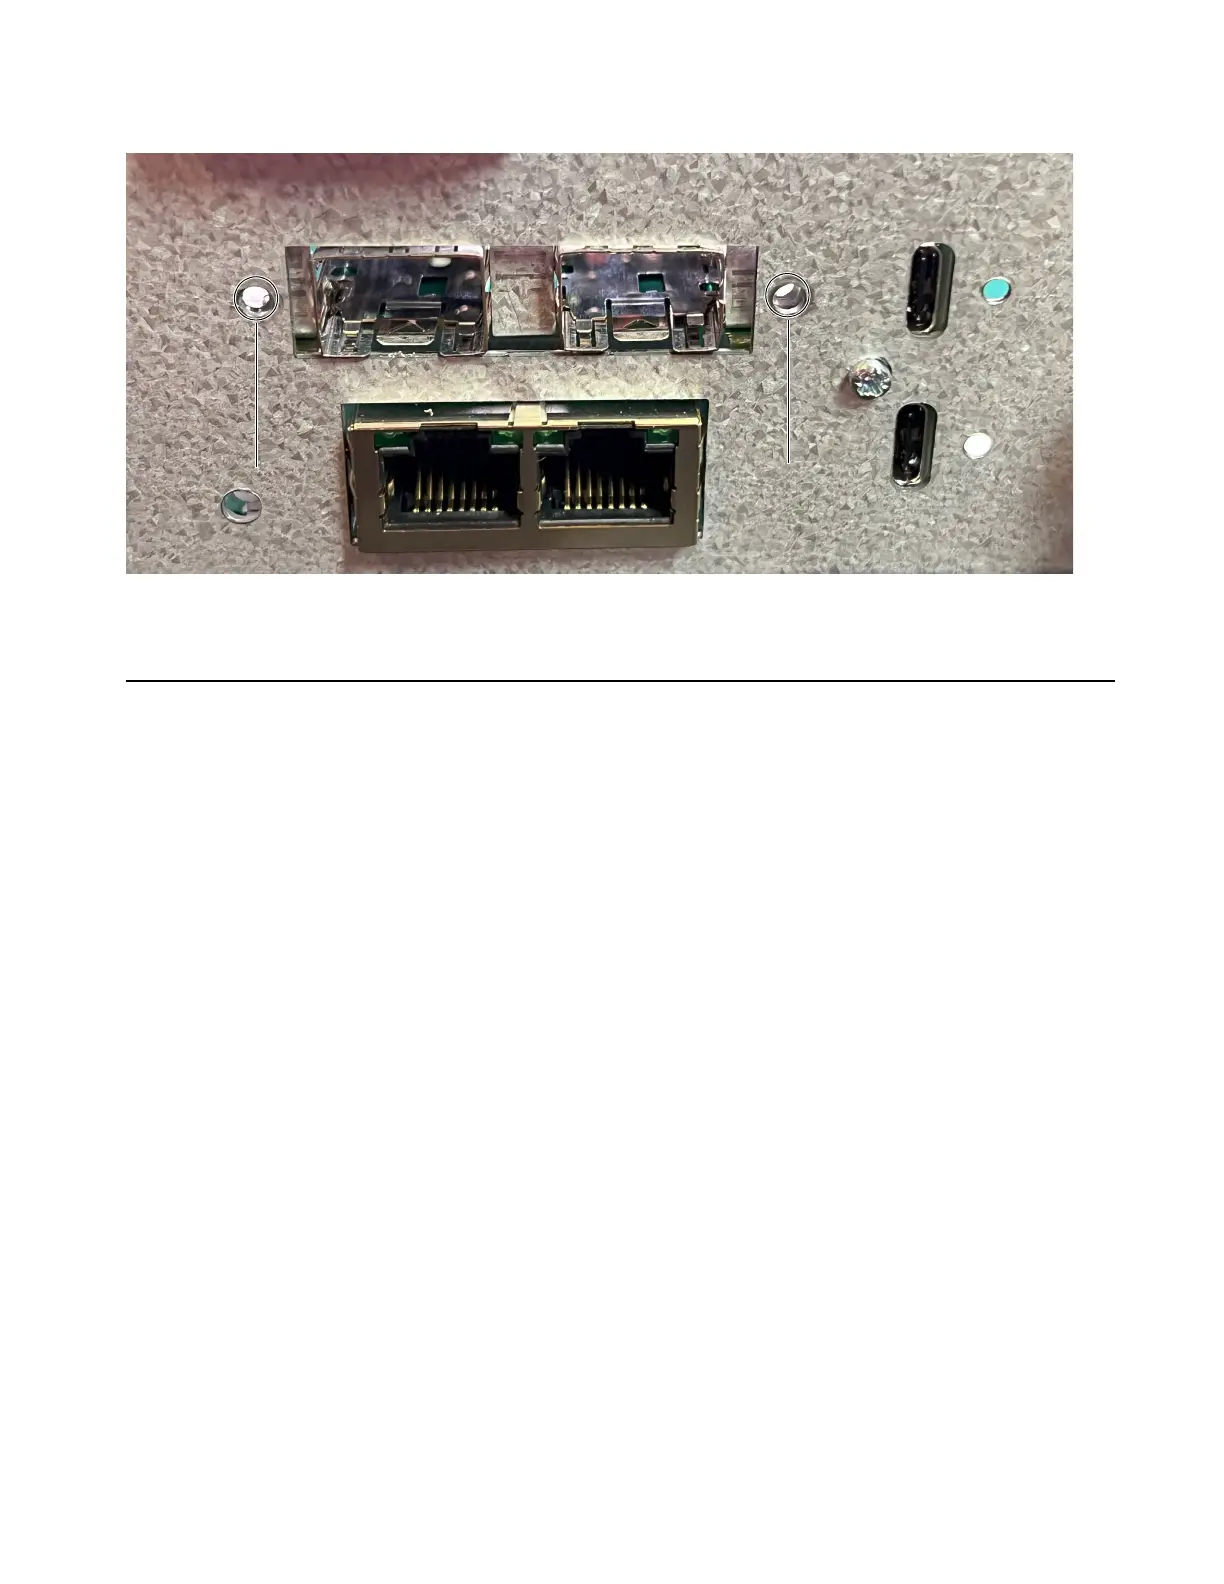
4 From the back of the unit, secure the MADI module to the back panel using the two faceplate screws you removed earlier (two extras
are included with the MADI module).
5 Proceed to Completing the Installation.
Completing the Installation
After installing cards, reassemble the unit by replacing its top panel and then power on your system to confirm the installation.
To replace the top panel:
1 Replace the top panel, making sure to orient it correctly so that the tabs on its front edge fit under the unit faceplate.
2 Using a #1 Phillips screwdriver, replace the 11 fasteners you removed earlier and secure the top panel to the unit.
To confirm installation:
1 Make sure your switchable power source (power strip or other) is off.
2 Connect power to the MTRX II using the included IEC power cable.
3 Switch on your power source.
4 Wait for the unit to initialize. Check the front panel display for status.
5 Power off the unit.
Location of fasteners to secure MADI module to the back panel
 Loading...