65
Opening the MTRX II Chassis
To open the MTRX II Chassis:
1 Use a #1 Phillips screwdriver to remove the screws on the top and sides of the unit that secure chassis cover. Carefully set each screw
aside as you remove them and keep them nearby to reattach the chassis cover after cards are installed.
2 Set the chassis cover aside.
Installing an Expansion Card
Installation steps differ slightly depending on the type of expansion card you are installing. If you are installing any of the following an-
alog or digital I/O cards, or a processor card, see Installing Expansion Cards:
• MTRX 8 Line Pristine AD card
• MTRX 2 Mic/Line Pristine AD card
• MTRX 8 Mic/Line Pristine AD card
• MTRX Pristine 8 DA card
• MTRX 8 AES3 I/O card
• MTRX Dante 128 card
• MTRX Dual SDI/HD/3G card
• MTRX Dual MADI I/O card
• MTRX DigiLink card
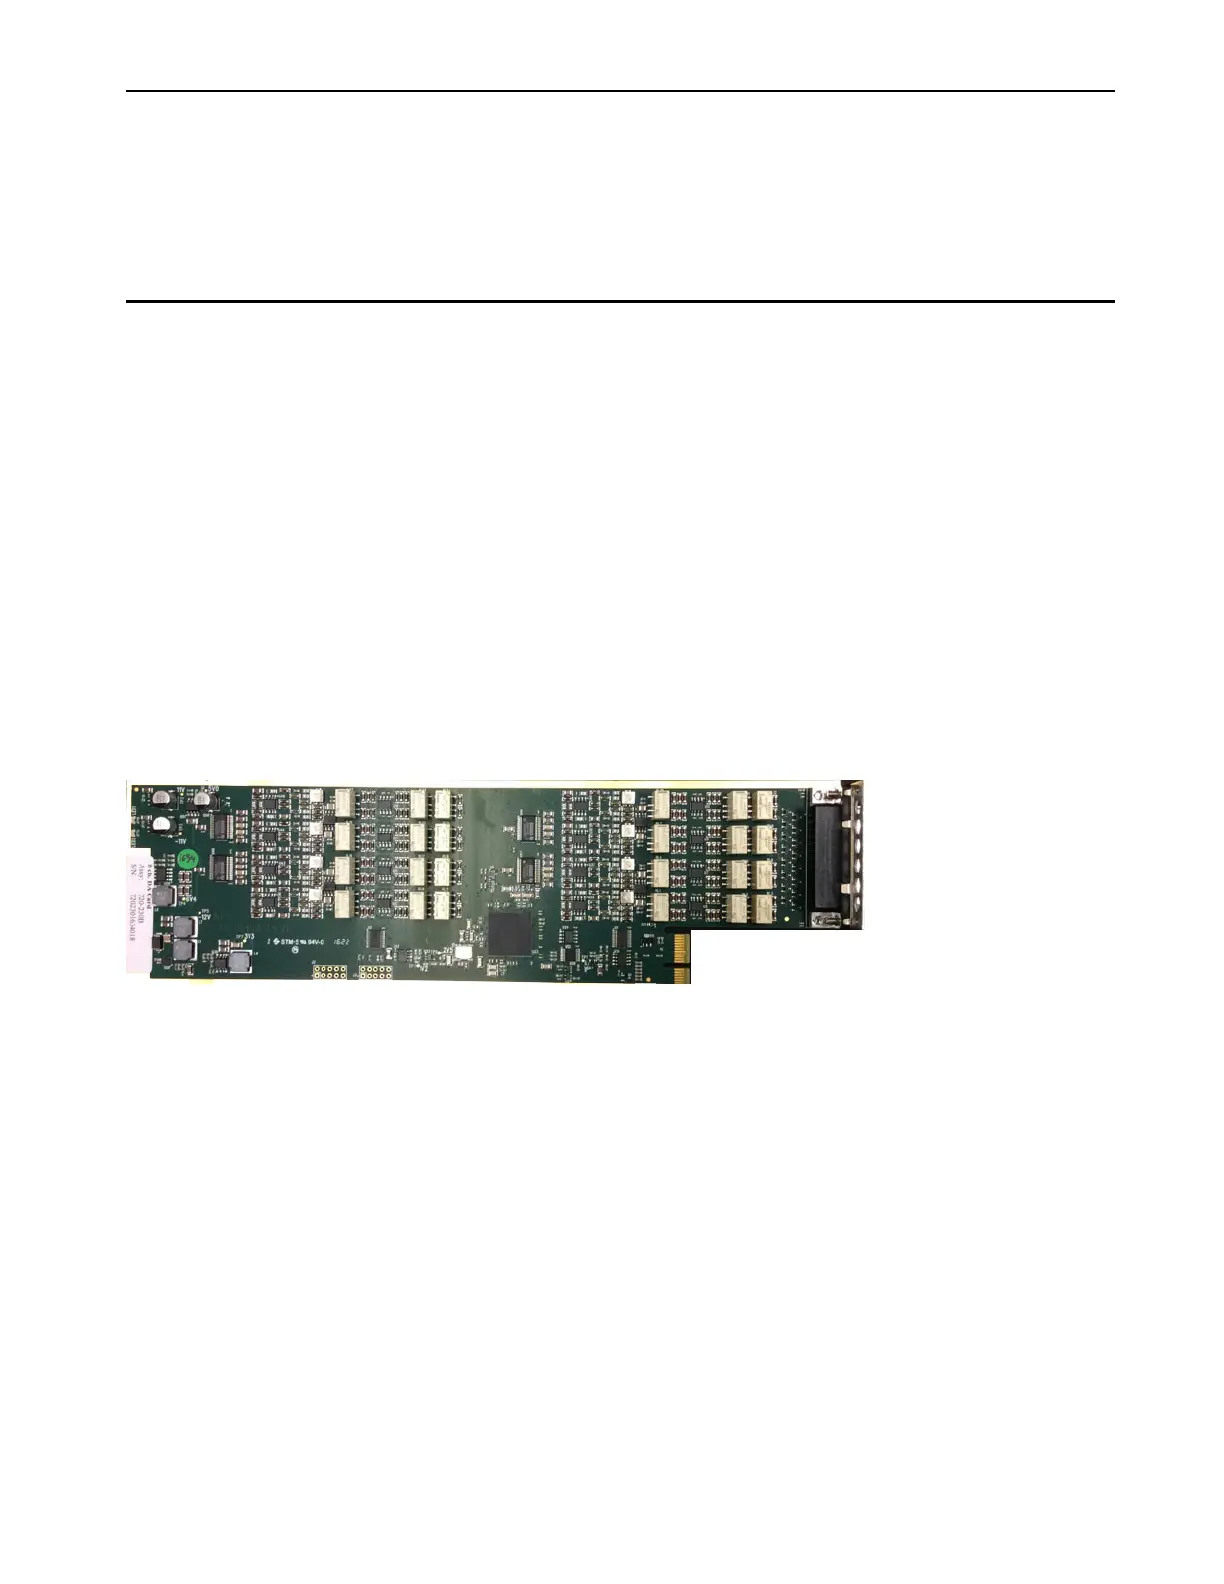
Installing Expansion Cards
Expansion cards are installed into slots along the back of the unit. All eight slots can be used. Up to eight analog cards can be installed.
Orientation, connector and ports of an example Expansion Card (MTRX 8 Pristine DA card shown)
 Loading...