72
7 Making sure to guide the audio connectors through the open slot on the back of the unit, carefully push the card towards the back of
the unit until it seats fully into its PCIe connector.
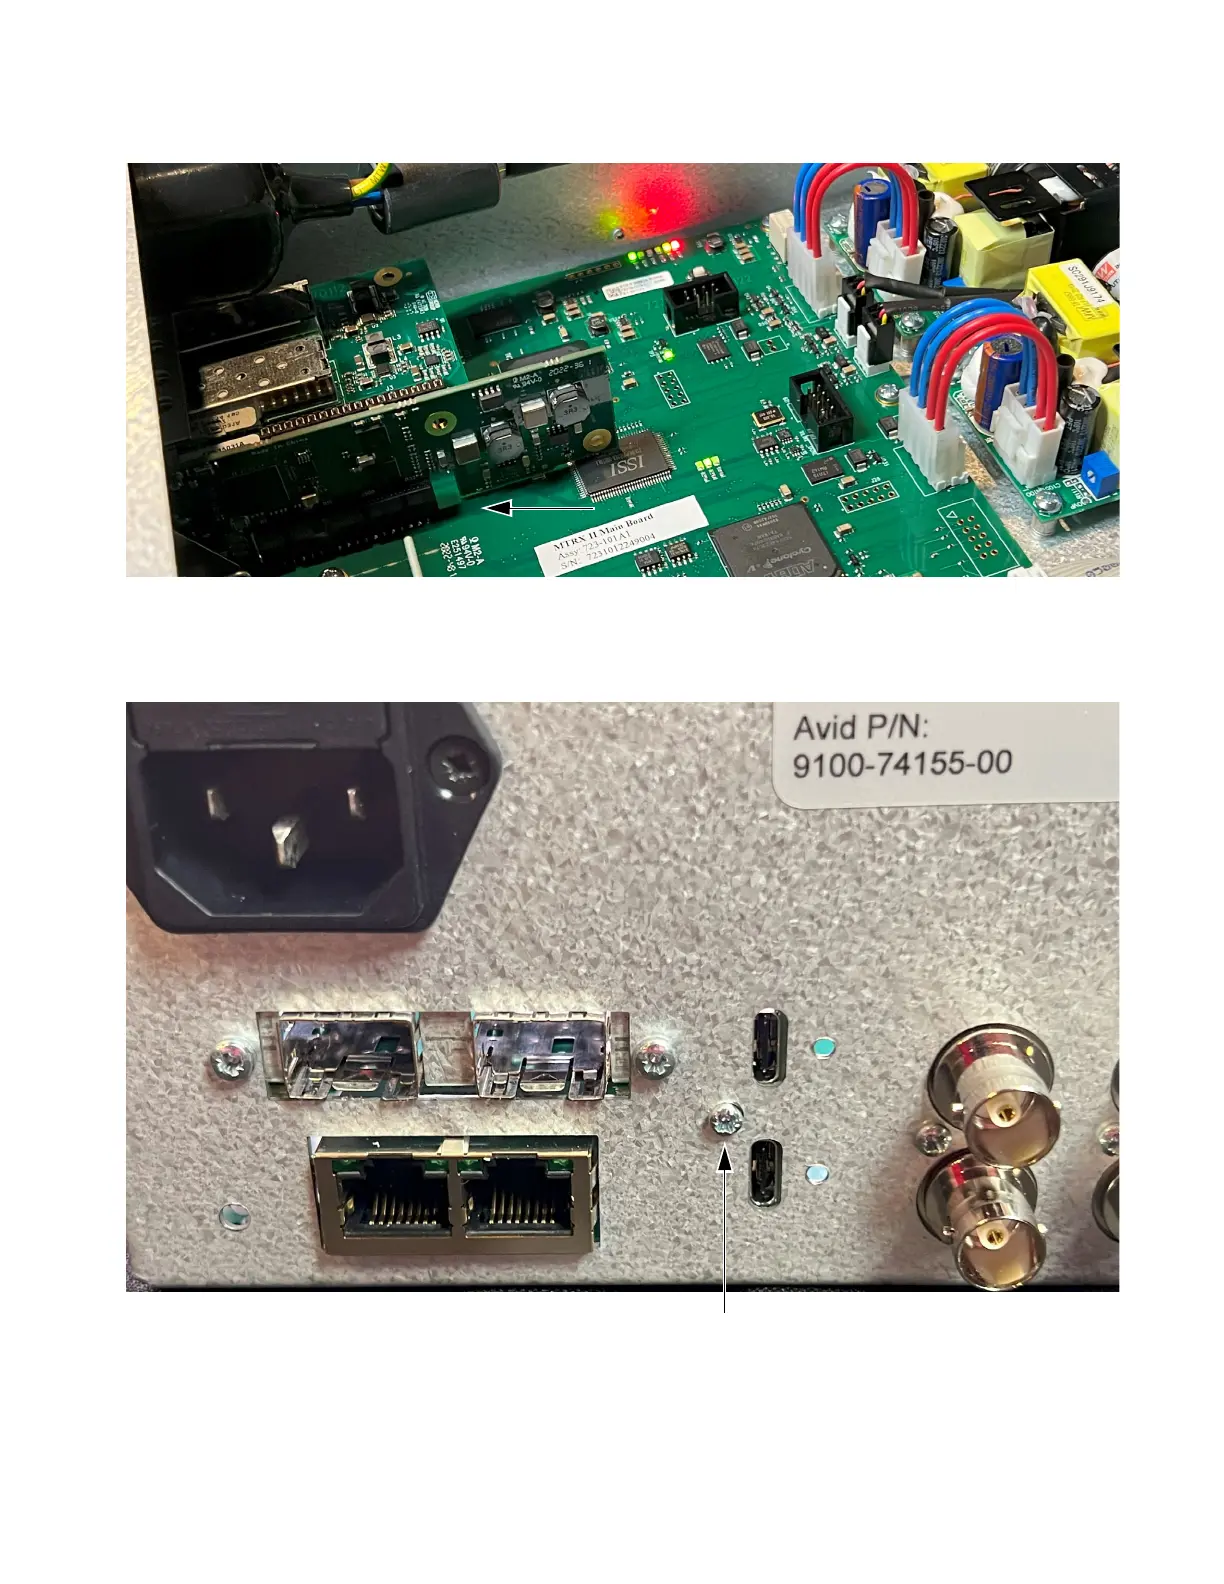
8 Once the card is seated completely in its slot, secure it to the unit using a #1 Phillips screwdriver and the screw included with the
Thunderbolt 3 Option module.
9 Replace the top panel, making sure to orient it correctly so that the tabs on its front edge fit under the unit faceplate.
10 Using a #1 Phillips screwdriver, replace the screws you removed earlier and secure the top panel to the unit.
Thunderbolt 3 Option module installed in MTRX II
Thunderbolt 3 option module installed in MTRX II
 Loading...