INSTALLING THE DRIVE SYSTEM
INSTALLING THE DRIVE SYSTEM
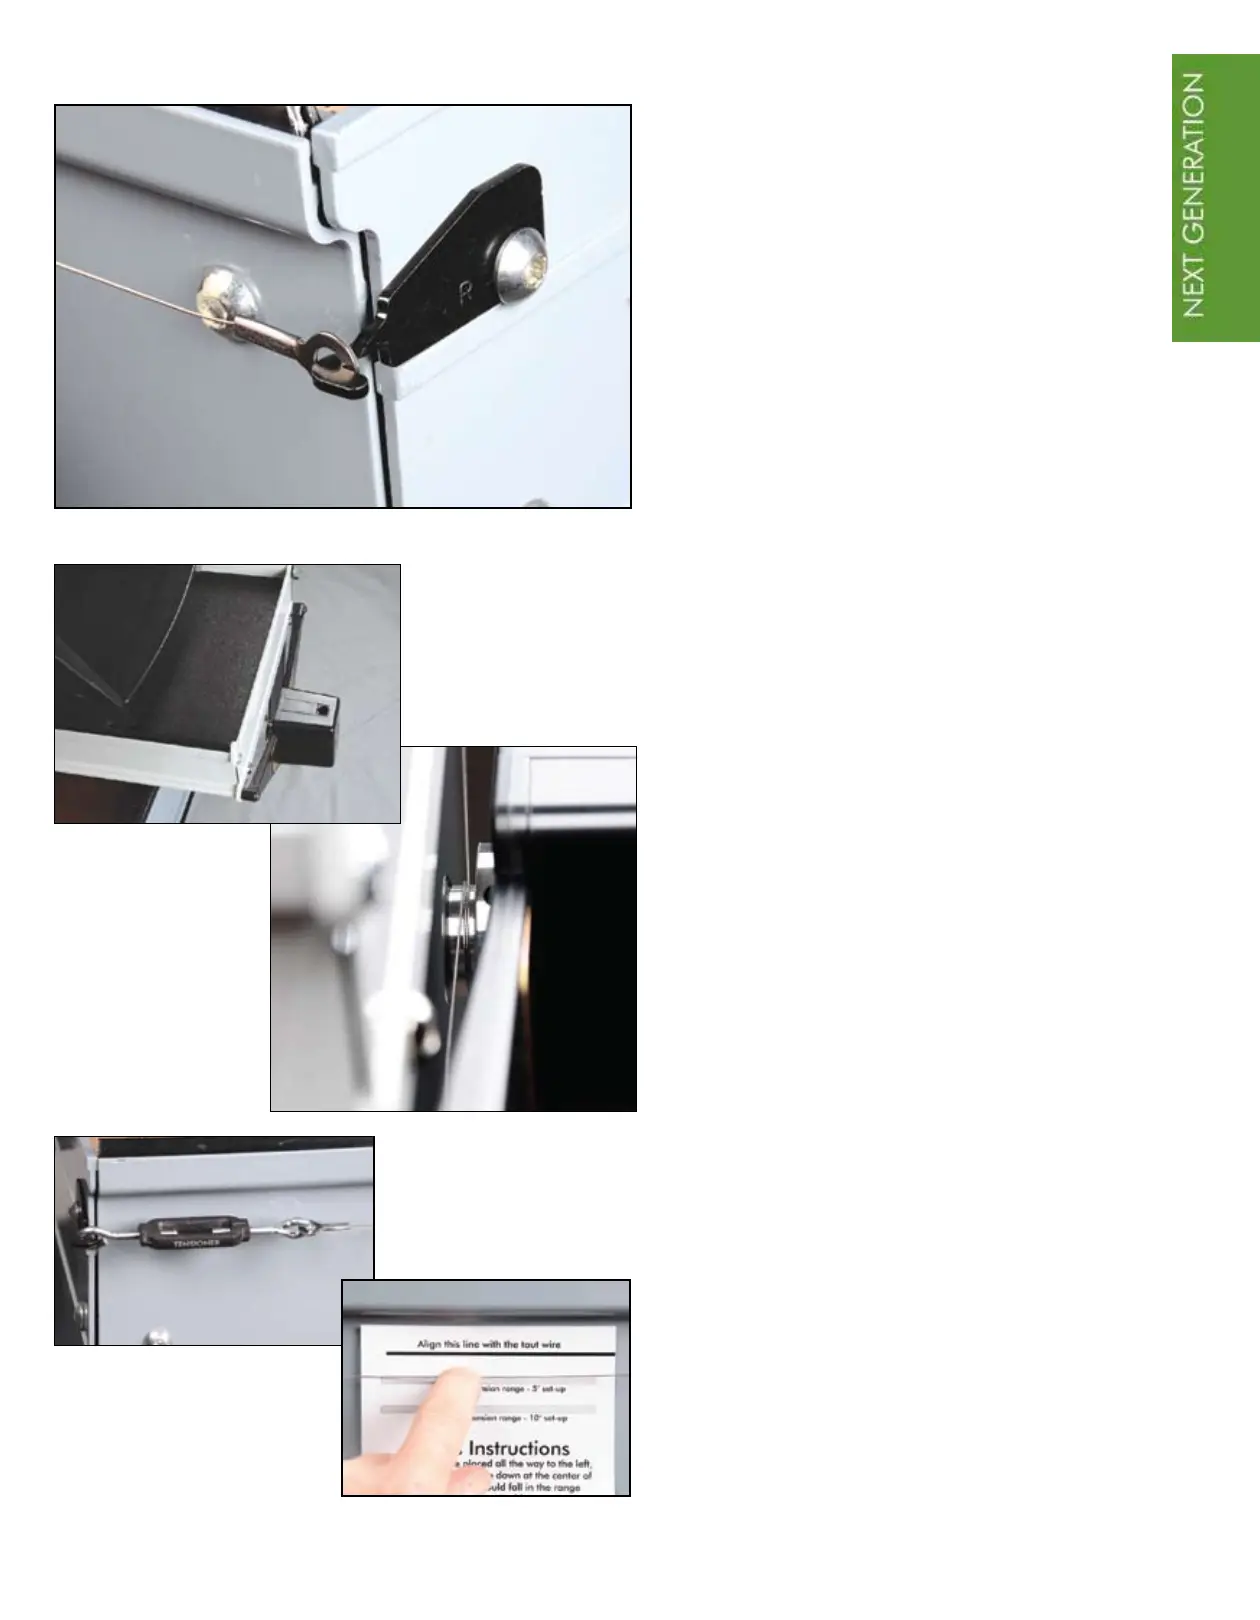
7
Take one end of the lower drive wire
and place the eyelet around the hook
of the right X-axis wire holder.
Lift the whole carriage unit off the rails
and move slightly to the back of the
frame. Standing at the back of the
frame, place the lower drive wire over
the drive pulley, wrapping down and
around twice. Holding the wire taut
with your left hand, return the carriage
back to the rails of the frame. The photo
to the left is a view looking down on the
drive assembly.
Attach the tensioner to the hook of the left
X-axis wire holder. Attach the eyelet of the
wire to other end of the tensioner. Tighten
the wire with the center of the tensioner
until it is stretched like a guitar string. Use
the tensioning template as your guide for
tightness as before.
TIP - Please watch the DVD for
more information about the drive
assembly installation.