INSTALLING THE DRIVE SYSTEM
INSTALLING THE DRIVE SYSTEM
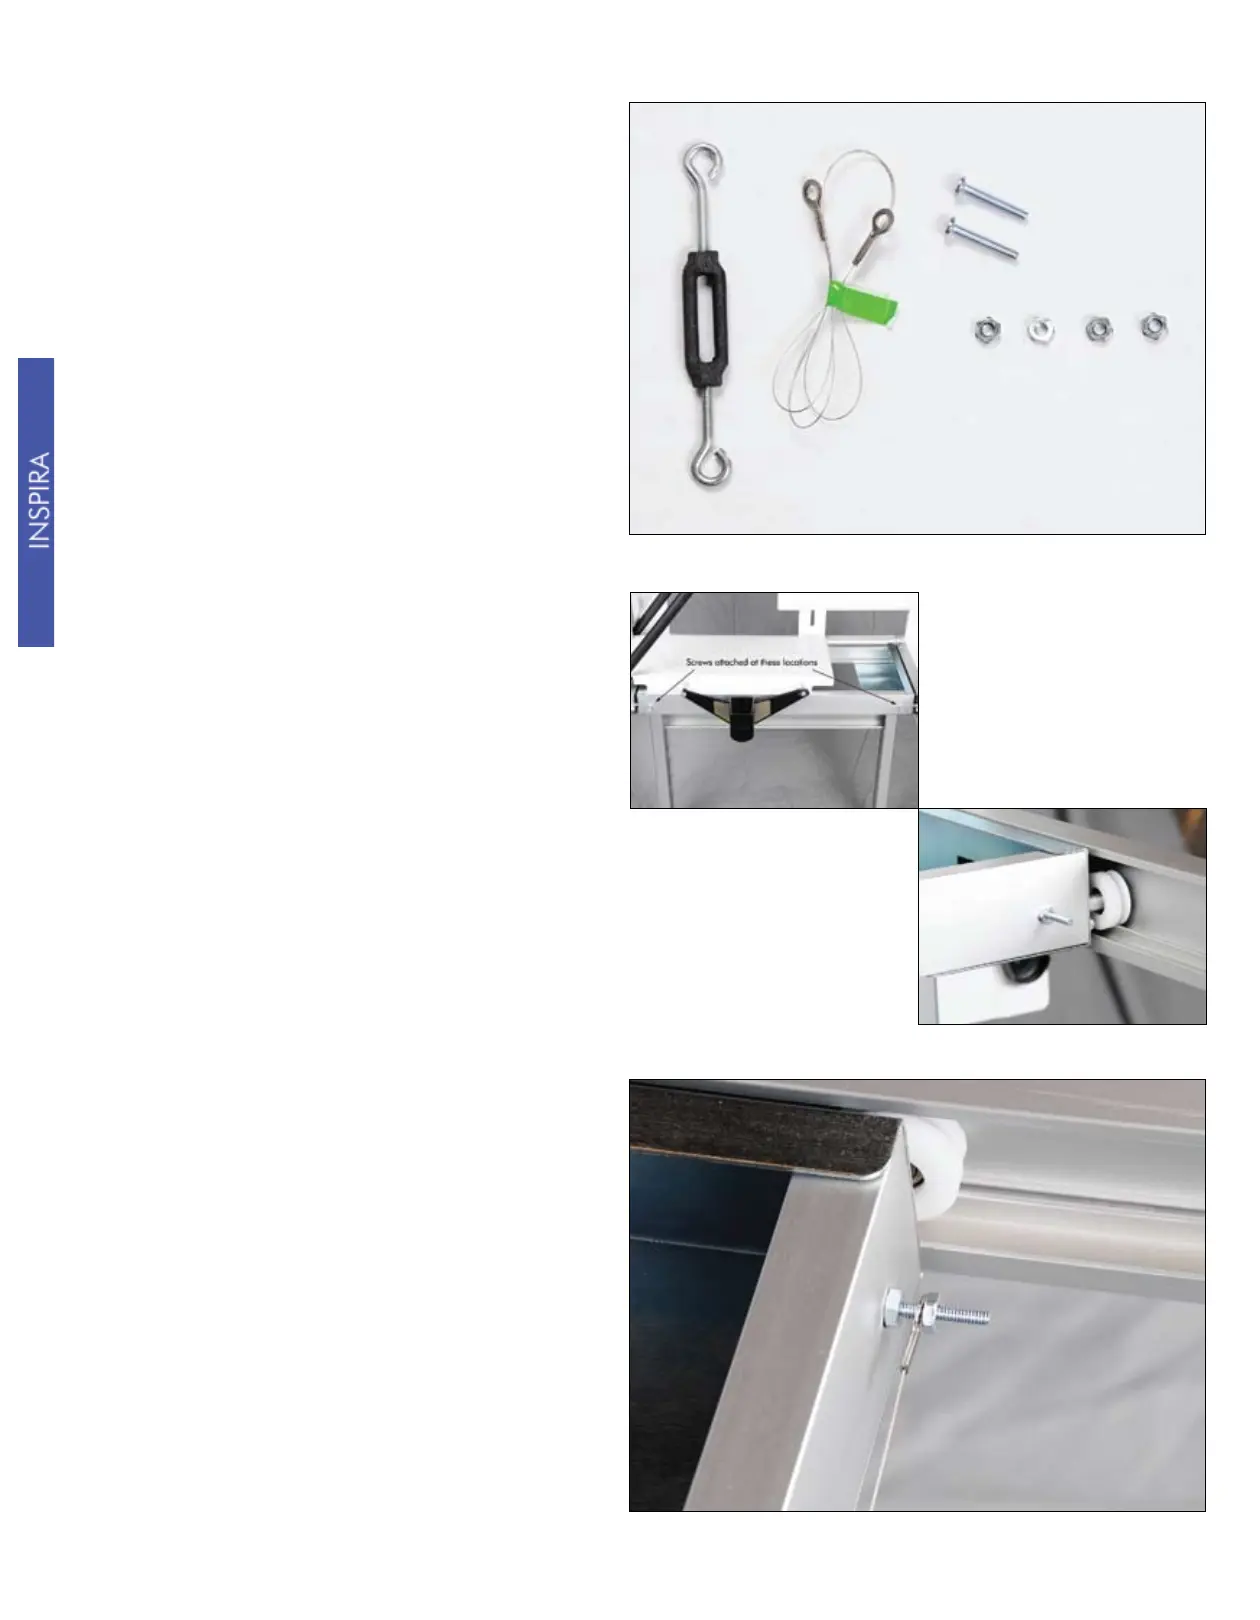
You are now ready to install the
Y-Axis drive wire. You will want to
have the following items handy before
performing the following steps: (2) #8
X 1” screws, (4) #8 nuts, (1) 24” drive
wire, (1) tensioner.
Place the two #8 screws through the
holes in the side of the lower carriage
as shown. Secure them to the carriage
with two of the #8 nuts.
Place the eyelet on one end of the drive
wire on the forward screw as shown in
the picture to the right. Next, assemble
an #8 nut onto the screw. This will
keep the end of the drive wire from
accidentally coming off the screw.
10