18
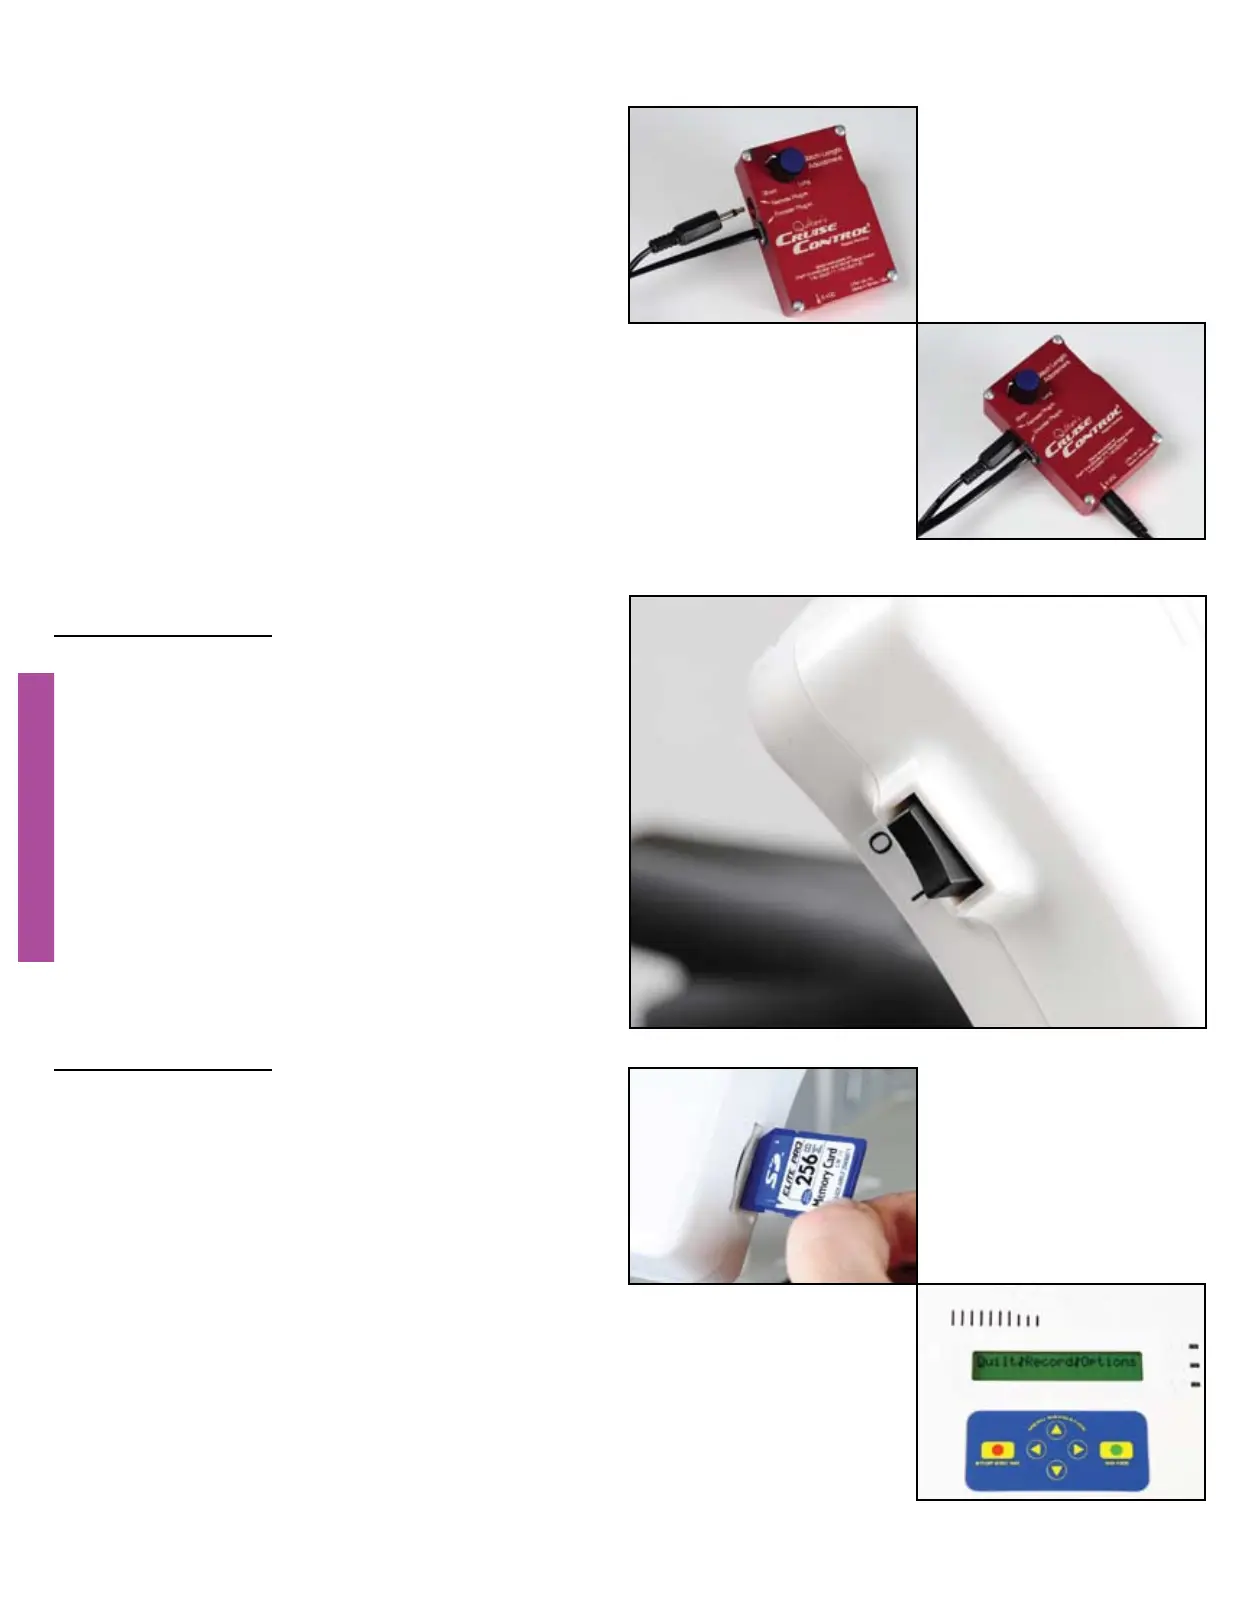
Connect the 3.5 mm audio-style
connector from the QBOT wiring harness
into the port labeled ‘Remote Plug-in’.
Connect the power supply for the QCC
into the port labeled ‘6VDC’ and then
into a surge protector power strip. Plug
in the QBOT power cord into a good
surge protector at this time.
You’re almost there. Ensure your QBOT
power switch is toggled up, to the OFF (0)
position.
ATTENTION
INSPIRA frame owners must change a
setup parameter in the QBOT prior to
moving on. See the ‘QBOT Adjustments’
on page 21.
ATTENTION
Brother and Babylock sewing machine
owners must adjust a switch on the other
side of the QBOT before continuing. See
the ‘QBOT Adjustments’ on page 21.
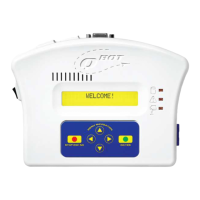
You are now ready to verify the
installation of the drive system and the
QBOT. Insert the SD card that came with
your QBOT into the slot in the QBOT.
Turn on the QBOT. The welcome screen
will display briefly, then you will see the
Quilt|Record|Options menu. If you get
an error message, ‘No SD card detected,
Please insert card’, re-insert the SD card
making sure you here a ‘click’. You
will now see the Quilt|Record|Options
menu.
MAKING THE CONNECTIONS
MAKING THE CONNECTIONS