s e r ve r saTa s olId s TaTe d Isk
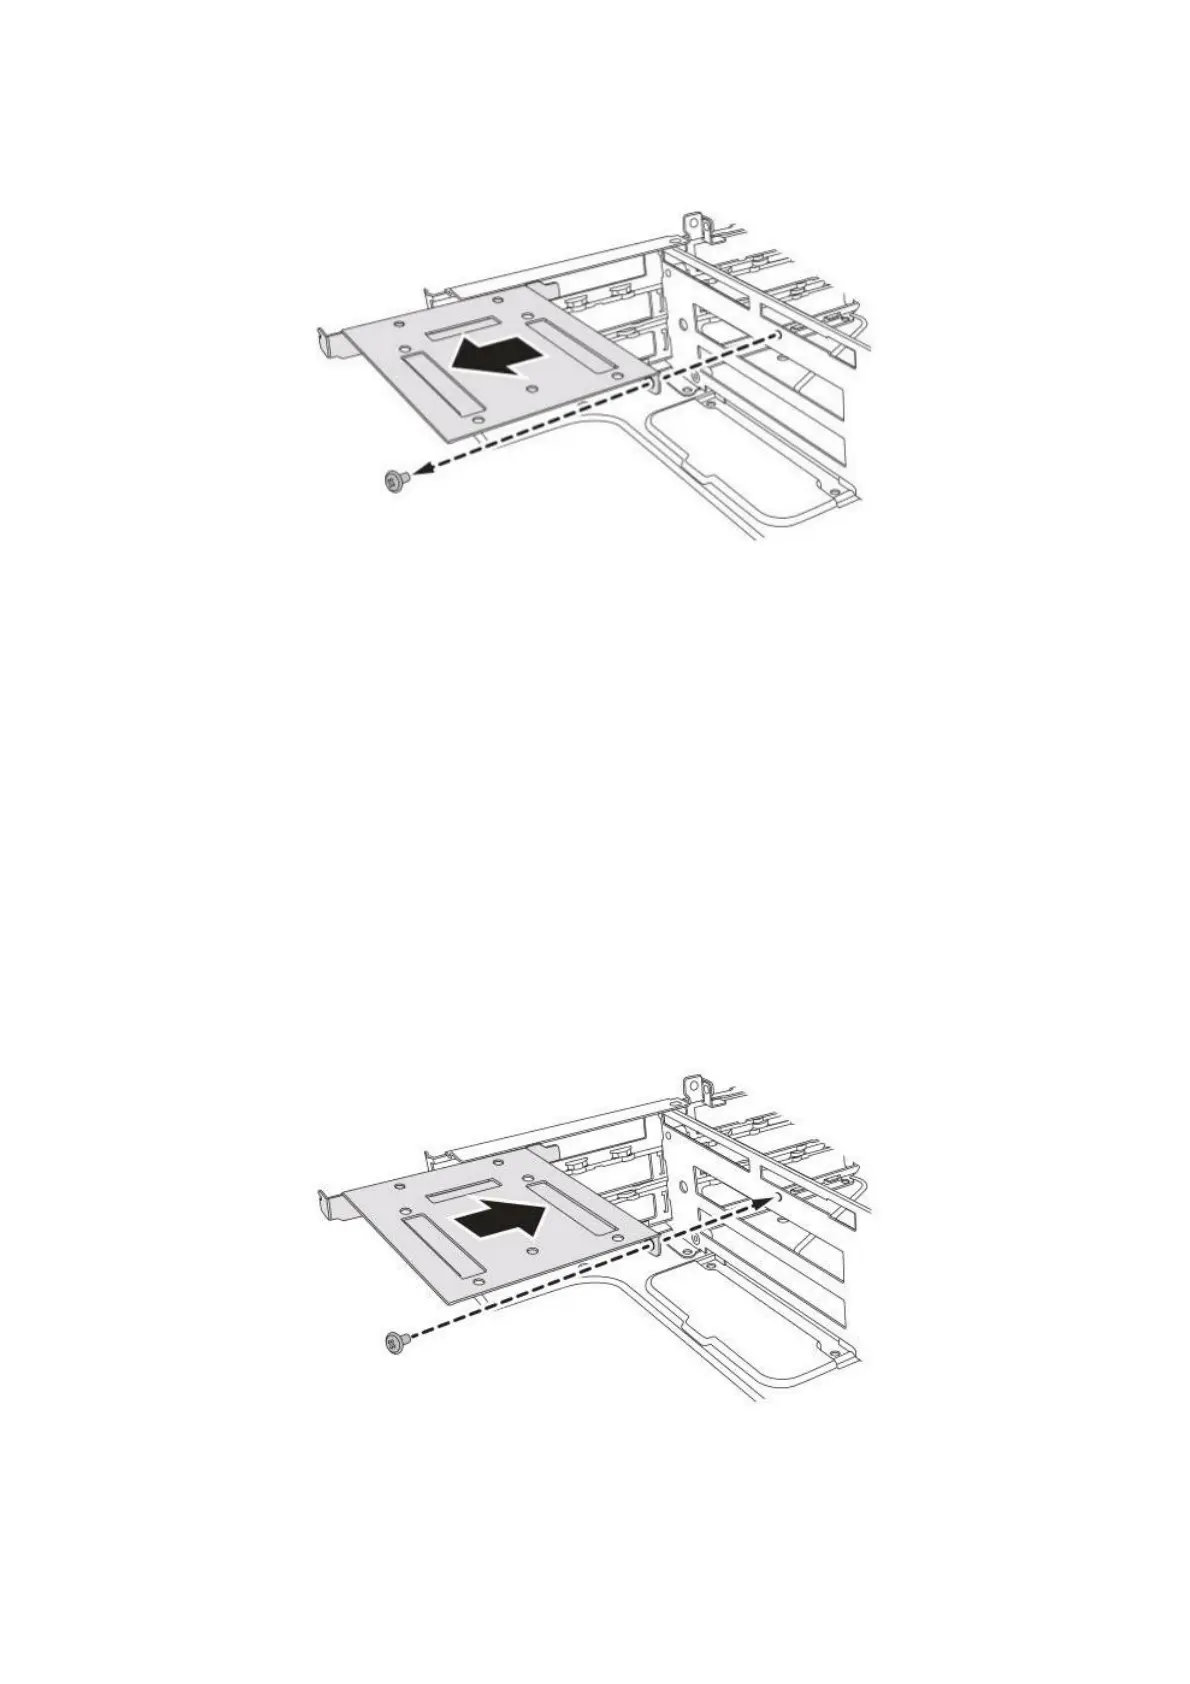
3. Remove the screw securing the SSD tray to the riser bracket.
4. Remove the SSD tray.
Figure 1-53: Removing the SSD Tray
Installing the SATA Solid State Disk
Prerequisite:
♦ Remove the top cover. See Opening the Top Cover on page 1-6.
♦ Remove the air duct. See Removing the Air Duct on page 1-7.
♦ Remove the riser 2 assembly. See Removing the Riser 2 Assembly on page
1-28.
♦ Remove the riser 2 boards. See Removing a Riser 2 Board on page 1-32.
1. Align and install the SSD tray on the riser bracket.
2. Secure the SATA SSD tray with screws.
Figure 1-54: Installing the SSD Tray
1-35