s
erver
p
roCessor
h
eaT
s
Inks
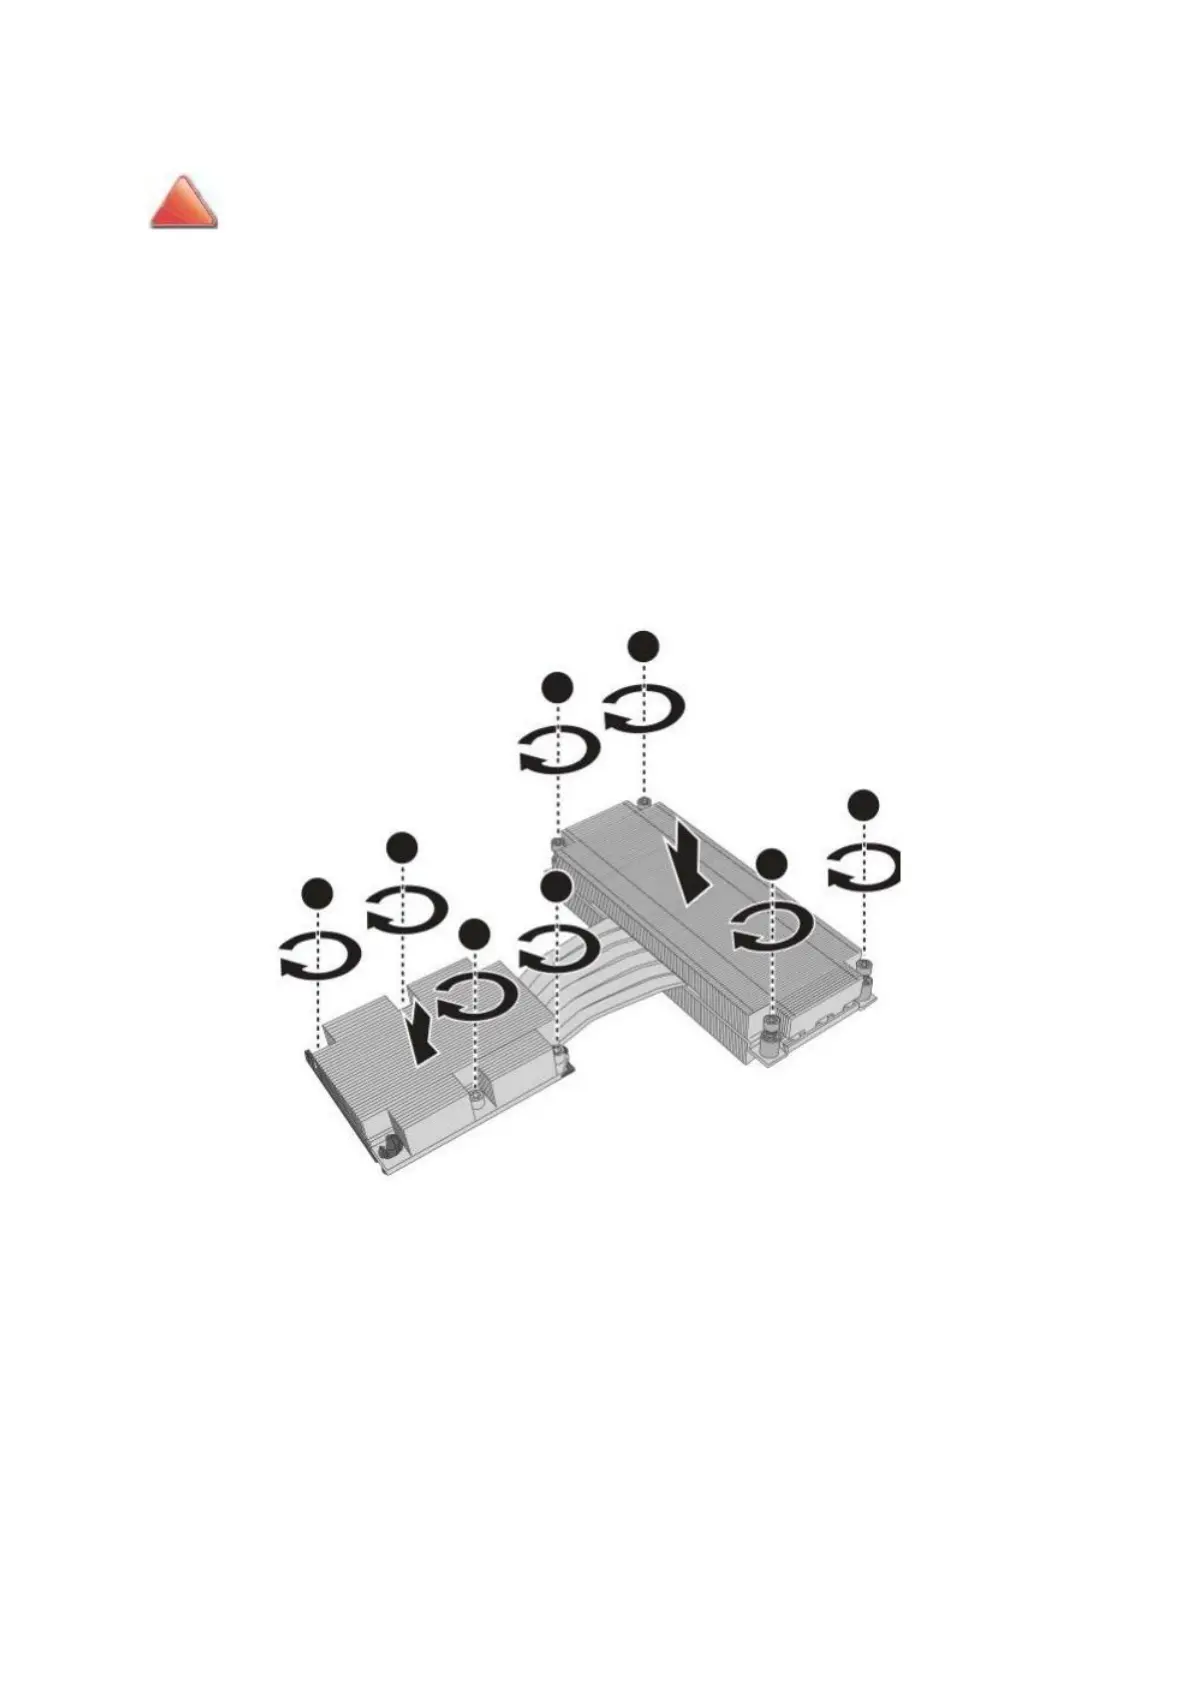
Installing a Heat Sink
!
CAUTION!
TO PREVENT DAMAGE DO NOT OVERTIGHTEN THE HEAT SINK SCREWS.
Prerequisite:
♦ Remove the top cover. See Opening the Top Cover on page 1-6.
♦ Remove the air duct. See Removing the Air Duct on page 1-7.
♦ Install the processor. See Installing a Processor on page 1-40.
1. Align the heat sink over the socket. The airflow marker indicates the flow of air
from the system’s cold side to its hot side. Make sure the airflow indicator is
aligned properly.
2. Place the heat sink on top of the socket.
3. Tighten the captive screws in a sequential order. Do not overtighten to prevent
damage to the heat sink or socket.
3
6
4
1 8 2 5
7
Figure 1-57: Installing the Heat Sink
4. To install another heat sink, repeat the previous steps.
1-38